This recipe's been brewing in my mind for months now. I've made it and ate it mentally about a million times already, but nothing, NOTHING beats actually eating it in real life. That whole making it, definitely better done mentally. Why, whyyy don't I have telekinetic powers over my baking?!
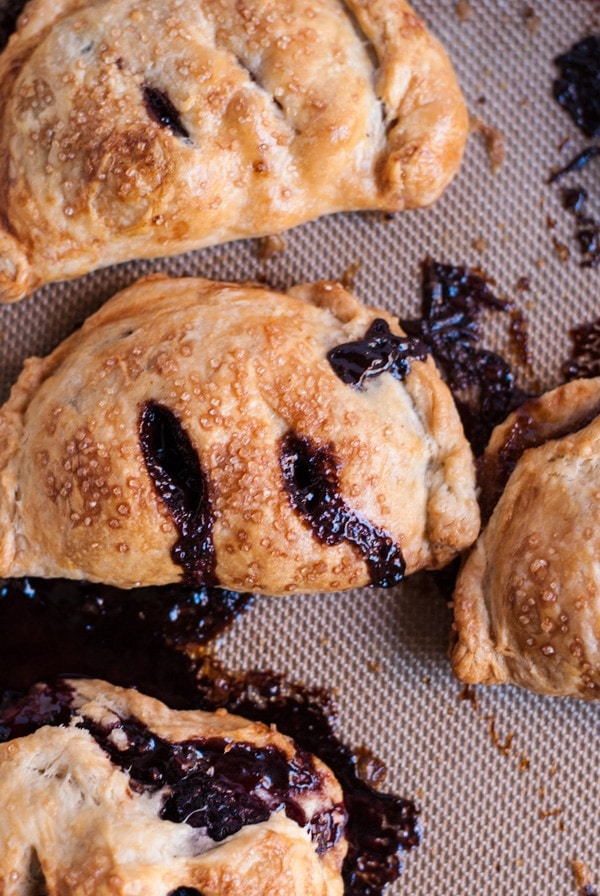
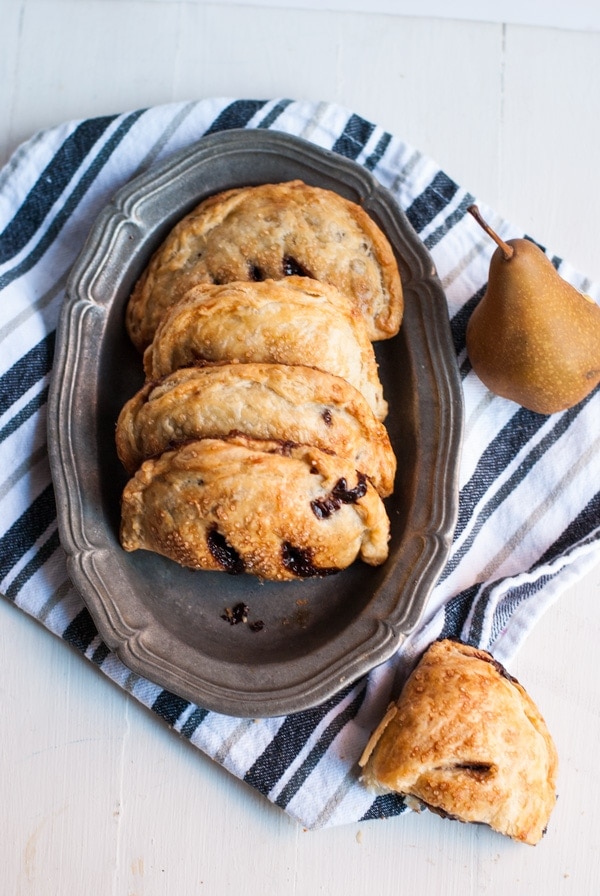
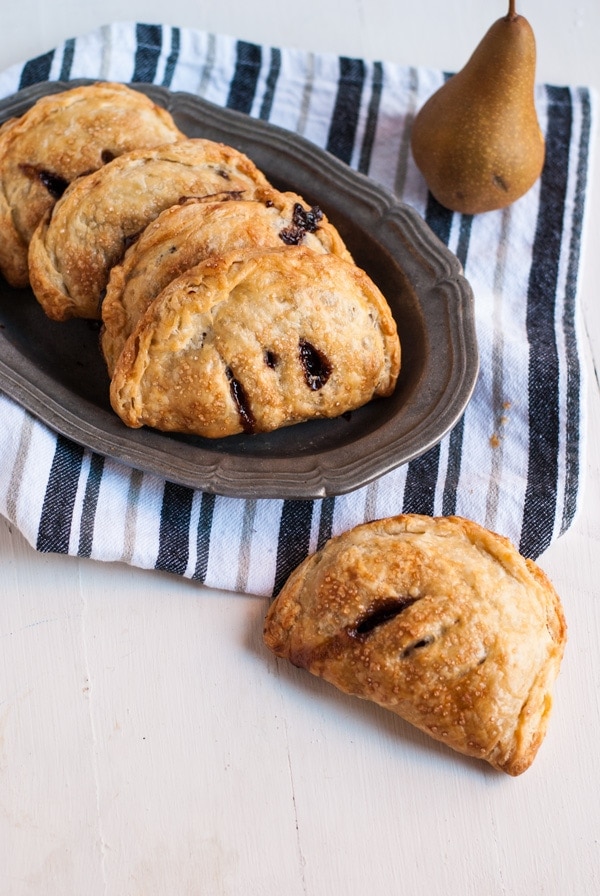
I mean, I love baking. I find it incredibly therapeutic and I could totally do it for a living if my student loans would allow me. It's just... pie crusts are my Achilles hell heel. There are very few things that compare to a homemade pie crust. You just can't get that delicious buttery flakiness with store-bought crust. I just hate rolling out dough and shaping it. You see my edges there? Horrific compared to people who have these beautiful and intricate designs. My stubby fingers just aren't nimble enough for such things.
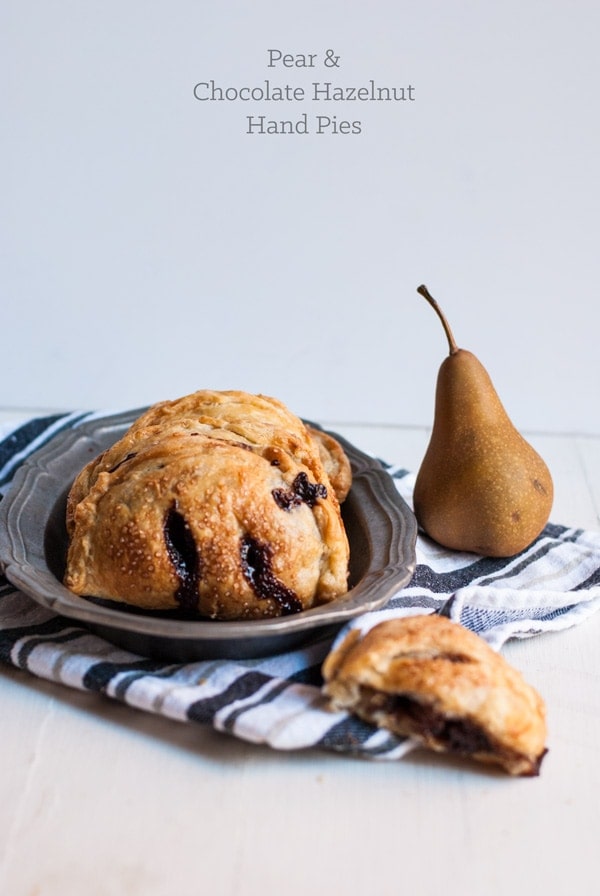
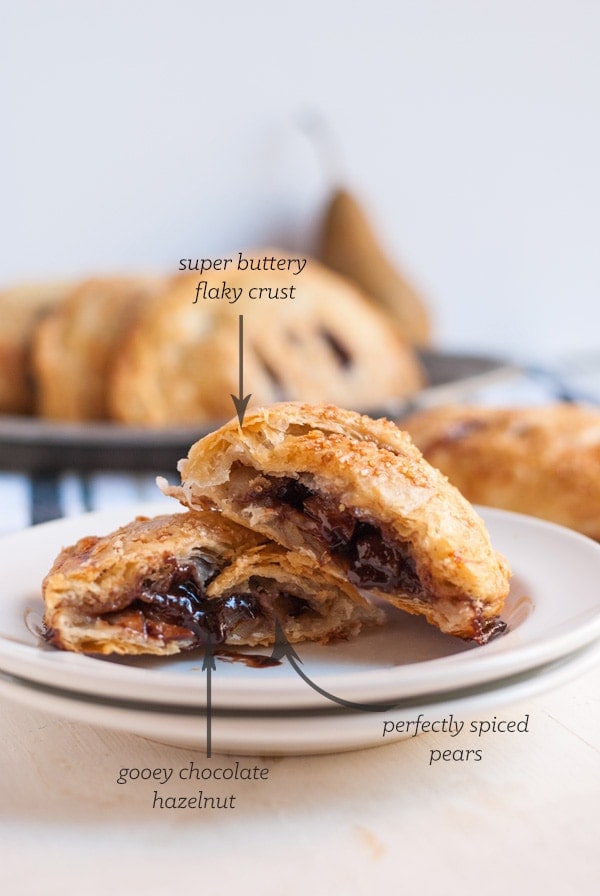
It's okay though because it's rustic looking, right? I love how the juices and melty chocolate ooze out of the pie. Yum x 10000. That's definitely all rustic-like. Plus, it's all about the taste in the end. And these pies are possibly the best tasting pies I've had in my life. Seriously though. I don't think you will ever be able to find a pear and chocolate hazelnut pie that tastes as good as this.
Although if you ask my daughter, she probably would not agree. Lately, she's been rebelling against anything I make and prefers to only eat packaged foods like yogurt, cheese, sausage, and cereal. She is actually refusing to touch anything I make, even if I let her help me make it. The past couple of days, she's basically lived off snack foods. If I am lucky, she will have some soup with a slice of whole grain bread. To all the parents, how do you handle that picky eater stage? My daughter's normally been an excellent eater, so I have no clue how to deal. And furthermore, it is kinda starting to hurt my ego.
She had a ton of fun helping me to style these photos though. She kept taking utensils and placing them around the scene and sticking her hands in the pictures because she loves being my little hand model (as seen from my pumpkin scones, pumpkin bagels, and raspberry peach clafoutis) Unfortunately, she kept sticking the utensils right in front of the food, blocking my view and refused to pull back her neon pink sweatshirt which created a blinding glare in the photos. Sometimes she will take my iPhone and take pictures alongside me and some of her pictures come out really quite nice. I would love it if we could grow the blog together and become a mother-daughter food blogging team! Unfortunately, she is more interested in playing and eating with the food than making it. Case and point: I gave her some pie crust to make her own pie and she kept rolling it into a ball and throwing it around. It eventually became this dirty, buttery ball of yuck and even she didn't want to play with it anymore. Maybe in a couple of years, eh? I got her a mini baking set for Christmas this year just in case (shhh!).
Recipe Card
Pear and Chocolate Hazelnut Hand Pies
Ingredients
Pie Crust*
- 2 ½ cups all-purpose flour
- 1 tablespoon sugar
- 1 teaspoon sea salt
- 2 sticks 1 cup unsalted butter, cut in cubes and chilled
- ½ cup ice cold water plus 1 - 2 tablespoons as needed
Pie Filling
- 3 medium/large pears diced
- 1 heaping teaspoon ginger
- ½ teaspoon cinnamon
- ¼ teaspoon nutmeg
- 2 ½ tablespoons sugar
- ⅔ cup chocolate hazelnut spread **
- 1 egg beaten with 1 tablespoon water
- turbinado sugar
Instructions
- Make the pie crust. Mix together the dry ingredients, then use a pastry cutter to cut in the butter until the mixture looks like pea-sized crumbs. Slowly work in the water until the mixture starts to come together. Add more water as needed to get everything to stick, the dough should not be too wet. Be careful to not overwork the dough. Roll into two balls and wrap each in plastic wrap and form into a disc. Chill for about 2 hours.
- Preheat the oven to 400 degrees F.
- Mix together the pears, spices, and sugar. Set aside.
- Take out the pie crust and roll out each until about ¼ inch thick. Cut out rounds that are 5 - 6 inches in diameter (I used a bowl to measure out my rounds). Re-roll the scraps as needed to make more rounds.
- Add the filling to each of the crusts by adding ¼ cup of the diced pears on one side of each round, leaving a half inch border on the edge. Top with about 1 - ½ teaspoon of the chocolate hazelnut spread. Fold over the crusts over the filling and press down along the edges to seal in the filling. Fold up the edges (and feel free to make them pretty by using a fork or other utensil to decorate the edges).
- Brush the pies with the egg mixture, then make two or three slits on the tops of the pies. Sprinkle with the sugar.
- Place the pies on a baking sheet and bake for 10 minutes, then bring down the temperature to 350 degrees F and bake for an additional 30 - 35 minutes.
Notes
* I used homemade chocolate hazelnut spread - recipe from David Lebovitz, but feel free to use something store-bought, like Nutella!


Nutmeg Nanny says
I LOVE the look of these little pies. So perfectly sweet and totally delicious.
Susan | LunaCafe says
Beautiful! Love the flavor pairing. Wish I had one in my hand right now. 🙂
Jenn @ Peas and Crayons says
Amanda these are BEAUTIFUL!!!! You totally have me wanting to drag my butt in the kitchen now! Holy yum!
pam (Sidewalk Shoes) says
These make me want to attempt a pie crust!
Jehancancook says
These are beautiful. I love the combination of flavors, it's unlike anything I've seen.
Chichi says
Pies sound absolutely delicious. Love it
Melanie | Melanie Makes says
These sound absolutely amazing, Amanda. Pinned!
Amanda says
Thanks!
Sarah | Broma Bakery says
Uhhh, GORGEOUS! Your photography has been killer lately, lady!
Amanda says
Aww, thanks so much! I've been hella self-conscious about it cause I feel like I don't have a "style" yet. But do I really have to have one? Sure;y I can just keep changing things up as I go along!
Amy | Club Narwhal says
Amanda, these are GORGEOUS! I'm a sucker for anything portable, especially pies 🙂
Amanda says
Me too! What is life without dessert on the go?