Baking is one of my favorite things to do. Even when I fail (and trust me, that’s happened more times than I can even count), I still enjoy the process of baking.
Let’s be real though, baking fails are frustrating. Feeling like you’ve wasted time and ingredients on something that just won’t turn out is a quick way to ruin a day.
But baking is a science, and just the smallest thing done wrong can completely change a recipe and turn it from the best thing you’ve ever done to a pile of uneaten food in the trash in the blink of an eye. It’s the one area where it really pays to pay attention and be a bit of a perfectionist.
Read the Recipe Completely Before You Start
When we are in school, we are taught to read all the directions of an assignment before we being. Yet, somehow, this rule gets lost when we are in the kitchen getting ready to bake.
I’ve had countless emails from people who complained they didn’t realize this one thing had to happen in the middle of the recipe, or that there was a mandatory chill time that they just didn’t compensate for and they need this recipe done rightnow.
And to be honest, I am guilty of this, too. So, this is a rule for everyone.
But if we just take the extra time to read through the entire recipe thoroughly so we understand the steps and any waiting/resting times, it would help save so much trouble in the long run.
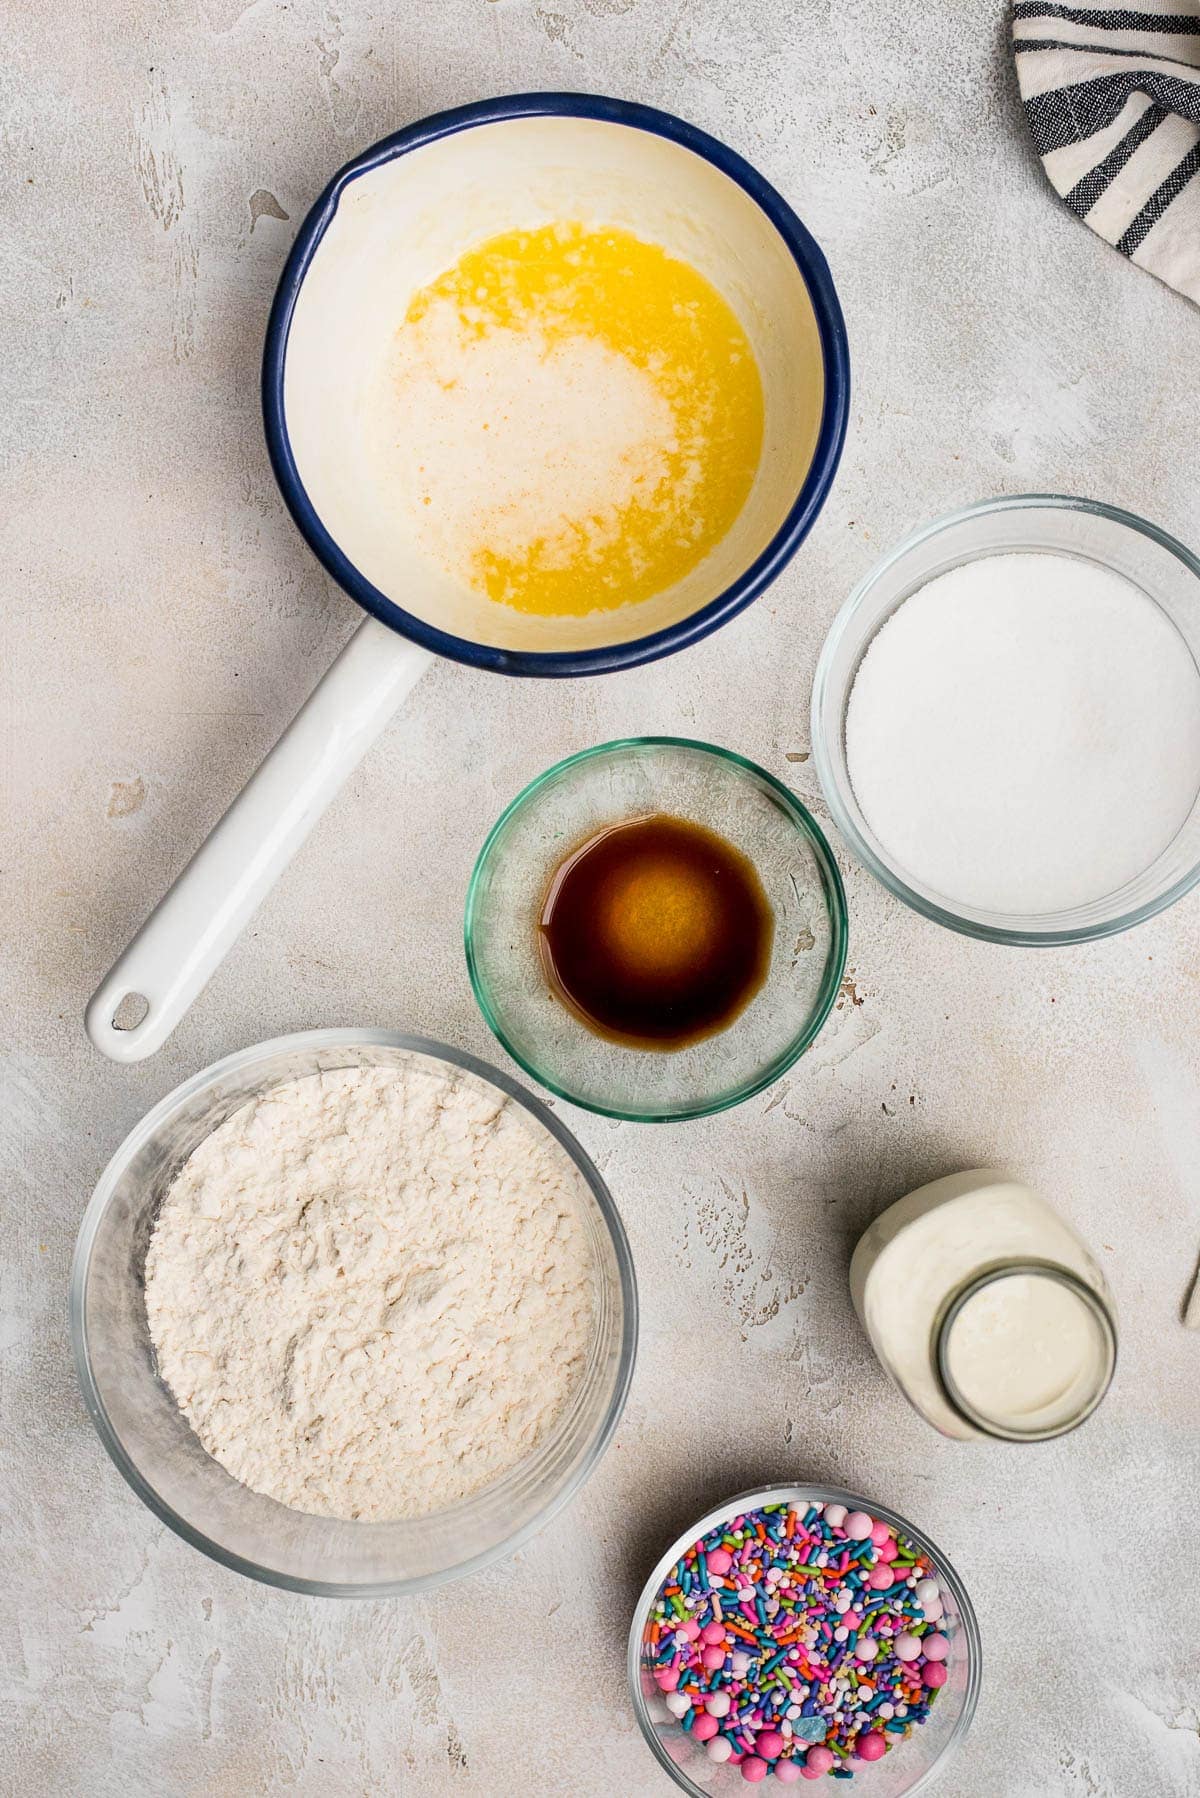
Prep all Your Ingredients
If you've watched any of the many cooking and baking shows, you've probably stumbled across the term mise en place. It is a French term that means everything in its place and is often used to describe the act of measuring and prepping all the ingredients and tools you need to cook or bake.
So, after you've read through the ingredients and the instructions for the recipe, you go in your kitchen and take out the ingredients, measure them out and prepare them as the recipe states.
So, if the ingredients say 1 cup chopped walnuts, you will chop some walnuts, measure out a cup, and set it aside. Also note, this is different than if the recipe says 1 cup walnuts, chopped. In this instance, you would measure 1 cup of walnuts, then chop.
Having all your tools out and ingredients measured helps you go through the recipe seamlessly and minimize your stress by 1000% (not an actual statistic). It is also another time you are going through the recipe so you really understand it.
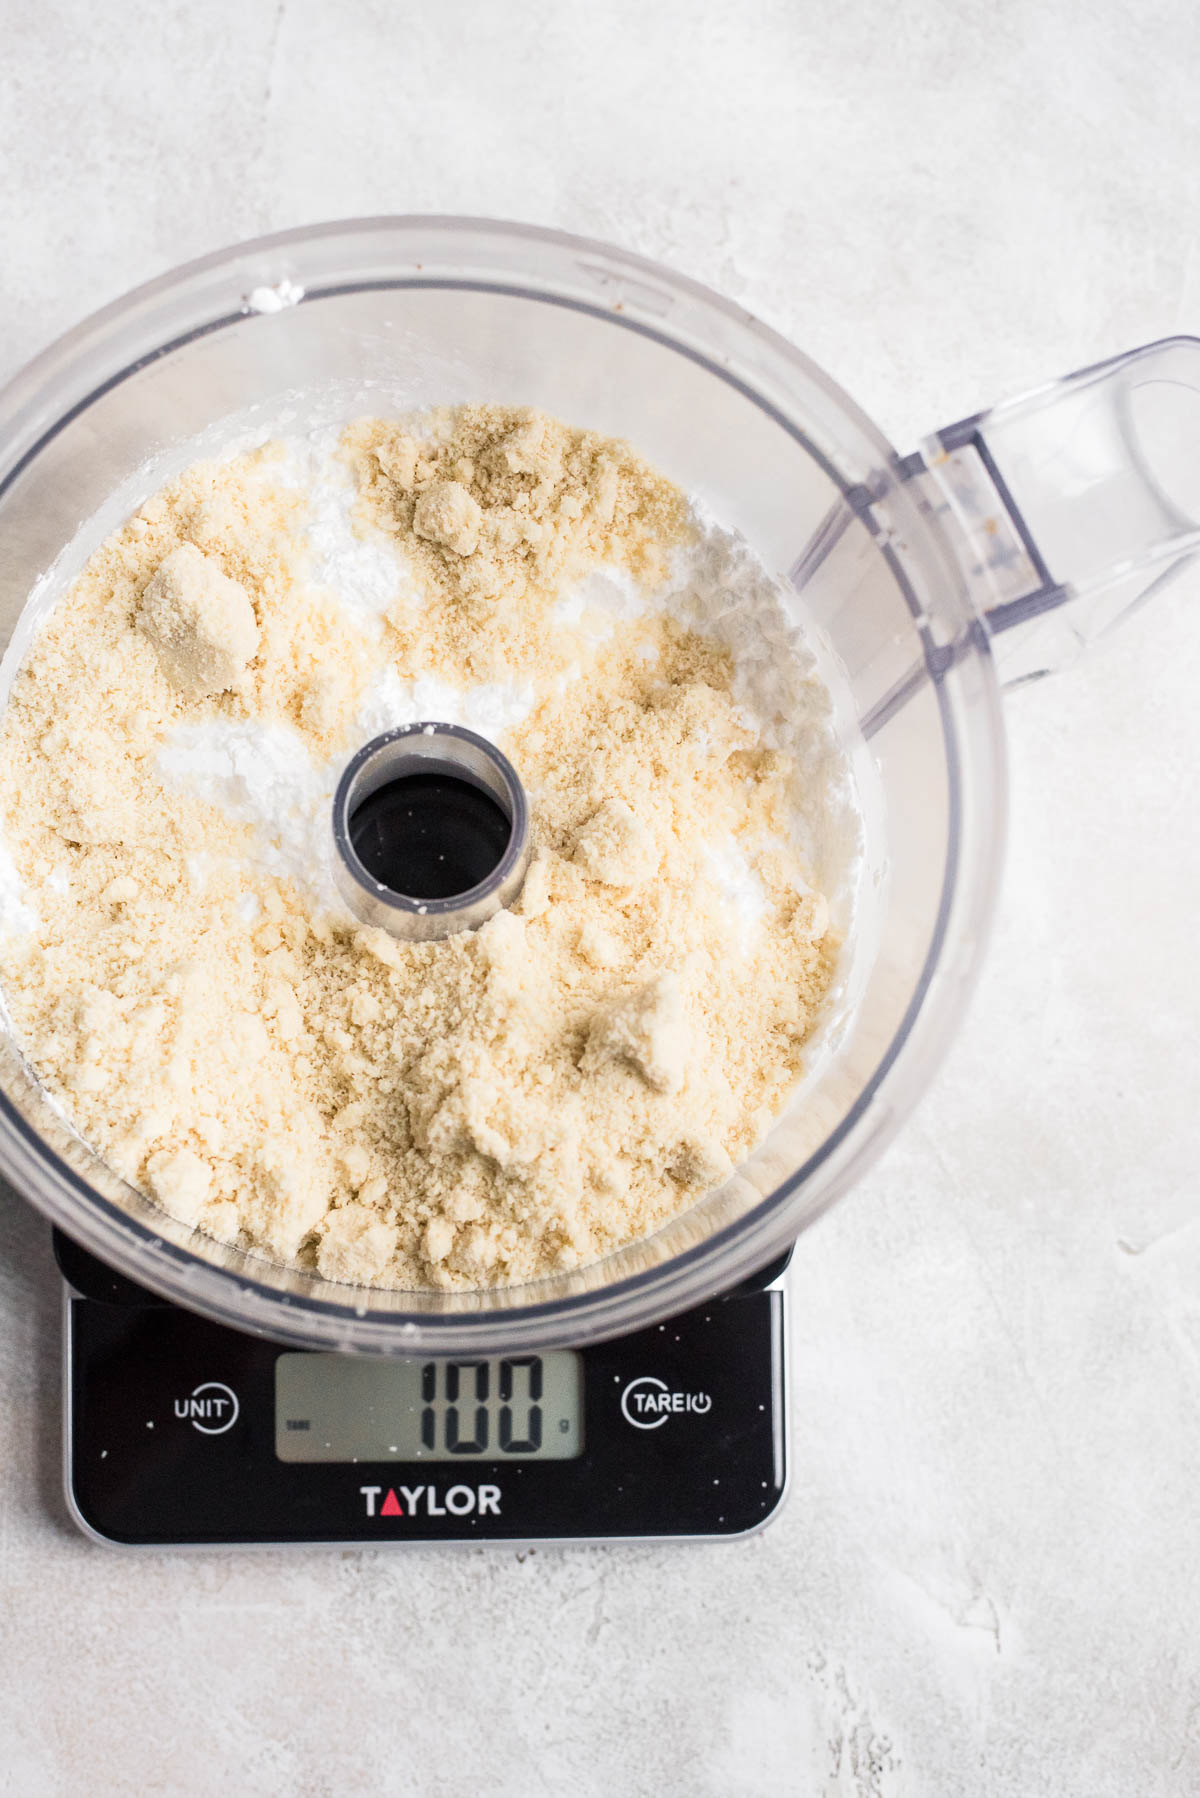
Measure Your Ingredients Properly
Perhaps one of the biggest culprits of baking failure happens right in the beginning. If you are baking and the dough or batter seems overly dry and/or crumbly… or a soupy mess, 9 times out of 10, the issue is improper measuring.
Baking requires precision (one of the reasons I always recommend investing in a kitchen scale). It isn’t like cooking where you eyeball amounts and can create a delicious meal using only your senses and intuition. You need to use the exact amount of each ingredient - especially flours and any liquids like milk.
A person can easily accidentally add ¼ cup or more per cup of flour if they aren’t measuring flour properly. Make sure you are using the right measuring cups and liquid measuring cups for the ingredient you are measuring.
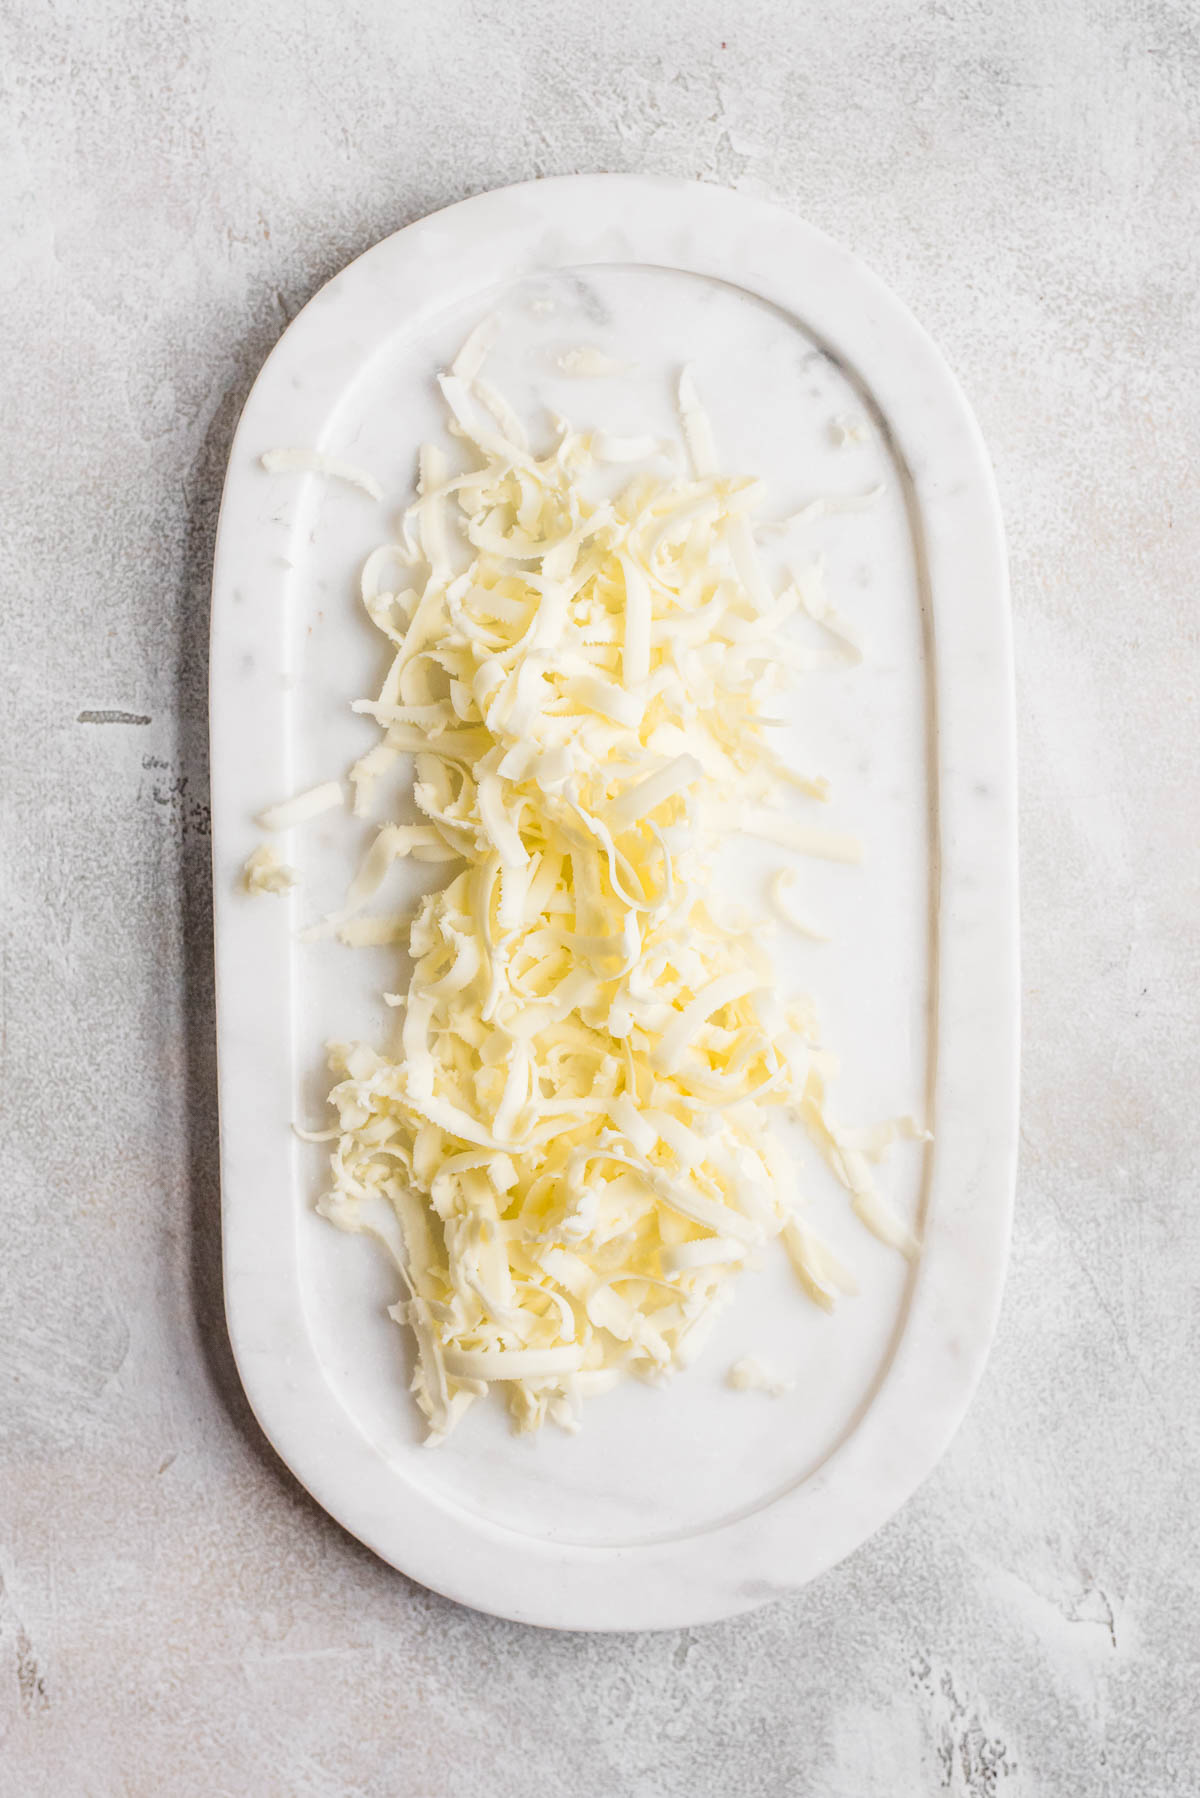
Get the Right Ingredient Temperatures
I promise you that when a recipe calls for room temperature butter or eggs, it isn’t just to make your life difficult.
Room temperature ingredients emulsify and mix together better to give a uniform texture throughout. Butter also creates and traps air bubbles more easily when it is at room temperature.
If some of your ingredients are room temperature, while others are still cold, it will give you a batter that looks curdled and you will likely end up with pockets of improperly mixed ingredient in your batter. In case you are like me and forget to leave the butter out to get to room temperature, I created a quick guide on softening butter quickly.
On the other hand, some recipes might ask for cold and freezing/nearly freezing ingredients - like when baking pies and scones. This is because are actually looking for pockets of butter in our mixture to give us flakiness.
Even if it feels like a chore, getting the right temperatures is worth it in the end!
Love Your Oven
Ahh, the oven. The most important and strangely often underappreciated appliance in the kitchen.
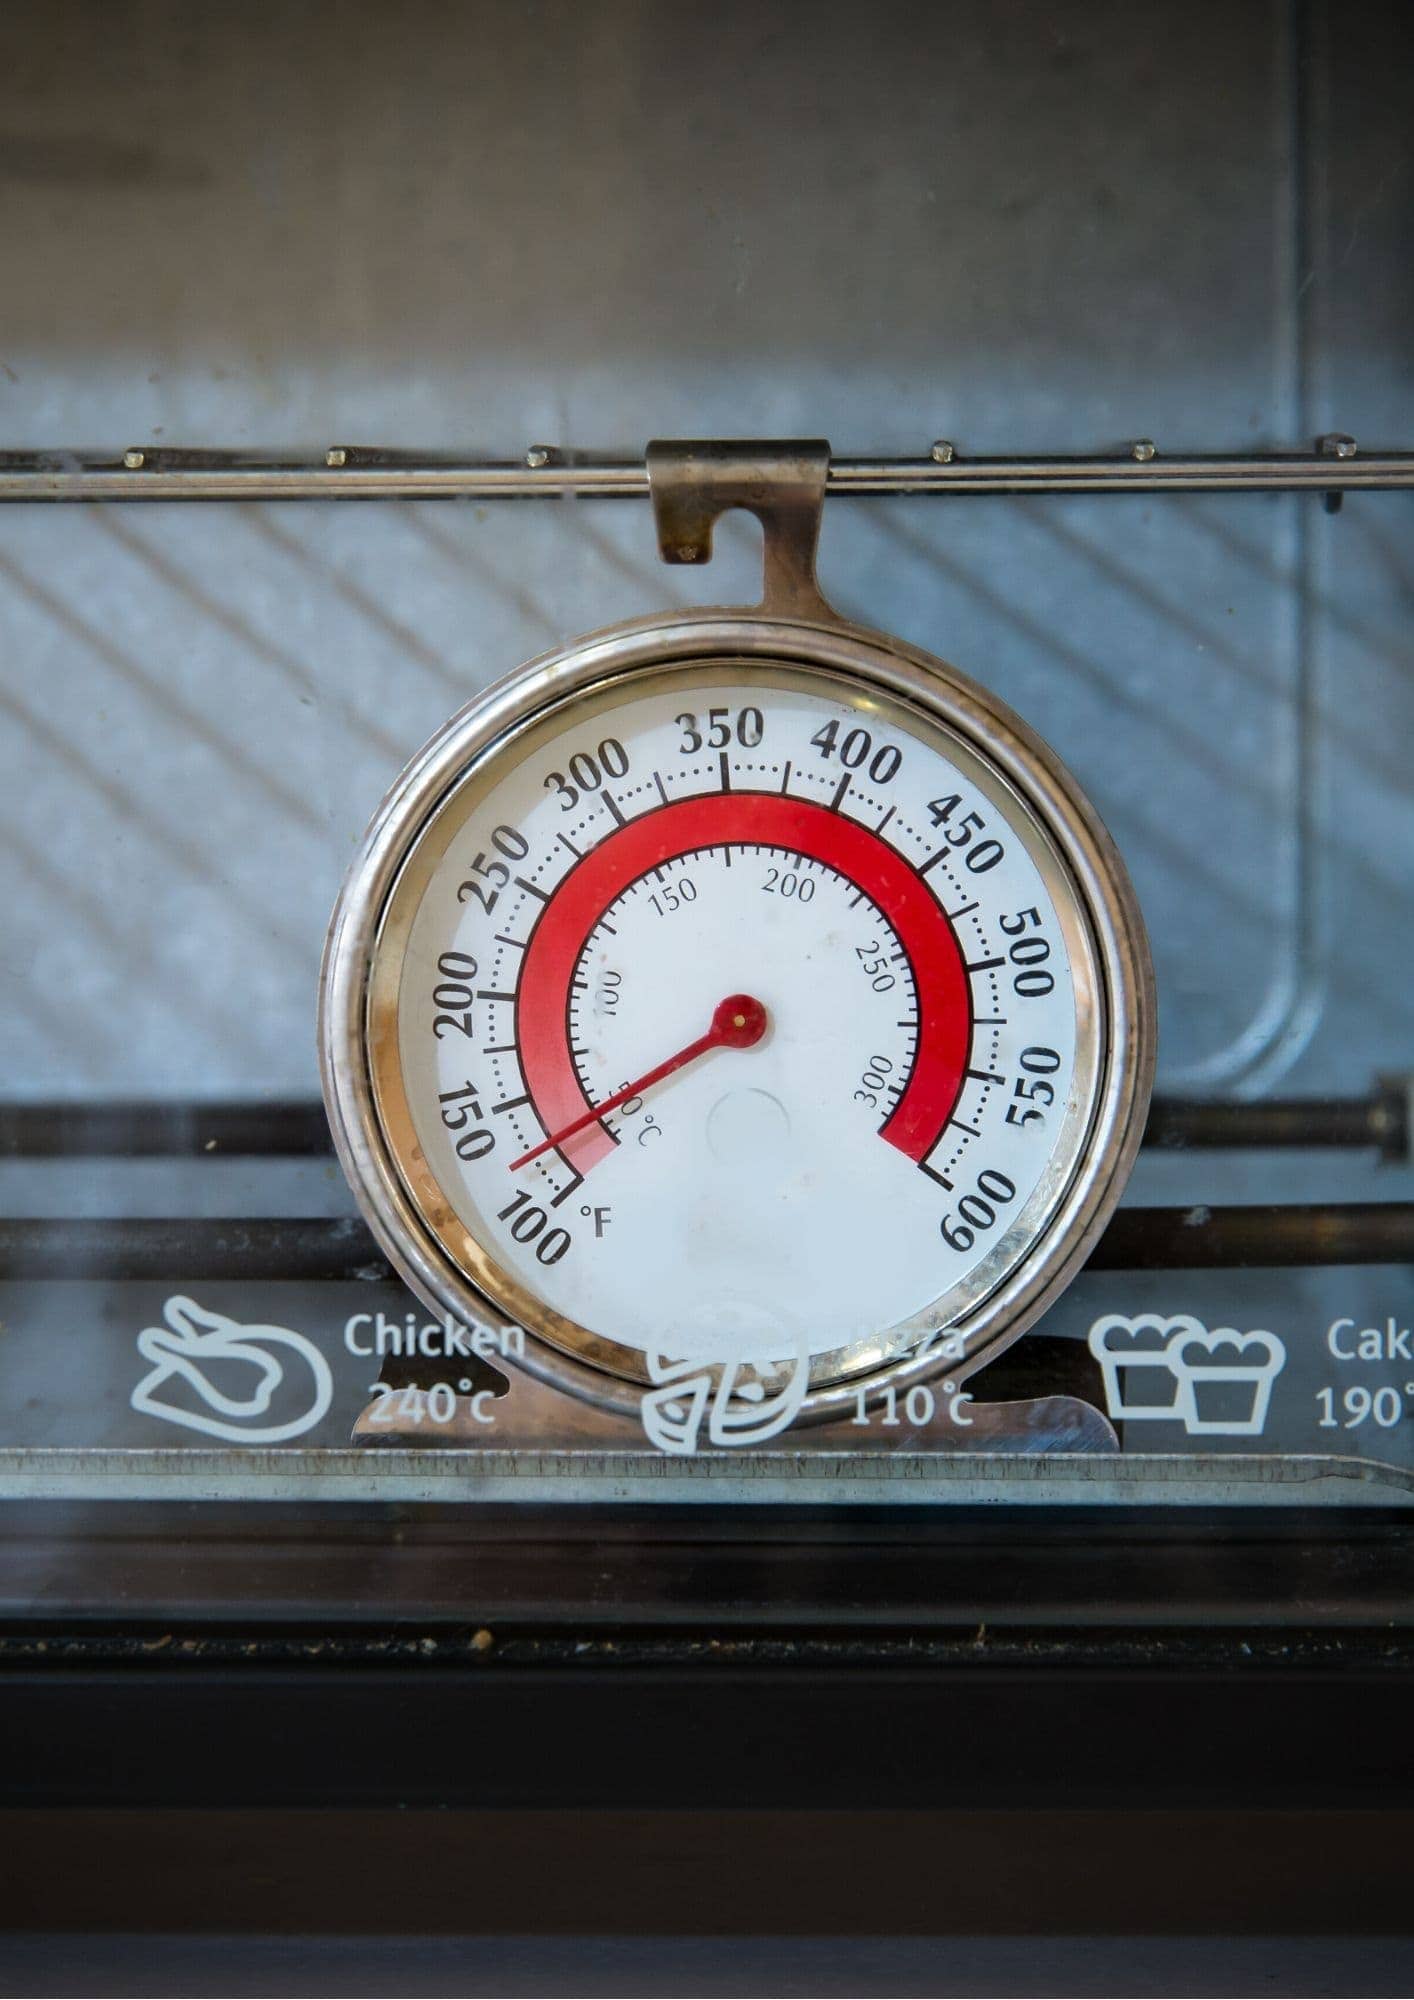
Did you know that most oven temperatures are off? Unless the oven is brand new or regularly calibrated, the temperature in the oven can be off from what you set it to? This can be a huge problem, especially if it is off by a large margin.
Investing in an oven thermometer (they aren’t expensive, I promise!), can help you know the true temperatures in your oven. If your baked goods always seemed to come out a bit dry or take longer than the recipe says, this will likely end up solving that issue for you.
The difference between a traditional oven and a convection oven also requires an adjusted oven temperature. You should typically set your convection oven 25 degrees F lower than a traditional oven.
Tip: Also, please be sure you preheat the oven and do not keep opening the oven door to check on your baked goods. Opening the door can cool down the oven and inhibit the rise of most food. When you use a toothpick to check doneness, you want to do so as quickly as possible and do it near the end of the baking time.
That's it! These are my top tips for successful baking. I hope you found it helpful and practicing them helps improve your baking. If you want to learn more about baking, you should check out my guide on using yeast, and read up on the differences between baking soda and baking powder (and when you can substitute one for the other).
Recommended Reading
If you want to learn more baking science, I recommend these books: The Baking Bible, America's Test Kitchen Cooking School, I'm Just Here For More Food, and Rose's Baking Basics.
Leave a Reply