A lot of people hear that a recipe uses yeast and immediately get afraid and skip on to the next recipe. Yeast is seen as a fincky and difficult ingredient to work with, but I am here to tell you that yeast is not at all hard to work with and I want to show you exactly what to do with yeast so you can make amazing breads and rolls any time you want. I am breaking everything down in the simplest terms for you to understand so you know how to use yeast with confidence. Here you will learn all the basics about yeast, plus some extra troubleshooting tips and extra tidbits.
Types of Yeast
There are two main types of yeast you can find in the stores:
Instant Yeast - This is yeast that has no outer coating and therefore can be mixed directly into your flour. It also typically has a faster rising time. Because you do not usually proof this type of yeast before using it, you won't know if your yeast is dead until you realize your dough hasn't risen and you just wasted all that flour.
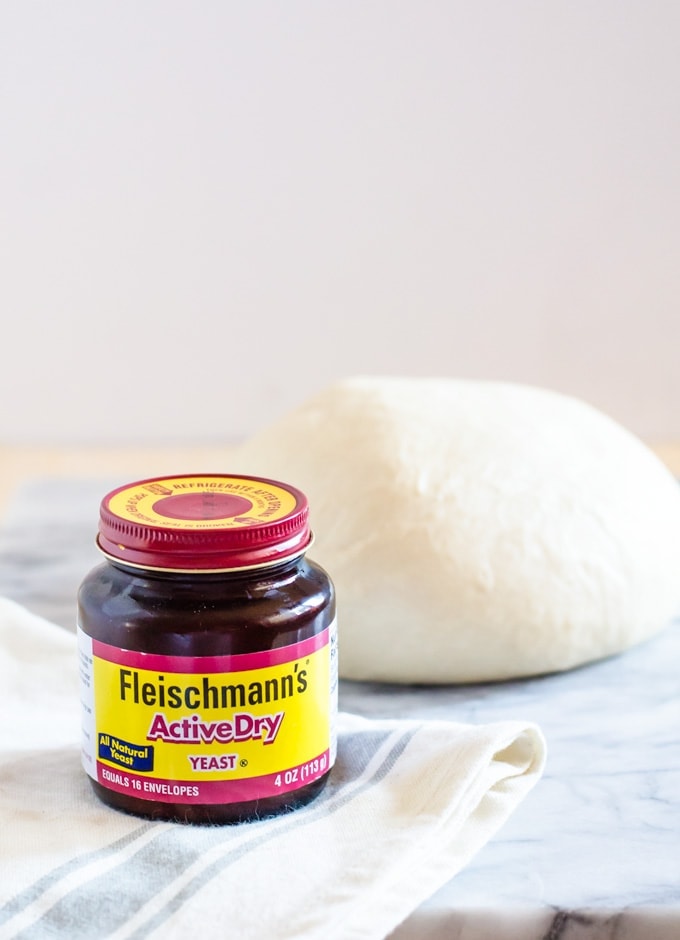
Active Dry Yeast - This yeast has an outer coating and needs to be proofed before you can use it 90% of the time (some recipes, like my ciabatta recipe doesn't require proofing)
Storing Yeast
You should always store your yeast carefully. Even if you have not yet opened your packet or jar of yeast. If you leave your yeast out, it will die and become unusable. A lot of chefs recommend leaving the yeast in the freezer, but I usually leave mine in the back of the refrigerator without any issues.
Proofing Yeast
Most recipes ask you to "proof" yeast. All that means is that you need to put the yeast in warm water with just a bit of sugar. Some recipes tell you to use hot water or even give you a temperature for the yeast. Don't use hot water. Ever. And you don't really need to bother with a specific temperature for your water - I rarely ever do. Test the water by running it over your hands. It should be a warm, comfortable temperature. Not too hot and definitely not too cold.
I always recommend mixing in a pinch of sugar into your water, even if the recipe does not ask for it. Yeast is like us and likes a little something sweet!
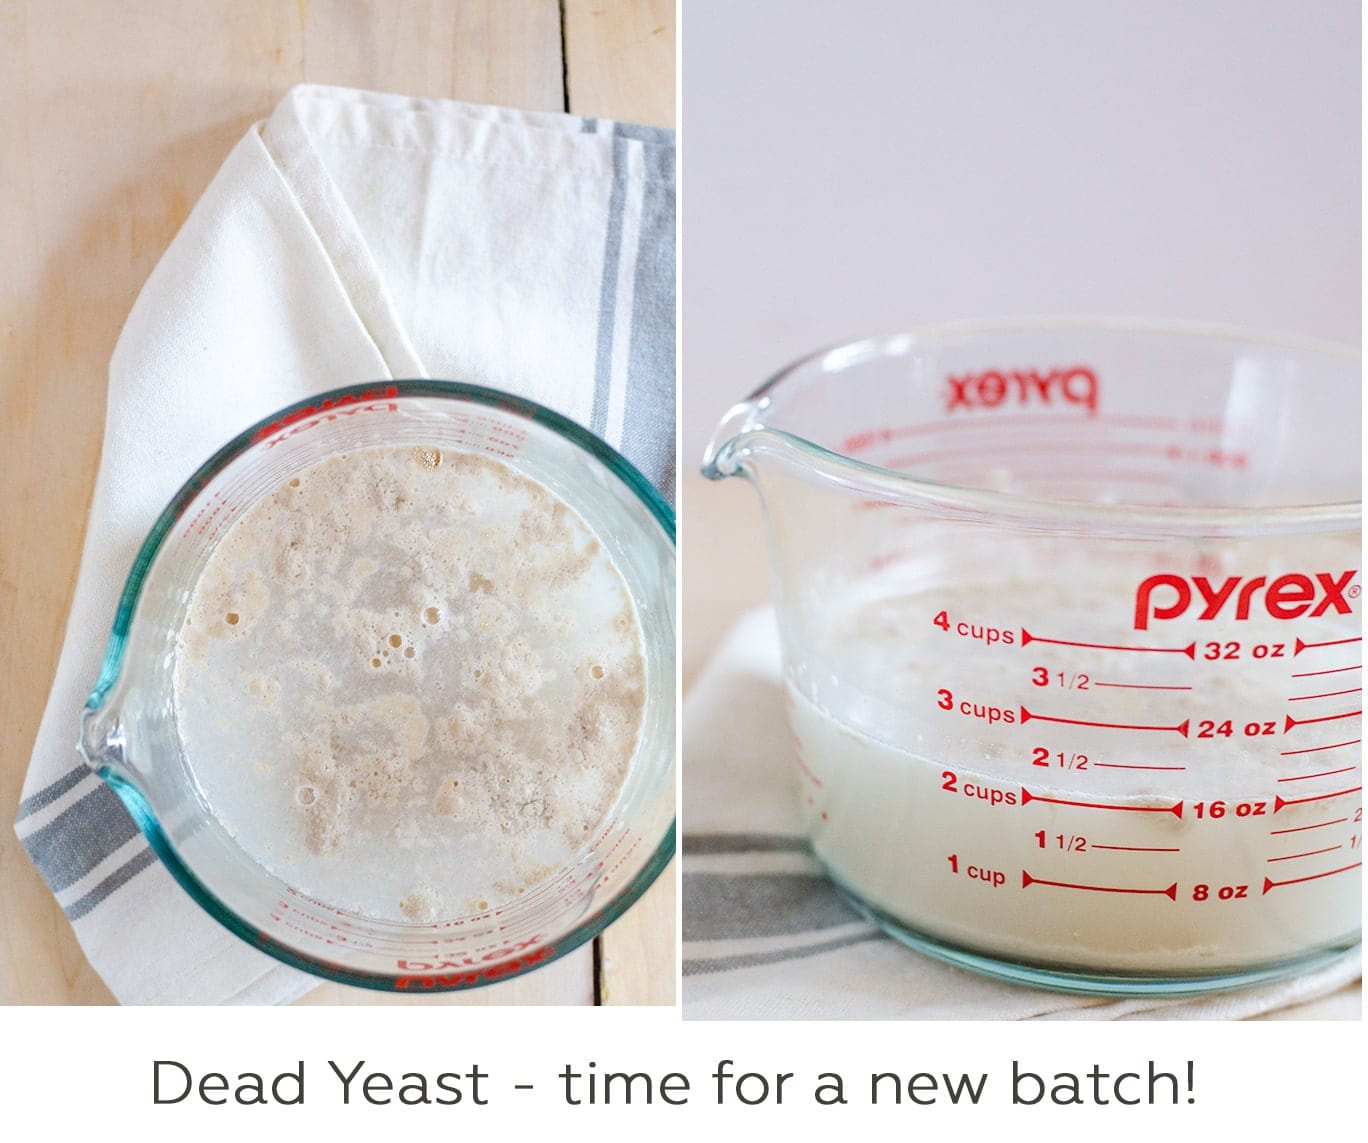
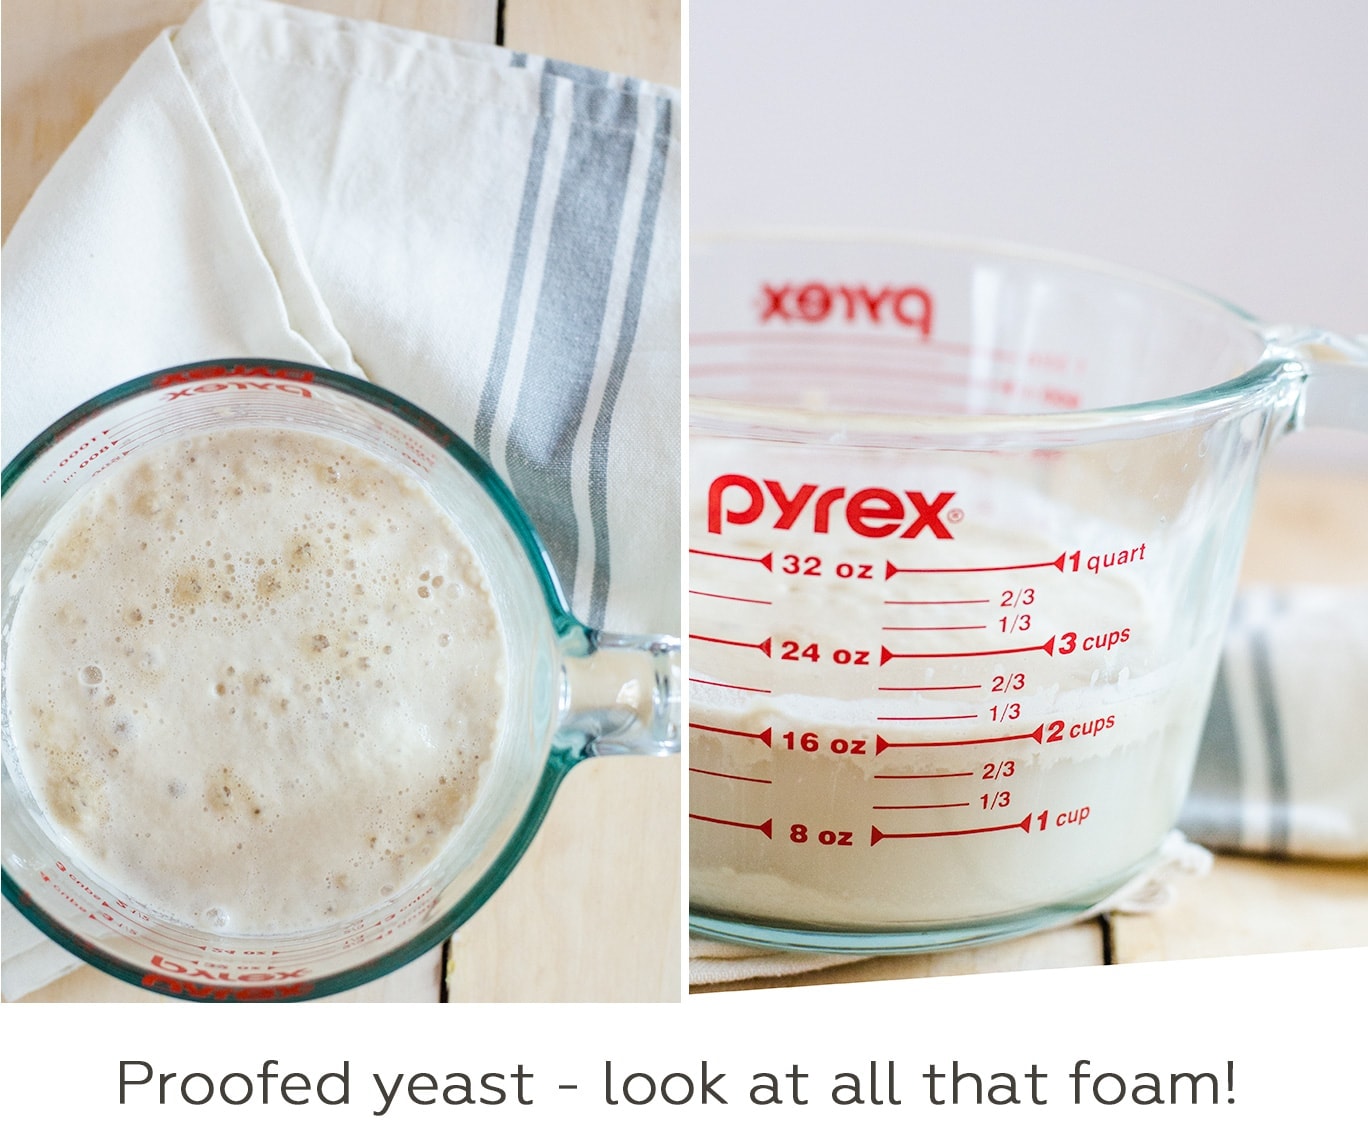
Once you've mixed the water and sugar together and added your yeast, it takes about 5 - 10 minutes for the yeast to proof. You can tell because there will be a thick layer of foam on top of the bowl of water like you see in the picture. If you don't see the foam then toss it out. Your yeast did not proof and can't be used. Buy more yeast and let's start again!
Note: For the very best results, use bottled mineral water (not distilled) to proof your yeast! The pH balance is the best in bottled water and yeast does like some mineral content in the water. Tap water is usually treated with chlorine which can kill your yeast. So if you are using fresh yeast and it still won't proof, it might be your water!
How Yeast Works
Yeast is used to make your dough rise and impart that addictive flavor we all love. Yeast thrives on sugar. it metabolizes it and releases carbon dioxide and alcohol which creates air bubbles in your dough. This is a basic fermentation process, and also contributes to the flavor of your bread. It also strengthens and develops the gluten in your dough. Slowly rising your dough in a cool place (such as your refrigerator) will develop the best flavor and texture. This is because the cold retards the yeast, making it work slower and the fermented flavors more pronounced (which tastes way better than it probably sounds!) If you are impatient like me most of the time, proofing for the standard time listed in a recipe at room temperature works too!
Kneading the Dough
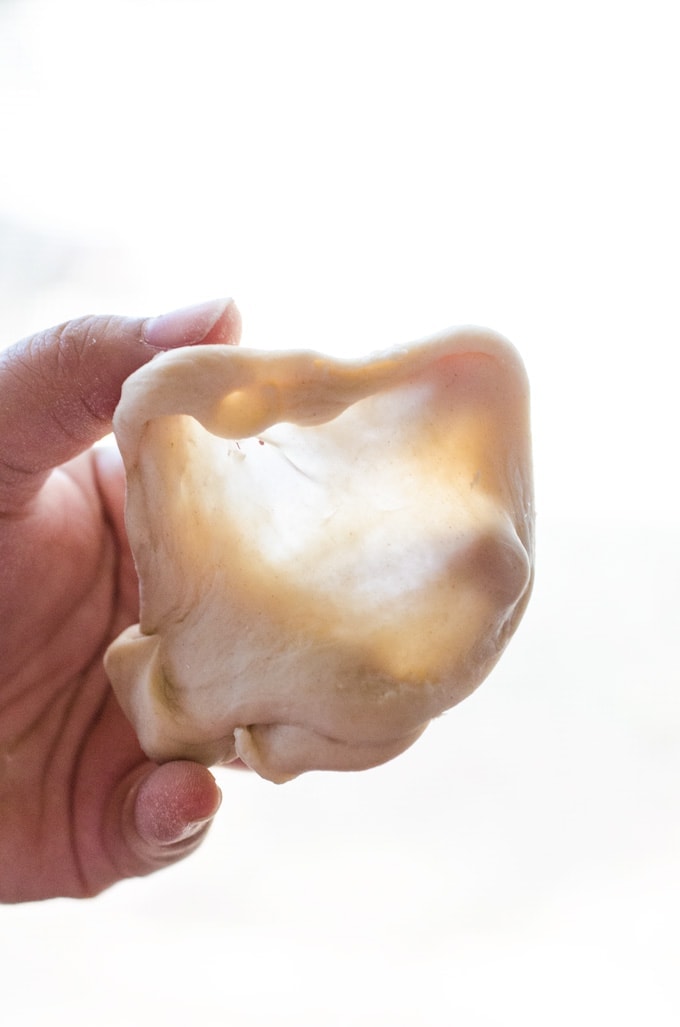
Learning how to make bread at home without someone there to help you along the way can make kneading the hardest part about working with dough. I know this from experience. It is difficult to know when the dough is done being kneaded because it is largely based on how it feels. There is one thing you can do to test if your dough is ready, and that is the "window pane" test. Kneading the dough helps to reinforce the yeast production and activate the gluten. If the dough is not ready, it will rip as you stretch it out or look floppy, loose, and/or shaggy. This is really apparent when you make my ciabatta bread recipe. At first it looks like a sticky mess, but after enough time, it begins to form a cohesive dough that is actually workable. If it's been over kneaded, the dough will also rip, but it will also be really tough and hard to flatten or fold into itself. FYI, it is nearly impossible to overknead by hand, so this is only necessary for peole who use a stand mixer to knead. The window pane test is the simplest way to ensure the dough is at the right elasticity. You should be able to strech a piece of dough so that it becomes thin enough to look through, but doesn't rip. As you hold the piece of dough and stretch, is looks like a window pane, hence the name.
Over Proofing Your Dough
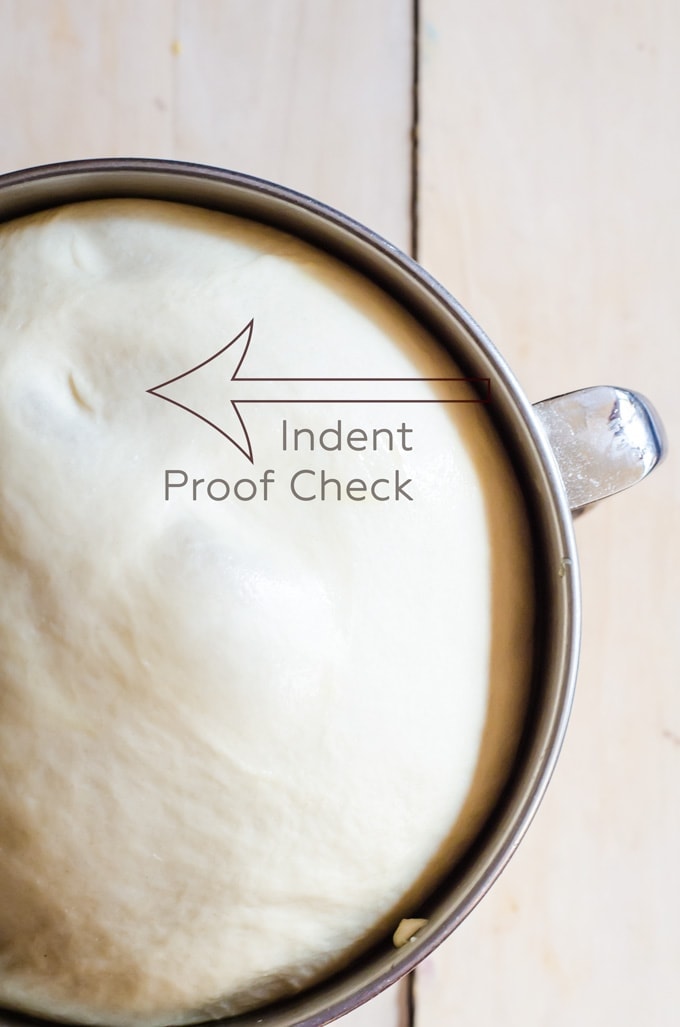
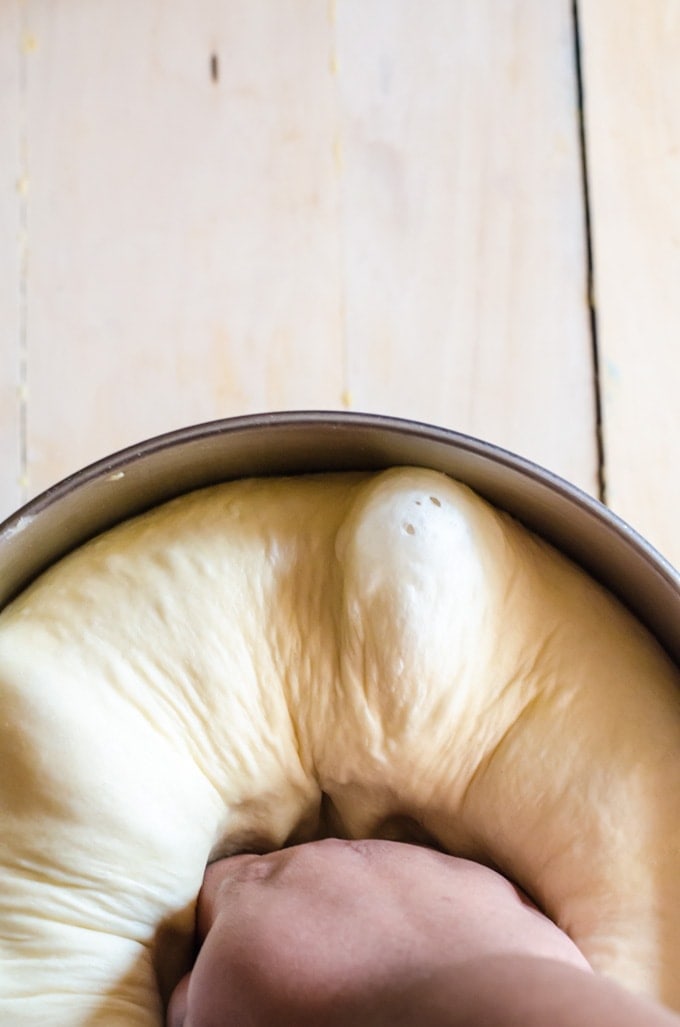
You proof the yeast before making your dough, but you also proof the dough. This is when you let the yeast do its magic and create all those bubbles that make the dough rise. You can over proof your dough, and I think this is another place that people tend to get tricked up. Yeast is powerful, yes, but it still has it's limits. You can overproof dough by simply forgetting about it and allowing it to rise for too long, or you can do it by forcing too much heat into the dough which happens when you proof the dough in a really warm environment, such as an over warmed oven. When you overproof, the flavors won't be as nice (it will be overfermented and taste "off") and there may be so much gas in the dough that the gluten cannot support the structure inside the dough which leads to the bread collapsing in on itself. You can easily tell when your dough is overproofed. If the dough is double or more it's original size after the second or final rise, it is likely overproofed. You can also poke your dough. It should leave a nice imprint that bounces back and almost disappears after a few seconds. If the imprint does not disappear, it is likely overproofed.
Solution: Depending on how much you've overproofed the dough and how much of the yeast is spent, you might be able to resurrect the overproofed dough. If the dough is over fermented, it will taste off and won't be usable (you can tell by smelling the dough, it will smell off). You can ressurect the dough by adding a bit of sugar and more yeast to the dough. Or you can use this dough as a preferment, by making a new batch of dough and adding the overproofed dough to your new batch, leaving you with double the recipe, but probably better gluten formation and more taste (but don't overproof on purpose!).
Tip: If you are proofing your dough and need to step out for a bit, put your dough in the fridge! It will slow down the proofing and reduce the likelihood of your dough becoming overproofed! Just don't forget about your dough in the fridge for a week.... not that I've ever done that... ahem.
Fun fact: Salt basically keeps your yeast in check. Without salt, the yeast would overproduce until it becomes completely exhausted before you even put the dough into your oven.
Yeast doughs are incredibly forgiving and can old up against a lot of mistakes. On a couple of occasions, I forgot to add ingredients into the dough and managed to get a nice bread anyway, or mix it when I realize my mistake and leave the dough to proof again as normal and it still turned out amazing.
All you really need to do is make sure you are using fresh yeast (and store it properly) and follow the recipe to the best of your ability. Unlike other types of recipes, yeast dough recipes work at a slower pace, meaning you have enough time to stop, double check your work, and ask questions! And now you are basically an expert on yeast! If I missed anything, or you need any clarification (I really tried to keep it to the basics here), feel free to comment and I will get back to you asap!
Otherwise, let's get practicing with some of my favorite breads!



Soma | Zest and Leisure says
Useful Info! Lovely photos!