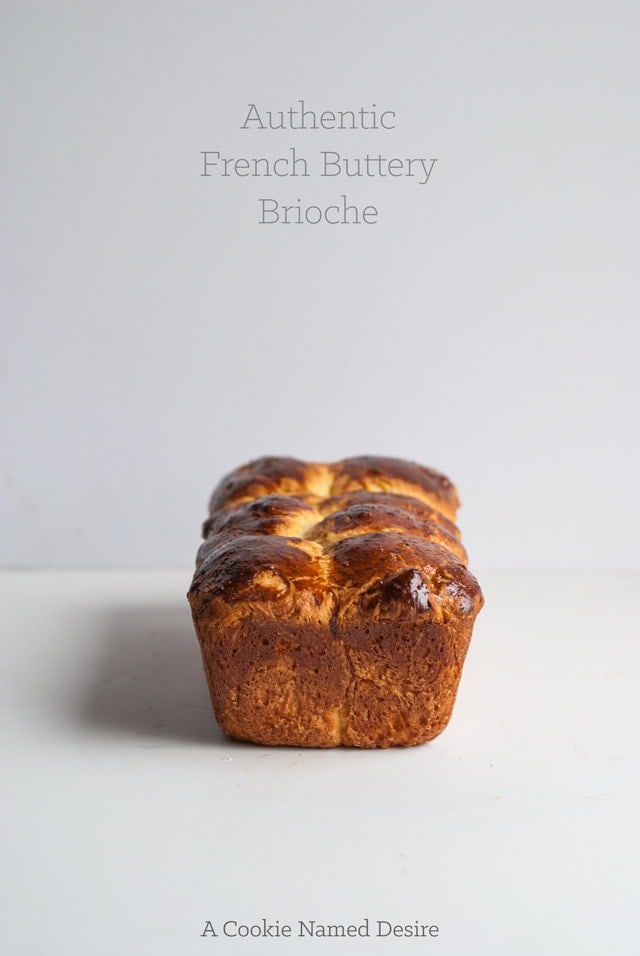
Buttery, rich, and utterly rewarding to make. This amazing French brioche bread is the perfect weekend baking project. Easy to make and so much better than store-bought.
Why it works
Brioche is a buttery, melt in your mouth French bread. It is perfect for sandwiches, French Toast, or simply eaten as-is. You can add things to your loaf to create delicious and fun flavor combinations.
It is a very forgiving type of bread to make, so if you are new to bread baking, it makes a delicious starter loaf. You can also bake it the same day, or let it slowly rise in the refrigerator to allow the loaf to truly develop its flavors.
While it is super forgiving, this recipe in particular is a must-make because I will be going into the step-by-step instructions on how to make the loaf and why we do what we do when making the loaf.
Instead of using ingredients that are hard to find (like fresh yeast), we adapt the traditional loaf for the home kitchen. You should already have most of the ingredients you need at home with the exception of active dry yeast.
This basic recipe allows you to make regular loaves, smaller loaves, or even hot dog or burger buns. I've even used it to make the most amazing brioche doughnuts.
What is brioche?
As mentioned, this is a type of French bread. It is unique in that it is an ultra enriched bread dough.
What is enriched bread though? That is a bread dough that has added ingredients such as butter, sugar, and eggs. Anything ingredient outside the basics of flour, water, salt, and yeast enriches the bread for additional flavor and/or color.
Brioche bread in particular is unique for it having plenty of egg, but most importantly, lots of butter. This characteristic makes it a part of the viennoiserie family. Viennoiserie is a type of baked good that is a cross between typical French bread and pâtisserie. Another example would be croissants.
What you'll need
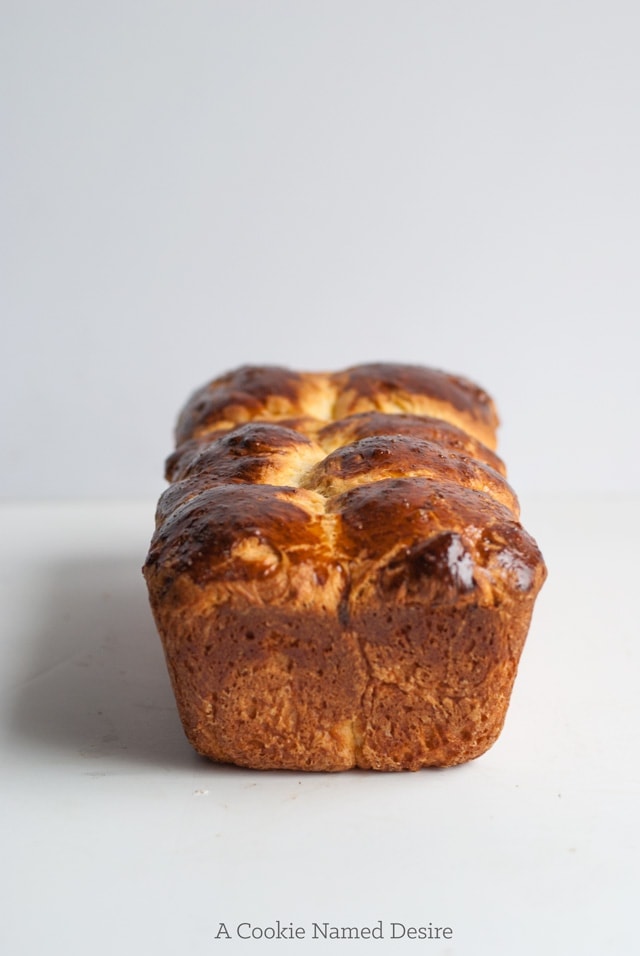
You likely already have most of the ingredients you need. The beauty of this bread is taking simple ingredients and making it into something absolutely mouthwatering. Let's briefly review:
- Flour - For the tender crumb associated with this type of bread, we use all-purpose flour instead of bread flour.
- Sugar - We want the bread lightly sweetened. Some breads are more sweet or less sweet. It all depends on what you like personally and what you intend to use the bread for. You can experiment with adding a few tablespoons more or less granulated sugar for your personal needs, but do not omit it completely.
- Yeast - In this recipe we use active dry yeast. It is easier to find and should give you consistent results every time. I recommend active dry yeast over instant yeast because you can test if the yeast is good while you proof. If the mixture gets frothy, it is good. If it doesn't change, then you need to get new yeast.
- Eggs - Eggs play a big role in adding richness to the bread. You should use large eggs at room temperature.
- Milk - Milk helps to further tenderize the loaf as well as give the yeast a nice environment to proof. I like using whole milk for this, but you can use a reduced fat milk (but not skim milk) or a milk alternative.
- Butter - Perhaps one of the most important ingredients in the bread! Normally, I use store-brand butter, but since this loaf is so butter-forward, I recommend using a nice quality unsalted butter. Vermont Creamery and Kerrygold are personal favorites.
In addition to the ingredients, one other important item you will need is your stand mixer.
This type of enriched dough is so soft and so buttery, that it becomes very difficult to knead by hand. Not only does the heat of your hand continually melt the butter and keep the dough very sticky for much longer, the fat of the yolk and butter inhibits gluten formation which means it needs longer kneading time than normal. Gluten formation is needed because it forms the structure of the loaf.
How to make
Before you start anything, it is important to have your ingredients measured out and at the proper temperature. All ingredients should be at room temperature. This is especially important for the butter. You can quickly warm the milk in the microwave for a few seconds. You can also quickly warm the eggs by leaving them in warm, but not hot, water for about five minutes. The butter needs to be soft enough that you can easily dent it with your finger, but not so soft that it is beginning to melt. Cutting the butter into cubes will help to soften the butter quickly.
- Proof the yeast. Active dry yeast needs to be activated before you can use it. All that you need to do is stir the milk and yeast together with a pinch of sugar and leave it to sit for about 5 - 10 minutes. The top of the container should have a nice layer of thick froth on top. If there is no froth, then discard and start again with fresh yeast.
- Stir dry ingredients. Add the flour, sugar, and salt to your stand mixer and mix to combine it. It is important to make sure the salt is fully mixed in as a concentrated amount of salt in any area can kill the yeast.
- Mix in wet ingredients. Add the eggs and the yeast mixture into the mixer and stir the ingredients with the dough hook until they come together.
- Begin kneading. Continue using the dough hook on medium-low speed until the dough looks like it is fully mixed together, but still very sticky.
- Add in the butter. This is the part that takes a lot of patience. You need to add the butter one tablespoon at a time with the dough hook on medium speed and wait until the butter is fully incorporated before adding another tablespoon. The dough will start to look very sticky and loose. This is normal. The process of adding the butter should take about 10 minutes if your butter is properly softened.
- Knead. Once all the butter is fully incorporated, turn the speed up to medium-high and let the dough knead for about 10 - 15 minutes to develop the gluten. The dough will begin to look soft and shiny. It will start picking up any dough stuck to the sides of the bowl and slap around.
- Test gluten formation. You will know when the gluten is fully developed in the dough when you can pick off a piece of the dough and stretch it without it ripping until you can see through the dough. This is called the window pane test.
- Proof dough. Place the dough on a floured surface and lightly flour your hands. Shape the dough to form a ball, then place back in the bowl. Top with plastic wrap. You have two options at this point. You can leave the dough in a warm, dry area to proof for 1 - 2 hours. Alternatively, you can proof it in the refrigerator overnight. An overnight proof allows for more flavor development and also makes the dough easier to handle when shaping. This is my prefered method.
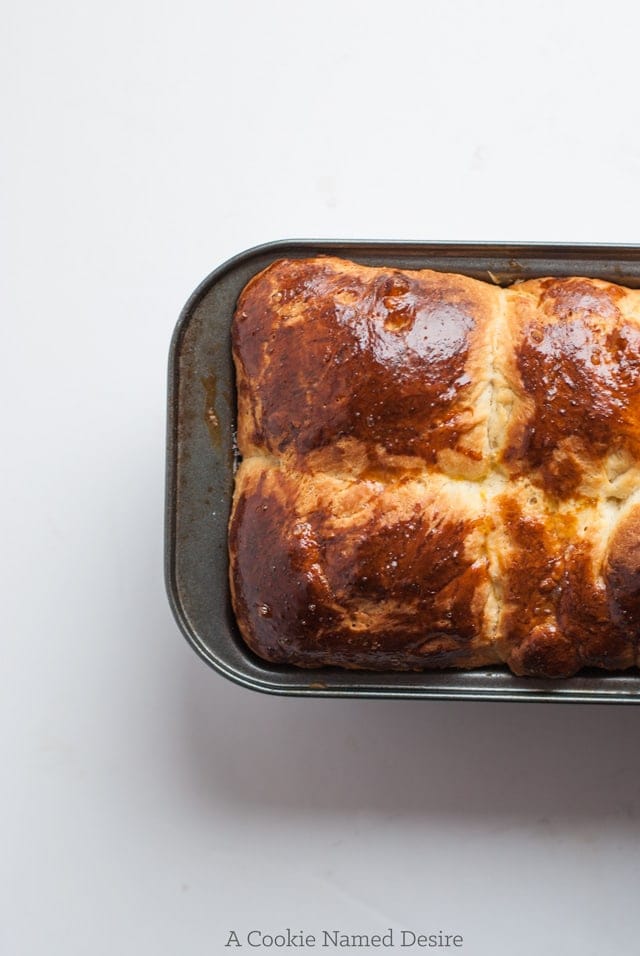
- Shape the loaves. There are many different ways to shape your dough for baking. You can even use a round pan instead of a standard loaf pan. My favorite way is to divide the dough into equal pieces and roll them into balls and place two lines of them in the loaf pan. Another popular way to shape the loaf is to divide the dough into three equal pieces and roll into logs. Use the logs to braid and place into the pan.
- Final proof. Cover the loaf pan with plastic wrap and leave the loaf in a warm, dry area until the dough is doubled in size. This usually takes about an hour, but can take as much as two hours.
- Bake. Preheat your oven and then bake your bread until it is a deep golden brown. Remove from the pan and allow to cool completely on a wire rack.
Expert tips
Proofing your dough - It is important to understand the visual cues of a well-proofed dough and why you do not want to overproof or underproof your dough.
Over-proofed Dough: You can tell if your dough is over-proofed if the dough is spilling out over your container or if it does not bounce back or visible deflates a little when gently poked. You can reshape the dough and try again, but this will only work one more time and still get you a good loaf.
Under-proofed Dough: You can tell if your dough is under-proofed if the dough has not at least doubled in volume or if the dough bounces back completely when gently poked. You can leave it to proof longer.
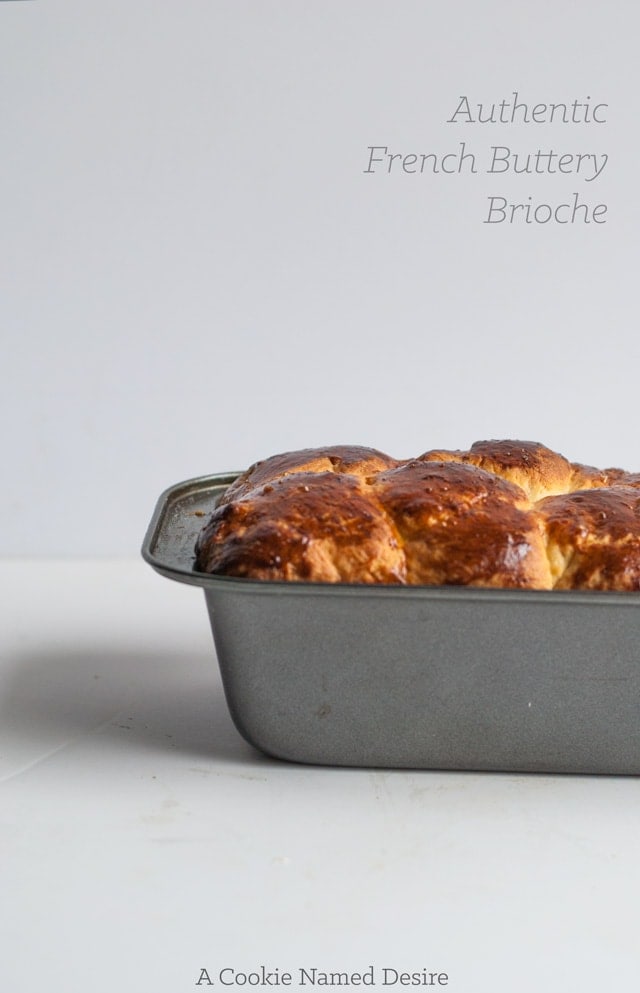
Properly-proofed Dough: Perfectly-proofed dough is at least doubled in size. It will bounce back slowly, but still leave a slight indentation when gently poked. The dough is ready to bake now.
Variations - This enriched dough is perfect for creating a number of simple variations. You can infuse the dough with herbs and spices. Cinnamon, ginger, cardamom, basil, and thyme are all popular and delicious ways to add more personality to your bread. You can also add in dried fruits, chocolate, nuts, and so much more. The combinations are unlimited.
You can also use the dough to make other things beyond standard loaves. You can use it to make burger buns, doughnuts, or cinnamon rolls. All of which also leave plenty of room for more flavor variations and infusions.
Recipe FAQs
Absolutely! You can freeze the dough prior to baking, and you can also freeze the finished loaves. If you freeze the dough, do it after the first rising. Place it in an airtight container with a small amount of room for it to expand. It should last a few weeks in the freezer like this. Bring to the refrigerator overnight to thaw and continue the recipe as normal. You should wrap finished and unsliced loaves well and store in an airtight container in the freezer for up to a month. Thaw at room temperature. For best results, warm in the oven for a few minutes.
Different types of bread have different levels of protein which contribute to the gluten development. Bread flour will leave you with a loaf that is chewier, while cake flour will be too soft and tender and may not hold up to all the egg and butter we add to the dough. Whole wheat flour also will not produce the right amount of gluten and requires more liquid. It will leave you with a tough loaf that does not resemble brioche bread at all. Gluten-free flour will not work with this recipe at all.
This is an enriched dough. It is a lot softer than your typical bread dough. When the dough is finished kneading, it should be tacky to the touch, but not overly sticky. If it is too sticky to handle, it might be that it needs more time to knead or the humidity is effecting the dough. If the dough feels greasy or oily, the butter might have been too soft when you added it. A few minutes in the refrigerator should help solve this problem.
Related recipes
Recipe Card

Authentic Buttery French Brioche Loaf
Ingredients
- ½ cup milk room temperature
- 4 teaspoons active dry yeast
- 4 cups all purpose flour spoon and sweep when measuring the flour here
- ⅓ cup sugar
- 2 teaspoons salt
- 4 large eggs room temperature
- 14 tablespoons unsalted butter cut in cubes, softened, but not fully room temperature
- 1 egg + 1 tablespoon water for egg wash
Instructions
- Mix together the milk and yeast as well as a pinch of sugar to a small bowl. Set aside to develop for about 5 - 10 minutes.
- In a stand mixer, gently mix together the flour, sugar, and salt together until just combined using the paddle attachment. .
- Add in the eggs and yeast mixture and keep mixing. As soon as a dough forms, switch the paddle attachment with the dough hook. Mix on medium for about 4 minutes, then turn to low.
- Slowly add the butter, one tablespoon at a time, waiting until the butter is incorporated before adding more. Mix for about 8 minutes, stopping and scraping the bowl halfway through. The dough should sound moist and slap against the side of the bowl. Resist ay urges to add more flour,
- Turn the dough onto a floured surface and form it into a ball by folding the dough into itself and tucking in the edges. Return to the mixing bowl and over with plastic wrap. Allow it to rise for about an hour in a warm area.
- Lightly deflate the dough and reform into a ball and allow it to rise again. You can let it rise at room temperature for an hour, or allow it to rise overnight in the refrigerator for the best flavor. (I usually want the bread the same day so I let it rise at room temperature and the flavor is still amazing).
- Divide the dough equally into 16 balls. Butter two 8x4 loaf pans and line the balls in two rows of four in each pan. Allow it to rise again for about an hour.
- Preheat the oven while the dough is rising to 375 degrees F.
- Lightly brush the loaves with the egg wash and bake for about 25 minutes.






KELSEY says
Unfortunately my dough did not rise. Should the yeast be activated with warm water before being added?
Amanda says
Hi Kelsey, did it not rise at all? Even if it isn't exactly doubled in size, it should work as it is without the need to be proofed in warm liquid. Did you still try to bake it? If not, I would just to see how it turns out. If you know the yeast you are using is good, you can try to proof it in the milk. Warm it slightly and then add the yeast to the milk. Let it rest for 5-10 minutes, then go through the recipe with the milk/yeast mixture.
Lauren says
I tried to make this last night during the HamilTonys, but as it was getting late I decided to put it in the fridge overnight as the recipe said I could. I'm wondering if maybe the dough needs to be formed into balls in the bread pan before being put in the fridge. This morning I went to continue the recipe, and while the dough had risen nicely in the fridge overnight, it did not rise back up after I arranged it in the pan. It's in the oven now and it smells AMAZING but it doesn't look anything like the picture 🙁 Thankfully I only made a half recipe so I'm not out too much butter, but I'm determined to make brioche so I'll be trying again.
Amanda says
Hi Lauren, the dough should go in the fridge only for the first rise. Sometimes, depending on the environment, it will need to warm up a bit longer before you roll them and put it into the pan for the second rise. I will say that my dough did not rise much during the second rise either (the loaf in the photos did an overnight rise too), but rose more while baking. Im not sure if you converted the recipe into grams or ounces before you halved the recipe, but it is possible that may have also contributed to it not rising as much as halving cups and spoon measurements isn't as accurate. Either way, I know it will still taste amazing!!!
Mary says
What was the rich and delicious desserty breakfast that was to go with this recipe?
Amanda says
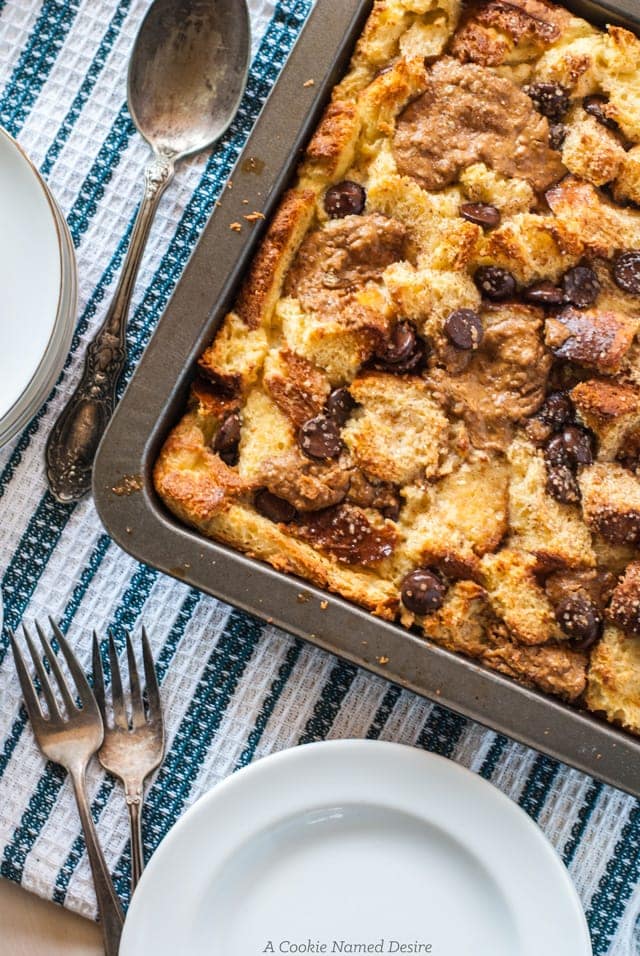
I made a chocolate chip cookie butter French toast casserole 😉 once I hop on the computer I can grab a link or you should be able to search for cookie butter French toast using the search bar 🙂 🙂
Aysegul says
This looks so SO delicious!
Amanda says
Thank you!!
CakeSpy says
It looks simply perfect in every way.
Traci | Vanilla And Bean says
Oh the new KitchenAid! Nothing like making the kneading easier and those KitchenAids are workhorses! Just when I think mine is going to give out, it never fails! Beautiful photography and recipe! I'm with you. I like to let my bread ferment in the fridge overnight to develop a deeper flavor. Looking forward to see what you'll turn this bread into! Thank you, Amanda!
Amanda says
Yes, i dont know how ive lived so long without one in the house. Its the best thing thats happened all year haha. I try to do an overnight rise as often as o can, but indo admit that sometimes i just want the bread rightnow!!
Lisa@Cluttercafe says
This looks gorgeous! I'd like some now please.
Amanda says
This is a beautiful loaf of bread! I am in awe!
Katie @ Butterlust says
She's a beat!!! If only I were eating carbs right now....argh! January!
Christina @ The Beautiful Balance says
Great minds think alike Amanda! I just shot photos of brioche buns for veggie burgers I made. Brioche is hands down my favorite bread ever. Is it crazy that I prefer to make bread by hand even though I have a kitchenaid? Something so therapeutic for me. Yours turned out gorgeous! I hope you have some tasty sandwiches, french toast, or bread pudding in this bread's future!
Amanda says
Great minds, indeed! I used to always make my bread by hand and while it was fun, i was never able to get a good method down and my bread would be underkneaded and I'd be all gross and exhausted from trying. I have zero upper body strength haha. I do have something planned and it is sooooo delicious!! I cant wait to share it!!
Ashley | The Recipe Rebel says
I've never made brioche, but you've got me convinced I need to try. It looks so golden and buttery and insanely good! Even if it costs an arm and leg for the butter!
Amanda says
Brioche is so amazing when you make it at home and its so buttery and warm and fresh. Do it!!
Kimberly | Chic & Sugar says
Okay, I'm off to find my mixer's dough hook! I have a strangely large amount of butter in my fridge, too. Ha ha!
Amanda says
Do it!! From my stockpiling I have maybe 16 pounds of butter in total in my freezer. It goes by so fast!