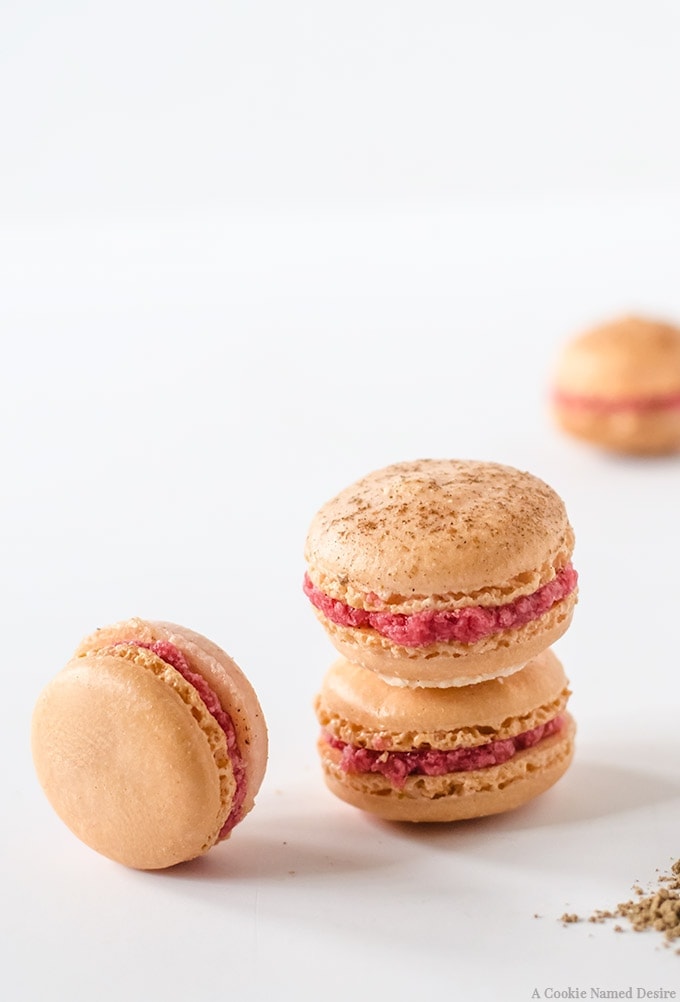
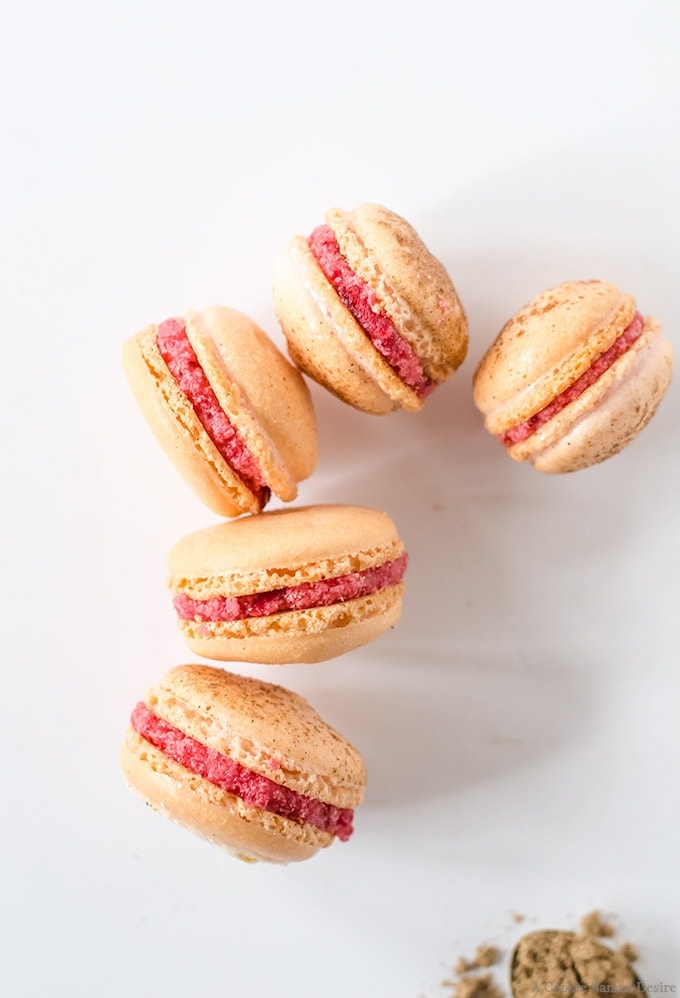
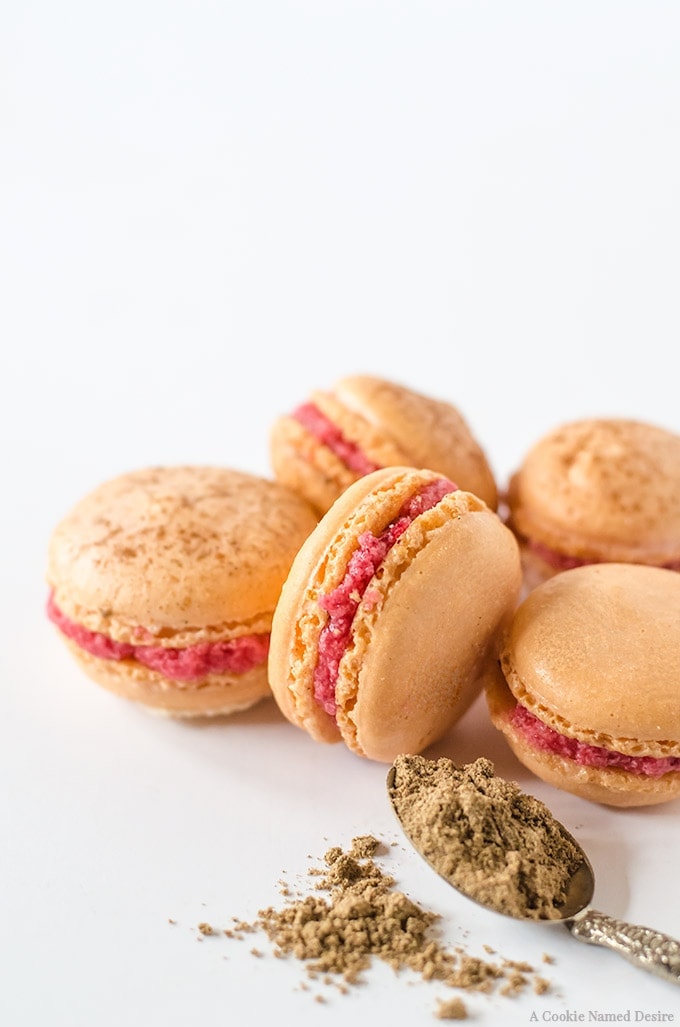
Guys... I want you to meet.... my first batch of successful macarons. That's right! I finally mastered macarons. Look at those feet... look at those tops! Don't you just want to bite into them? No need to answer that, I know you do. I know because I did. I ate all of these macarons except for the few you see in the photos. That's all that was left... and one of them I had to take off a slice of cake I had made just to put it in the photo.
These mulled cranberry macarons are bomb. And you know I don't even say things like that.
Macarons have been one of those things that I just never got. With most baking, I am able to get it pretty much right away, but not macarons. No, it took me over a year and maybe 18 or more tries to get it right. I wasn't even expecting it to go right this time and I had no flavor plans or anything. I couldn't even believe my eyes when I took them out of the oven and they looked perfect. When I broke one open to see they ween't hollow, I nearly keeled over! So I had to do some quick thinking and used some leftover mulled cranberry sauce to make a buttercream. I already dusted the macarons with cardamom and cinnamon before putting them in the other and the mulling spices just had to happen.
Here's the trick.... you have to be patient. Before, I kept trying to find a way to rush the process and make silly mistakes. With macarons, you can't make mistakes and you have to really take your time. It'll save you a lot of wasted products in the end. And don't bother using cups to measure your ingredients. I don't think I've ever tried to do it that way, but as I said, there is no room for error and the only way to make sure your results are perfect every time is by weighing your ingredients! A kitchen scale is relatively inexpensive and will save you so much in the long run! If you are interested in baking any yeast breads, a scale really comes handy there too. It's almost Christmas, go treat yourself to a scale and better baking!
I promise to try and share a step-by-step tutorial on making macarons asap! For now, these instructions should do just fine as long as you read through the recipe thoroughly before starting - and give yourself plenty of time to make them!
Recipe Card

Mulled Cranberry Macarons
Ingredients
- 200 g powdered sugar
- 100 g almond flour
- 120 g room temperature egg whites
- ⅛ teaspoon salt
- 40 g sifted granulated sugar
- ⅛ teaspoon almond extract
- ¼ teaspoon vanilla extract
- 2 drops natural pink food coloring optional
- ½ cup 1 stick unsalted butter room temperature
- 2 cup powdered sugar
- ⅛ teaspoon salt
- 3 - 4 tablespoons mulled cranberry sauce
- ½ - 1 teaspoon wassail mulling spice blend
Instructions
- Add the powdered sugar and almond flour into a food processor. I like to place my food processor onto my kitchen scale and zero it out, then weigh my powdered sugar and almond flour directly into the food processor. Process the mixture for about 3 - 4 minutes, until it is completely blended and a very fine texture. If you do it like this, then you do not need to worry about sifting your mixture later. Yay!
- Clean your mixing bow and whisk thoroughly to ensure it is clean with no traces of oil. Try to not touch the whisk or inside of the bowl with your hands too much once it is cleaned. Oils will prevent the eggs from whipping completely.
- Beat your eggs in your mixer until they form soft peaks. Add in the salt the sifted sugar and beat just until stiff peaks begin to form. Add your extracts and the food coloring if desired (I don't normally like food coloring, but I found some natural food coloring that I wanted to test). And whisk in until completely incorporated in the egg whites.
- Add your powdered sugar and almond mixture into the egg whites. It's okay to just dump them in if you want. Use a spatula to mix the powdered sugar and almond into the egg whites. I like to go to the side of the bowl and stick my spatula under the mixture and pull up then fold the mixture onto itself. Doing this, means I can constantly check the consistency which is very important in making these macarons. As everything gets mixed together, the mixture will become ribbony. If you mix too much, it will become almost soupy and won't bake right. If you don't mix enough, it will be lumpy and probably crack. You are at the right consistency when a ribbon falls from your spatula back onto the rest of the mixture and the ribbon takes a few seconds to disappear. This is called macaronage.
- Once your mixture is the right consistency, let everything sit in the bowl for 30 minutes, uncovered.
- Fit a piping bag with a large round tip that is about ½" in diameter. Put the batter into you piping bag and pipe rounds onto a silicone baking mat (you will need 2 - 3 mats, depending on you macaron size). The one I use has macaron sizes already measured out and it is great! Otherwise, you will have to try and freehand. Make sure your piping bag is at a 90 degree angle over your sheet.
- Dust the tops of the macarons with cardamom and cinnamon if desired. Allow the macarons to sit for at least an hour so the tops dry out. This is very important so the tops stay smooth and this also helps grow the feet on the bottoms.
- Preheat the oven to 325 degrees F.
- Bake your macarons for 10 minutes, turning halfway through. The macarons may need another minute or two. You can check this by gently lifting one off the mat, it may stick a bit, but should still lift. If it is too hard to lift, or it just won't, leave them in for another minute or two, checking every 60 seconds.
- Remove the macarons and allow to cool completely on the baking sheet before removing.
- Beat the butter until smooth and creamy. Add the powdered sugar, one cup at a time. Add in the salt and the cranberry sauce one tablespoon at a time. Taste the buttercream as you add the cranberry sauce. Remember, the flavor will become more intense the longer it sits. Add mulling spice ½ teaspoon at a time, again, tasting as you go. Fit a piping bag with a round tip and pipe the buttercream on half of the cookies, then sandwich with the remaining cookies.
- Macarons taste better the longer they can age. I recommend freezing the macarons in an airtight container for a couple of days - or even a week for them to fully develop their flavor. Of course, I ate mine almost right away and they were still amazing!

Zainab says
These are so gorgeous!! I love making macarons which are finicky but a treat!