

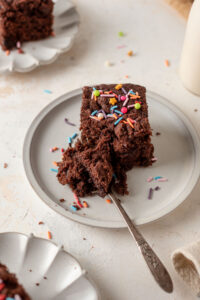
You will be searching for reasons to make this delicious red velvet bundt cake. Luckily, this bundt cake recipe is so quick and easy to make.

Why you'll love it
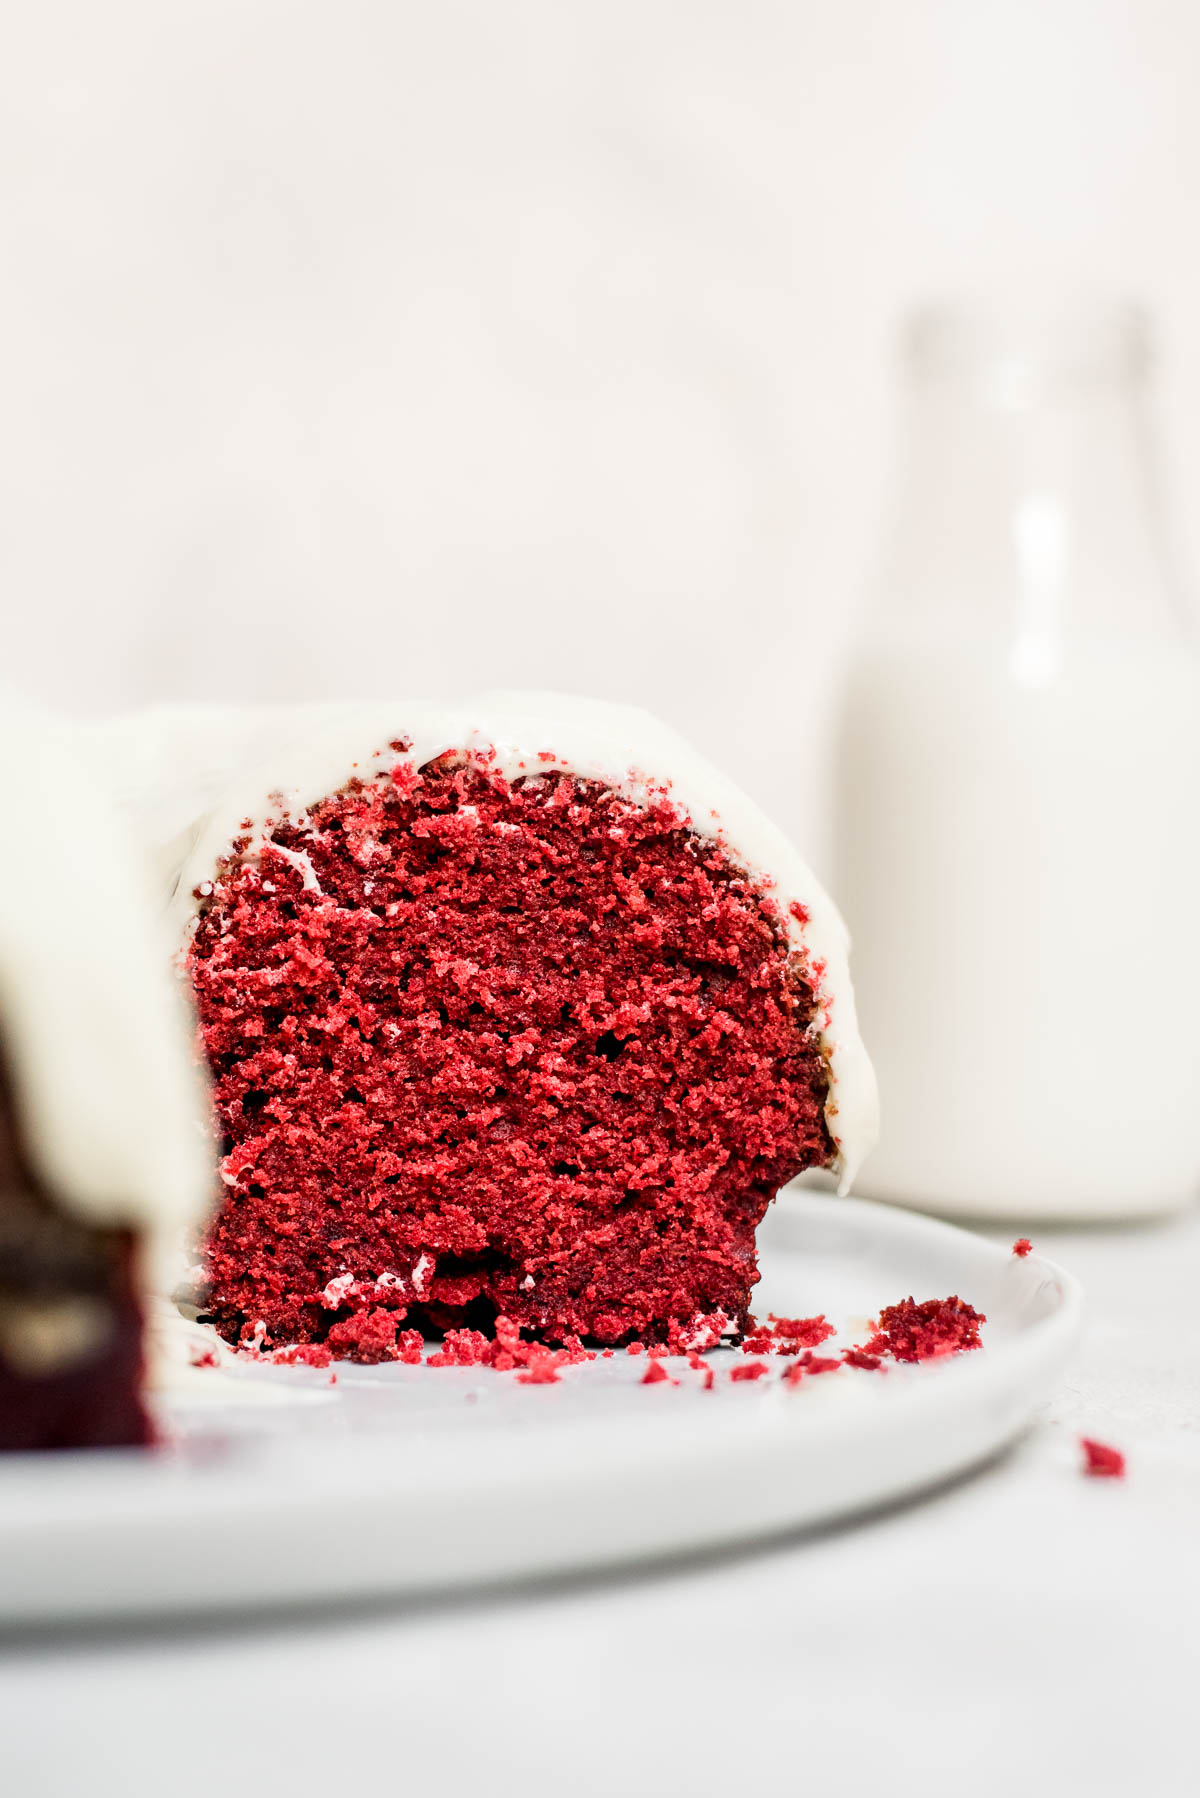
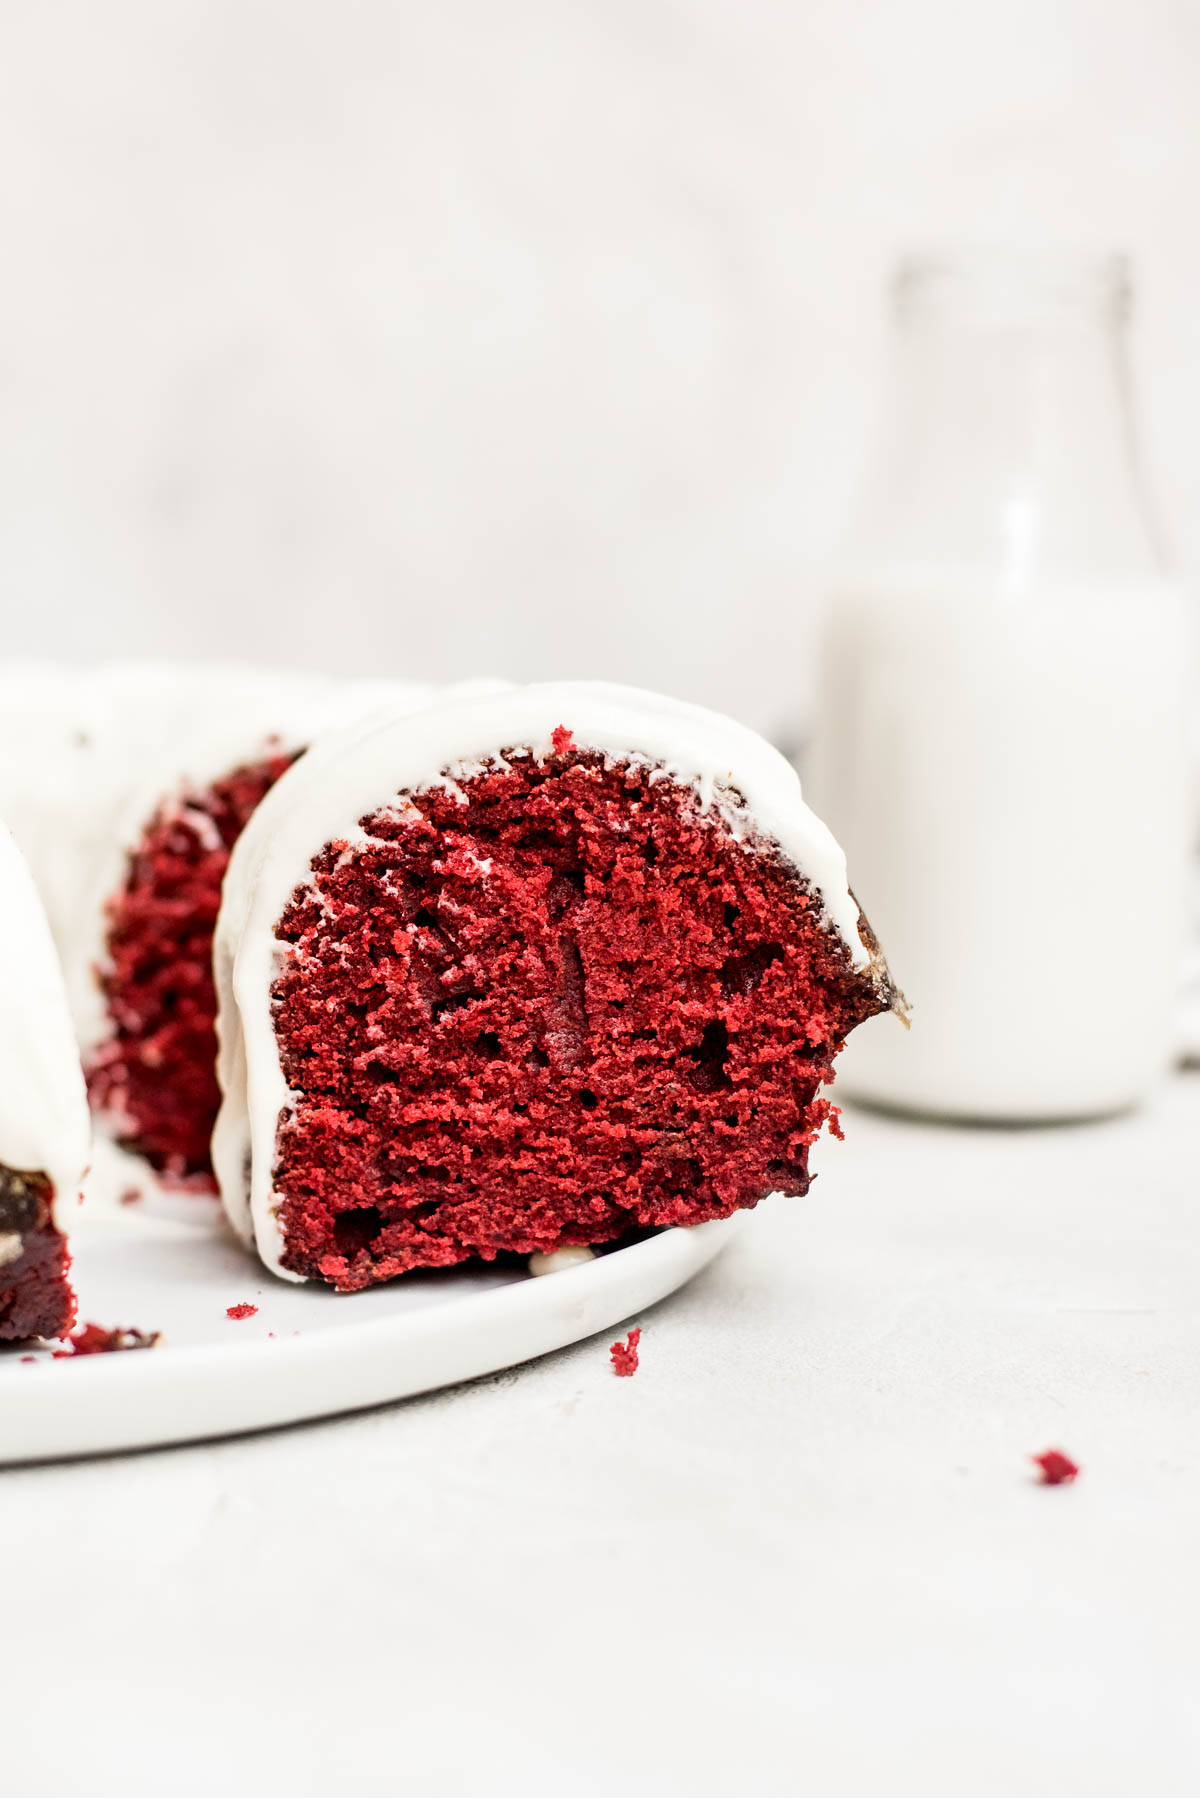
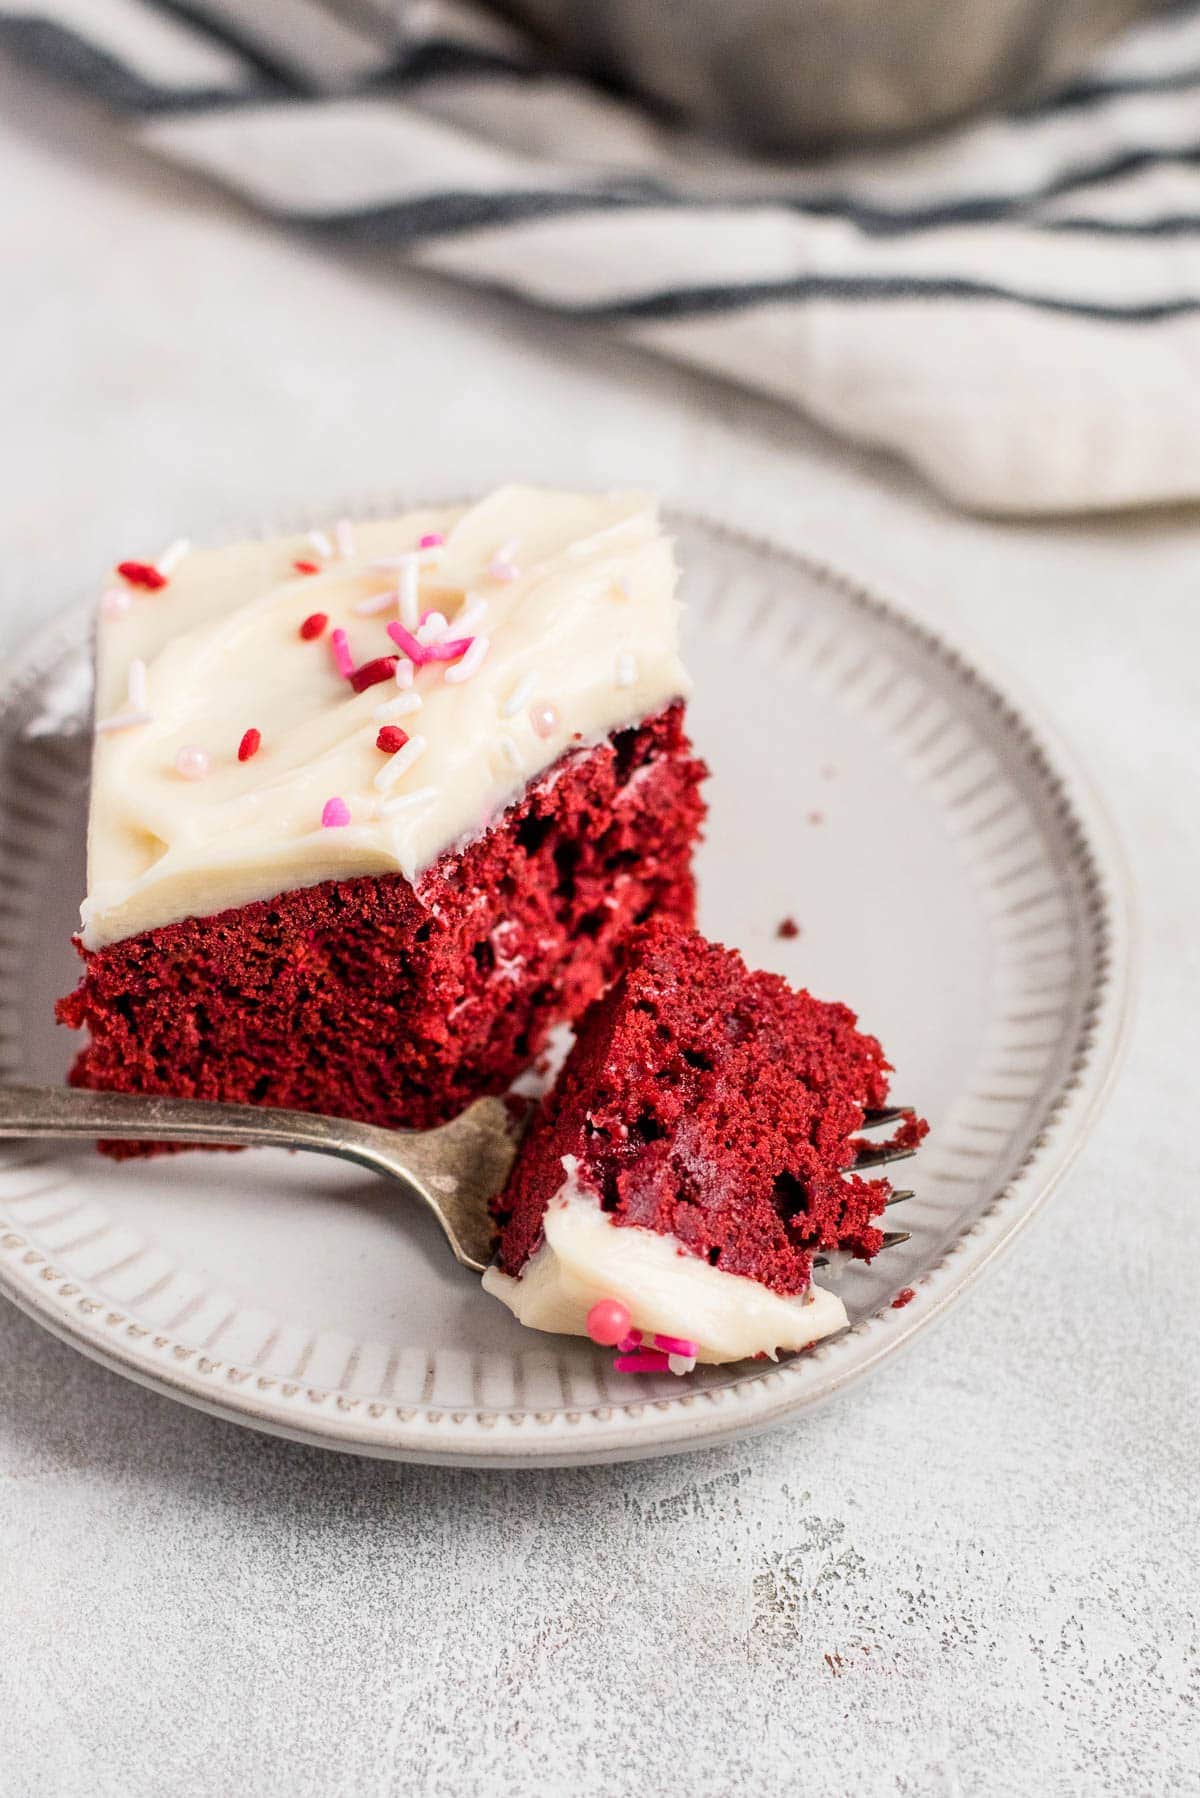
This red velvet bundt cake is incredible. It is rich, tender, perfectly moist, and has a velvety crumb you'll never forget. The cake also has that signature tang and hint of cocoa that we love. It is made even better with the addition of a mouthwatering cream cheese icing
The best part is that it is a complete crowd pleaser and so incredibly easy to make, especially with the tips I provide here.
What IS red velvet cake?
Everyone gravitates to the inviting deep red color of red velvet cake, but when asked about what it is, everyone seems to have a different answer. To some it tastes like vanilla, to others the chocolate is more prominent. To others, it is just a buttery, delicious way to eat cream cheese frosting.
Red velvet cake was first baked during the Victorian Era. Fancy cakes were called velvet cakes to let everyone know the cake would have a smooth and soft texture. Cocoa was added to cakes to help soften the coarse flour to make the cakes softer and the reaction of the natural cocoa and the acid they would add to the cake (baking soda and buttermilk) would give cakes a natural red hue.
Later, people would add beet juice to enhance the red color, which people loved because it felt special. Eventually, people started adding red food coloring or red velvet emulsion to give their cakes it's gorgeous color.
Ingredients
Most of the ingredients for this red velvet bundt cake are ones you likely already have in your kitchen. Let's go over some of the key ingredients and any suitable substitutes.

- Flour - I like to use unbleached all-purpose flour in my bundt cakes, but any all-purpose flour works. I do not recommend using cake flour or bread flour.
- Cocoa powder - We only use a few tablespoons of cocoa powder, but the kind you use is important. You should use natural unsweetened cocoa powder only. Never Dutch-processed cocoa powder.
- Oil - Any neutral type of oil works. I usually use vegetable oil, but anything you have that's available that is neutral in flavor will work.
- Baking soda - It is important to use baking soda, and make sure the baking soda is fresh. Anything older than 6 months needs to be replaced.
- Red coloring - Red food coloring is how we get a nice red hue. Gel food coloring works better than liquid food coloring. My favorite thing to use personally is red velvet emulsion because it also emphasizes that classic red velvet flavor.
- Vinegar - You should use white vinegar in this recipe, but I have used white wine vinegar and apple cider vinegar when I didn't have any with success.
- Buttermilk - We need buttermilk to react to the cocoa powder and the baking soda. If you don't have buttermilk available, there are plenty of buttermilk substitutes.
How to make
It is so simple to make a red velvet bundt cake at home.
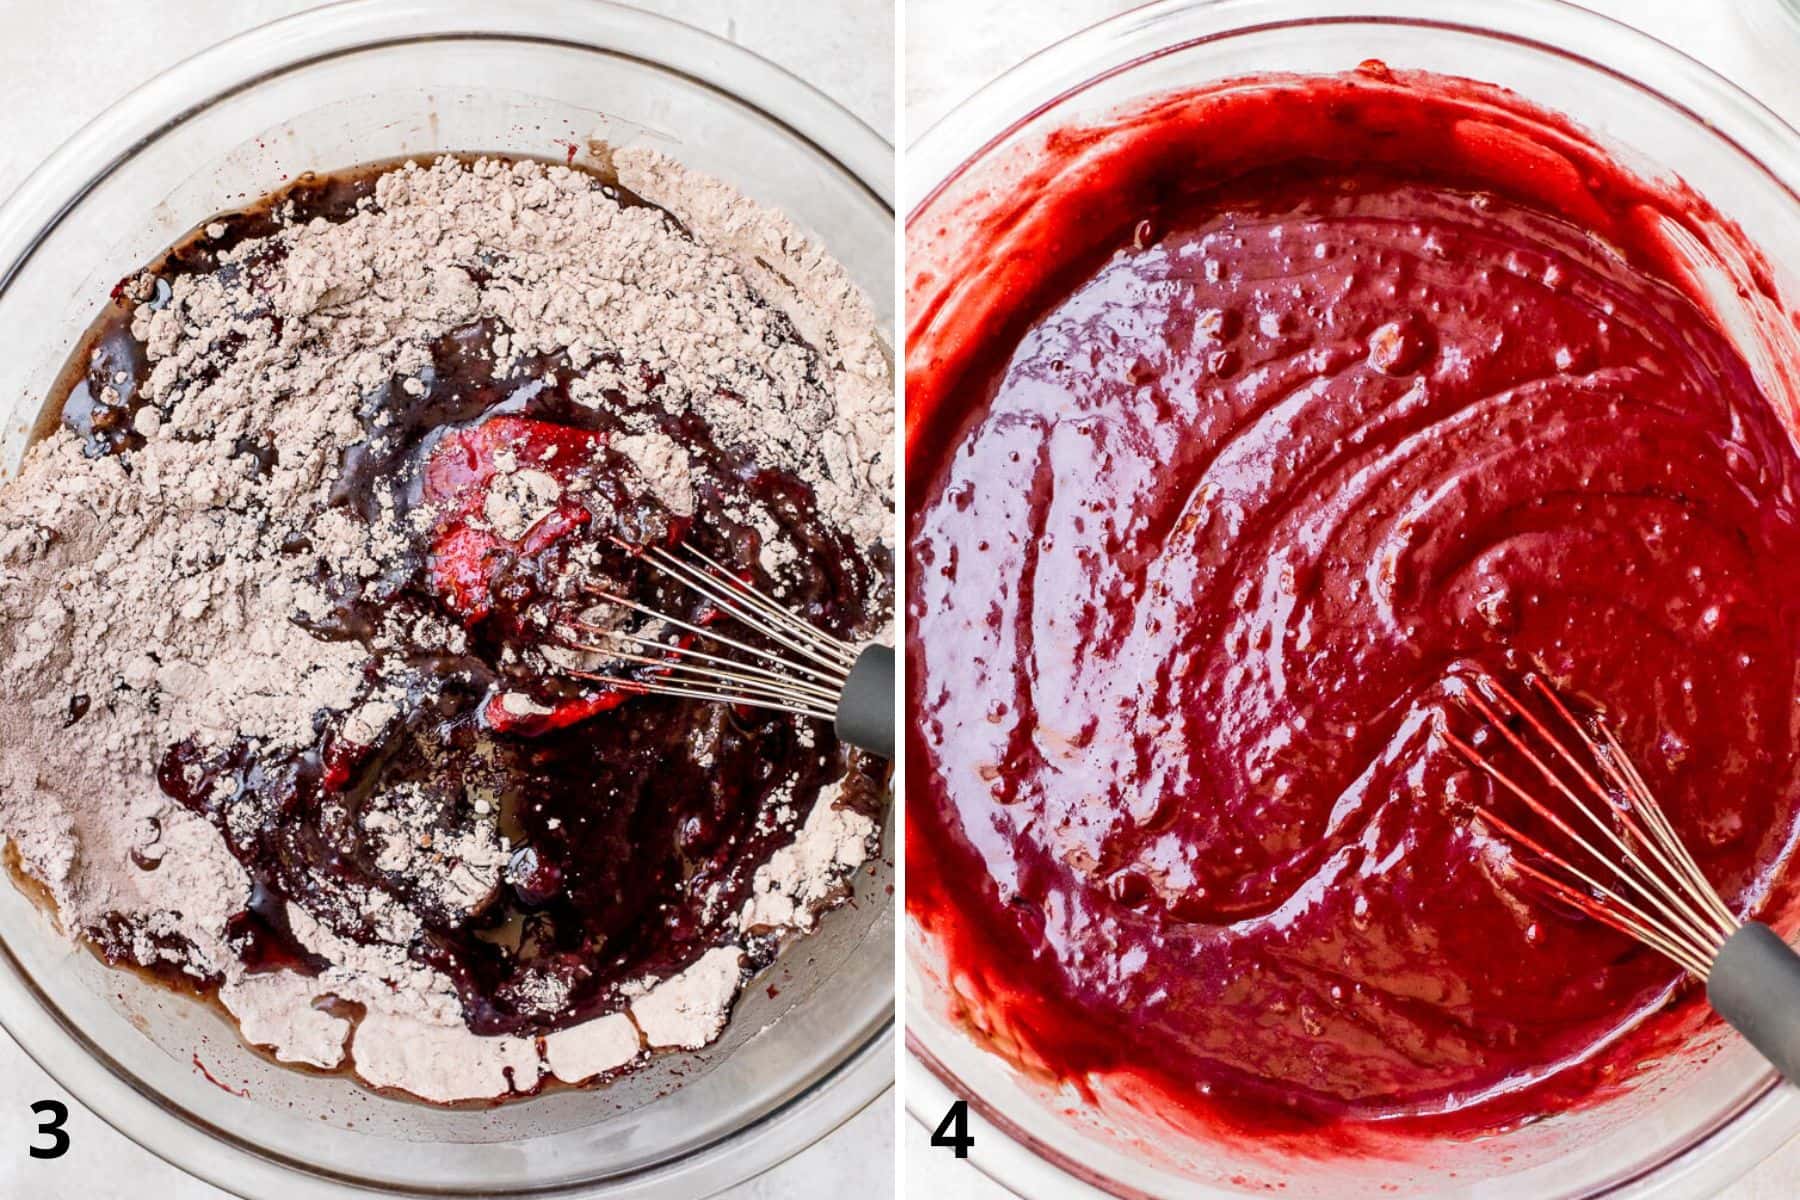
- Start by mixing together the eggs, sugar, and oil and whisk.
- Next add in the buttermilk, vanilla and red velvet emulsion or red food coloring and whisk well until fully combined.

- Mix together the flour, cocoa, and salt together in with the wet ingredient
- Stir until it is just combined, but still slightly lumpy.
- Mix together the baking soda and vinegar in a small bowl
- Add the baking soda mixture to the cake batter and quickly stir it in well before pouring in your prepared bundt pan and baking.


Are Bundt cakes dense?
When you compare a bundt cake to a regular layer cake or an angel food cake, yes, they are more dense, but they don't necessarily have to be dense. The texture is often closer to a pound cake than any other type of cake.
You can bake a regular cake recipe in a bund pan and it will turn out well. The cake will be lighter overall, but I still find they are denser than their layered counterparts.
How to get your Bundt cake to release perfectly
One of the greatest struggles with bundt cakes is getting them to release perfectly, especially when there is an intricate design.
First, you must grease and coat your bundt pan. There are many different tricks on coating your pan. Some say flour, while others insist on sugar. For chocolate bundt cakes, some people swear you should only use cocoa powder.
I am a fan of using flour. It gives your batter something with texture to climb and get a good rise from and can keep your cake from sticking to the pan - provided you left an even coating around the cake.
Using cocoa powder is a good idea with chocolate cakes, but depending on the look you are going for, it might make the outside of your cake look too dark, especially compared to the interior of the cake itself. Not entirely a bad thing, but you can easily lose the details of some designs if it's too dark. I recommend blending cocoa powder and flour together instead.
I coated by pan in granulated sugar for this particular cake. It makes for a quick and easy release that leaves you with a clean pattern (if you pan is patterned) and gives you a gorgeous crust.
Next, you need to let your red velvet bundt cake rest. This is so important! As the cake cools slightly, it will naturally begin to pull away from the pan a bit and want to release. Waiting 10 - 15 minutes is the golden wait period.
Now, give the cake a few hardy taps along the bottom and its sides against your counter. This helps to loosen any stubborn areas. You don't want to get crazy whacking it. Just a few sturdy taps will do.
Finally, turn it onto a wire rack and let it sit for a minute. Most of the time, the cake will pop right out when you turn it, but if not, give it some time and let gravity help.
Recipe FAQs
Yes, I recommend using a gluten-free baking mix that you can use as a 1 to 1 replacement.
This cake works perfectly for making ahead of time. You can keep it at room temperature in an airtight container without icing for several days before serving.
Yes to both! You can freeze and refrigerate your cake. If you plan on freezing the cake, you should not freeze it with icing on top as the icing does not thaw well. Always store in an airtight container.

Related recipes
Recipe Card
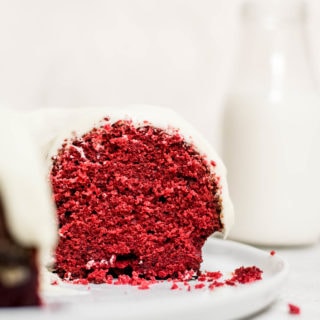
Red Velvet Bundt Cake
Ingredients
- 3 ½ cups flour
- 5 tablespoons natural cocoa
- 1 teaspoon salt
- 2 cups vegetable oil
- 1 ¾ cups granulated sugar
- 3 large eggs room temperature
- 2 teaspoons vanilla
- 2 tablespoons red food coloring or red velvet emulsion
- 1 ¼ cups buttermilk room temperature
- 2 teaspoons baking soda
- 2 teaspoons vinegar
Cream Cheese Icing
- 4 ounces cream cheese room temperature
- 2 cups powdered sugar
- ¼ teaspoon salt
- 1 teaspoon vanilla extract
- 2 - 3 tablespoons heavy cream room temperature
Instructions
- Preheat your oven to 350 degrees F. Grease and flour a bundt pan
- In a bowl, mix together the flour, cocoa, and salt. Set aside.
- In a separate bowl, mix together the oil, sugar, eggs, vanilla, and red coloring until well combined. Stir in the buttermilk.
- Mix together the flour mixture and the wet ingredients until just combined.
- In a small bowl, mix together the baking soda and vinegar. Immediately stir well into the cake batter.
- Immediately pour the batter into the bundt pan and bake for 45 - 60 minutes, or until a toothpick inserted in the middle comes out clean.
- Allow to cool for 10 minutes, then turn the cake out onto a wire rack to cool completely.
- While allowing the cake to cool, making the icing. Beat the cream cheese and powdered sugar together until well combined. Stir in the salt and vanilla, followed by the heavy cream. If your cream cheese isn't soft enough, you might want to use more heavy cream.
- Pour the icing over the cake once it is cooled. Enjoy immediately.


Leave a Reply