This homemade yogurt recipe shows you how to make yogurt at home with just milk and plain store-bought yogurt. You don’t need a yogurt maker or fancy equipment, and I’ll walk you through the stovetop method, plus crockpot and Instant Pot options. The result is fresh, tangy yogurt you can keep plain, flavor after culturing, or strain into thick Greek-style yogurt.
Why you'll love it
Knowing how to make a lot of your kitchen staples can be a very useful skill to know, especially if you are working on a budget. It is also great if you love trying out new things, want a fun weekend project, or like being able to know exactly what is in your food. For me, one of the most compelling reasons is just how satisfying it is knowing you were able to make your own homemade yogurt just like making your own brioche or ciabatta at home. It can give you a serious sense of accomplishment.
You also never have to worry about the grocery store running out of your favorite yogurt flavor. If you save a bit of your homemade yogurt before adding in your favorite flavors, you can reuse it to make more when you are running low.
If you want to make your own yogurt, you have a few different options. You can use a yogurt maker and yogurt culture, or you can use your favorite plain commercial yogurt with milk and the tools you have at home. This homemade yogurt recipe uses the latter. We use starter yogurt from the store and no special equipment. There are even instructions on how to make the perfect yogurt without a kitchen thermometer and using your five senses instead.
- Only 2 main ingredients: You only need milk and plain yogurt with live active cultures.
- No yogurt maker needed: I’ll show you how to make yogurt with basic kitchen tools.
- Multiple methods included: Use the stovetop, crockpot, or Instant Pot depending on what you have.
- Easy to customize: Keep it plain, add flavorings after culturing, or strain it into thick Greek-style yogurt.
Homemade yogurt at a glance
| Main ingredients | Milk + plain yogurt with live active cultures |
| Best milk | Whole milk or 2% milk |
| Starter | Plain store-bought yogurt or reserved homemade yogurt |
| Heat milk to | About 200°F |
| Cool milk to | 110–115°F |
| Incubate | 6–12 hours |
| Equipment | Heavy-bottomed pot, jars, towel, oven light, crockpot, or Instant Pot |
| Makes | 8 cups |
Key ingredients
You only need milk and a starter culture to make homemade yogurt. For the starter, plain yogurt with live active cultures is the easiest option because it is inexpensive and easy to find, while powdered yogurt starter culture can be a good choice if you want a more controlled, consistent culture or do not have plain yogurt on hand.
- Milk: Whole milk gives you the thickest, creamiest yogurt, but 2% milk also works well. Lower-fat milk will make a thinner yogurt. Avoid ultra-pasteurized milk if possible, since it can be harder to culture consistently.
- Plain yogurt with live active cultures: This is the easiest starter option. Look for plain yogurt that specifically says it contains live and active cultures. Avoid flavored or sweetened yogurt because it can affect the flavor and texture of your homemade yogurt.
- Powdered yogurt starter culture: Use this instead of plain yogurt. Follow the package directions for how much starter to use with your amount of milk. This can be a good option if you want consistent results, are starting from scratch, or do not have plain yogurt available. Freeze-dried starter cultures are easily found online with enough for several fresh batches.
Equipment you’ll need
You do not need a yogurt maker to make homemade yogurt, but a few basic tools make the process easier.
- Heavy-bottomed pot: This helps heat the milk evenly and lowers the chance of scorching.
- Instant-read thermometer: Optional, but helpful for checking when the milk reaches about 200°F and when it cools to 110 - 115°F before adding the starter.
- Whisk or spoon: Use this to mix the starter smoothly into a small amount of warm milk before adding it back to the pot.
- Lid, towel, or blanket: Covering and wrapping the pot helps keep the yogurt warm while it cultures.
- Mason jars or airtight containers: Use these for storing the finished yogurt in the refrigerator.
- Cheesecloth or fine-mesh strainer: Optional, but useful if you want thicker Greek-style yogurt.
For incubating the yogurt, you can use an oven with the light on, a towel-wrapped pot, a slow cooker, or an Instant Pot. The goal is steady warmth, not high heat.
How to make: 3 methods
The original recipe for making homemade yogurt uses no special equipment, with notes on how to use minimal tools that will help you. I have also included instructions for using a slow cooker or a pressure cooker if you would like to try experimenting with one of these methods - luckily the same basic process is used with each method. The method I use and prefer is the stovetop method.
How to make yogurt on the stovetop
- Add the milk to a heavy-bottomed pot and heat until the milk is scalding hot and steaming. It should be rumbling, but not at the boiling stage. Scrape the sides and bottom of the pot constantly to avoid the milk burning.
- Allow the milk to cool until it is comfortable to the touch - about 110F. Take a cup of the warm milk and mix it in with the yogurt, then stir the yogurt and milk mixture back into the rest of the milk.
- Cover the pot and keep in a warm, dry area for at least 6 hours, preferably overnight.
How to Make Yogurt in a Crockpot
If you want to make yogurt in a crockpot, all you need is a bit of extra time. It is a slower process, but perfect for someone who wants to make double or triple the yogurt.
- First, you must heat the milk on low in the crockpot. This will take roughly 2 -3 hours.
- Then you turn off the heat and allow the milk to come down to the temperature of bath water.
- Mix some of the milk with the yogurt and then mix the yogurt mixture into the milk in the crockpot.
- Keep the crockpot off, but in a warm area 6-8 hours, or preferably overnight.
How to Make Yogurt in an Instant Pot
Luckily, there should already be a yogurt option on your instant pot which makes it easy to use, but the exact process may still be confusing.
- First, you need to add the milk to the instant pot and set the yogurt setting to boil (the valve should be set to sealing).
- Once it is finished, allow the yogurt to cool down to bath water temperature.
- Use some of the milk to stir into your yogurt, then add the yogurt to the milk.
- Now you want to set the instant pot to the normal yogurt setting (the valve should be set to sealing or venting). Your timer can be set for 8 - 12 hours, depending on how tart and thick you like your yogurt.
The science behind making yogurt
Yogurt is made when live cultures ferment lactose, the natural sugar in milk, into lactic acid. The classic yogurt cultures are Streptococcus thermophilus and Lactobacillus delbrueckii subsp. bulgaricus. As they produce lactic acid, the pH of the milk drops, giving yogurt its tangy flavor and helping the milk proteins form a soft gel.
Heating the milk first is one of the most important steps. Bring the milk to about 180–200°F. This helps reduce unwanted microbes and denatures beta-lactoglobulin, one of the main whey proteins in milk. We want this to happen because denatured beta-lactoglobulin can interact with casein proteins, helping the yogurt set into a smoother, thicker, more velvety texture.
If you are not using a thermometer, look for milk that is steaming heavily with small bubbles around the edges of the pot. It should look hot and active, but it does not need to come to a rolling boil.
After heating, the milk needs to cool before you add the yogurt starter. If the milk is too hot, it can weaken or kill the live cultures. Aim for 110–115°F, or milk that feels warm like bath water if you are not using a thermometer.
During incubation, the cultures keep working. The yogurt needs a warm, cozy environment, but not a hot one. Think warm room, oven with the light on, or a towel-wrapped pot that feels gently warm to the touch. A warmer environment helps the yogurt set faster, while a cooler one takes longer. The longer yogurt incubates, the more lactic acid develops, which makes the yogurt tangier.
Expert tips
- Choose a starter you like: The flavor of your homemade yogurt will be influenced by the plain yogurt or starter culture you use. Choose a plain yogurt you already enjoy, and make sure it contains live active cultures. I usually use plain Greek yogurt such as Fage or Oikos as my starter, but any plain yogurt with live active cultures can work.
- Use higher-fat milk for thicker yogurt: Whole milk makes the thickest, creamiest yogurt. 2% milk also works well, but lower-fat milk will be thinner.
- Cool the milk before adding the starter: Milk that is too hot can weaken or kill the cultures. Let it cool to 110–115°F before mixing in the starter.
- Mix the starter with a little milk first: Whisk the yogurt starter with about 1 cup of warm milk before adding it back to the pot. This helps it disperse evenly for a smoother texture.
- Keep the yogurt warm and undisturbed: Steady warmth helps the cultures work properly. Avoid moving or stirring the yogurt while it sets.
- Incubate longer for tangier yogurt: The longer the yogurt cultures, the tangier it becomes. Start checking around 6 hours, then continue incubating if you want a thicker or more tart yogurt.
- Do not throw away the whey: A little whey on top is normal. Stir it back in for thinner yogurt, strain it out for thicker yogurt, or use it in baking in place of water, milk, or buttermilk.
- Save some yogurt for your next batch: Reserve ½ cup of plain homemade yogurt before adding sweeteners or flavorings. Use it within the first week for the strongest cultures
- Use visual cues if you do not have a thermometer: Heat the milk until it is steaming heavily and small bubbles form around the edges. It should be very hot, but it does not need to reach a rolling boil. When cooling the milk, the milk should feel warm like bath water. If it feels hot enough that you would pull your finger away, it is still too hot for the starter.
- Do not overheat during incubation: More heat is not always better. If the yogurt gets too hot, it can weaken the cultures or affect the texture. Aim for steady warmth rather than direct heat.
- Start fresh every few batches: Homemade yogurt can be reused as starter, but it will not stay equally strong forever. After about 3–5 batches, or sooner if your yogurt becomes thin, slow to set, unusually sour, yeasty, or off-smelling, start again with fresh plain store-bought yogurt with live active cultures or a freeze-dried starter culture.
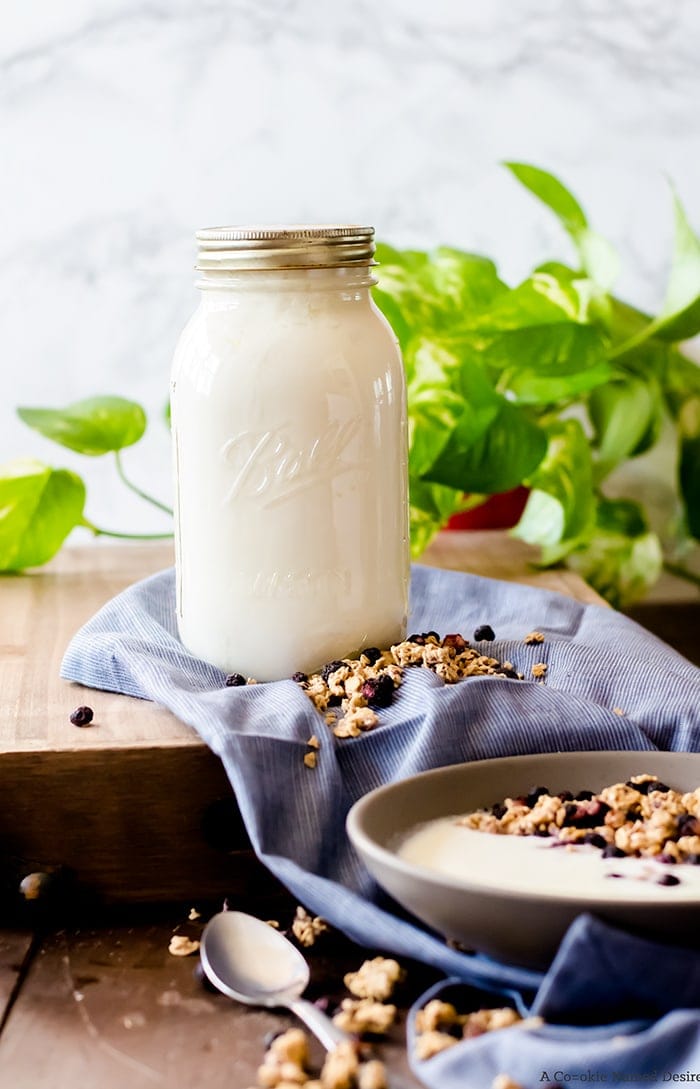
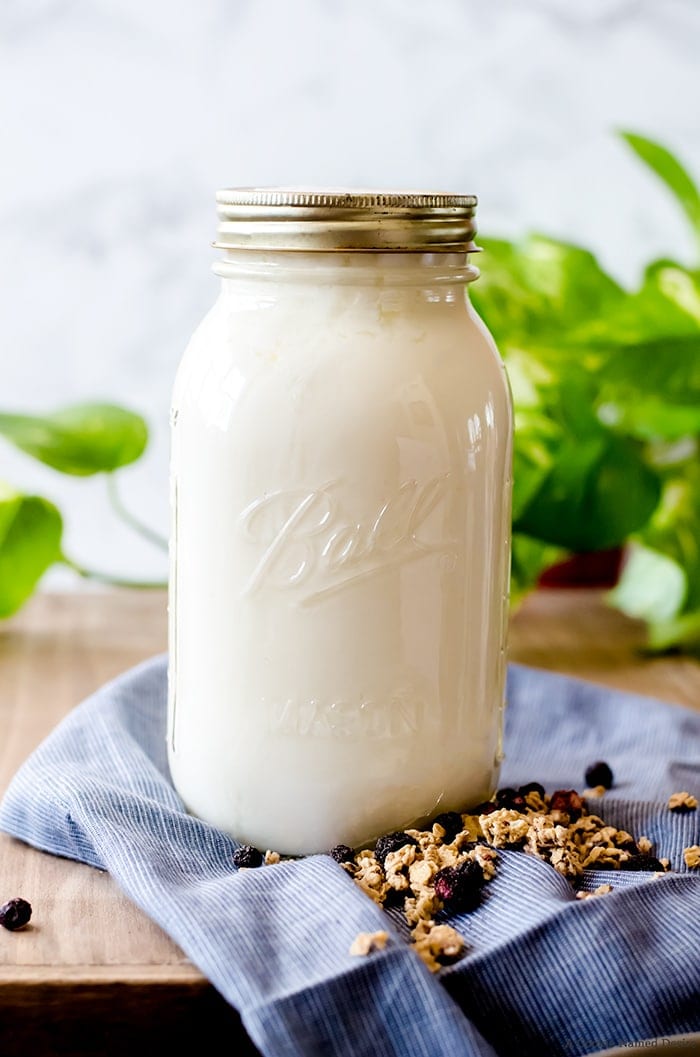
Storage
I recommend pouring your finished yogurt into mason jars with lids that are screw on finger tight. You can use smaller jars for single servings as long as you can get an airtight closure. Keep the yogurt in the back of the refrigerator to keep the temperature consistent.
Adding sugars and fruits will decrease the freshness of the final yogurt. Plain yogurt should last two weeks, but if you plan on using the yogurt you made to make a new batch, you need to do it within the first week to ensure the cultures are strong enough.
Recipe FAQs
Yes, you can make yogurt with heavy cream. The yogurt will be thick, and also higher in fat. I recommend using this this yogurt for desserts or for indulgent flavor varieties.
You can make yogurt with almond milk, coconut milk, and other milk alternatives, but it is a bit more complicated. You cannot use commercial almond milk due to the preservatives and thickeners. Unlike traditional dairy yogurt, you cannot use store-bought milk alternative yogurts to make more yogurt. You need to buy yogurt starter and make a fresh batch of yogurt every time instead of using the previous batch to make more yogurt. This type of yogurt also needs to be thickened - gelatin and pectin are popular choices. For these reasons, it can be more costly to make milk alternative yogurt at home.
Homemade yogurt may not set if the milk was too hot when the starter was added, the starter did not contain live active cultures, the mixture did not stay warm enough, or the starter was old or weak. Make sure the milk cools to 110–115°F before adding the starter, then keep it warm and undisturbed for 6–12 hours.
Runny yogurt usually needs more incubation time, a warmer culturing environment, or higher-fat milk. Whole milk makes thicker yogurt than skim or low-fat milk. You can also strain finished yogurt through cheesecloth to make it thicker.
A little whey on top is normal. Stir it back in for thinner yogurt or strain it out for thicker yogurt. You can also save the whey and use it in baking in place of water, milk, or buttermilk.
The longer yogurt incubates, the tangier it gets. For milder yogurt, start checking around 6 hours. For tangier yogurt, let it culture closer to 10–12 hours.
Start fresh with new plain store-bought yogurt or a freeze-dried starter if your yogurt starts taking much longer to set, turns out thinner than usual, tastes unusually sharp or yeasty, or develops an off smell. For the most consistent results, start fresh every 3–5 batches.
Homemade yogurt should smell tangy and fresh. Discard it if it smells rotten, yeasty, unpleasant, or has visible mold, unusual discoloration, or a texture that seems slimy or strange.
Recipe Card
Homemade Yogurt Recipe Without a Yogurt Maker
Ingredients
- ½ gallon milk more fat in the milk equals thicker yogurt
- ¼ cup store-bought yogurt*
Instructions
- Heat the milk in an uncovered heavy-bottomed pot until the milk reaches about 200 degrees F (it should be rumbling lightly, but not boiling). Stir and scrape the bottom of the pot constantly to prevent the milk from burning.
- Take the pot off the heat and allow the milk to cool to about 110 - 115 degrees (or just cool enough for you to comfortably dip your finger in the milk). Stir frequently to prevent skin forming on the milk.
- Put the yogurt in a small separate bowl and lightly whisk while the milk cools.
- Mix 1 cup of the milk in with the yogurt slowly once the milk is cooled to 110 - 115 degrees F. Whisk until fully combined. Transfer the yogurt mixture back to the pot.
- Place the covered pot in a warm, dry area for 6 hours or preferably overnight. You can leave the pot in an oven with the light turned on and wrapped in a towel for the best results.
- Stir in or strain out any whey that forms on top of the set yogurt, depending on how thick you want the yogurt. (Reserve the whey for your baking!) Stir the yogurt to ensure it is smooth and creamy and put in jars and refrigerate.
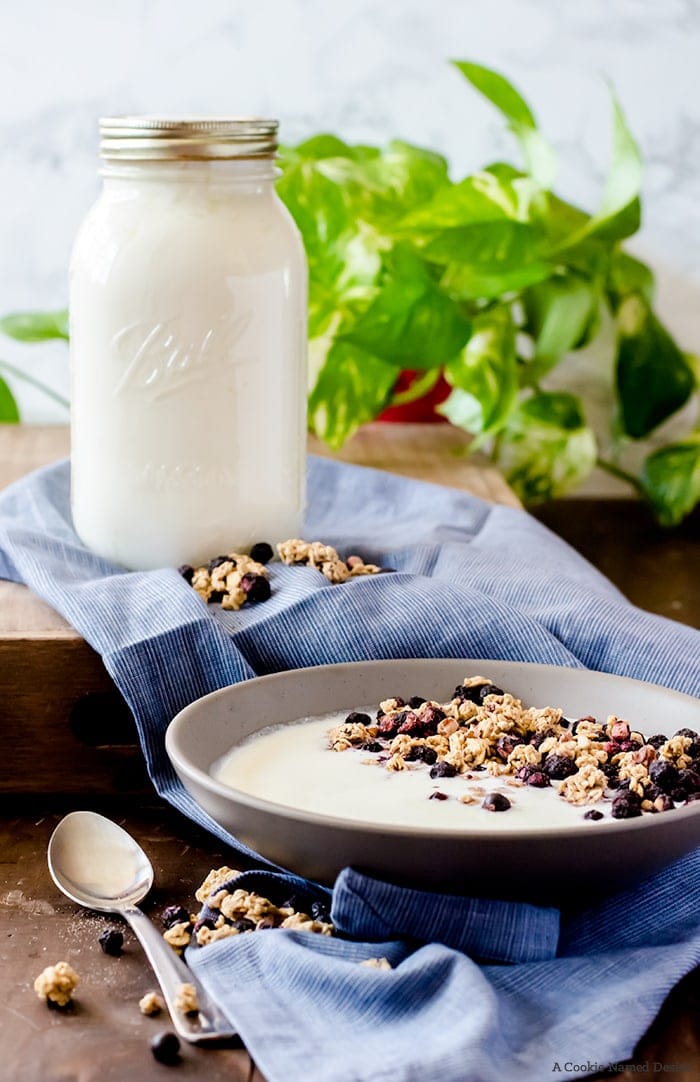
- If you would like flavored or fruity yogurt, mix your additions in the jars and top with the yogurt.
Notes
- A thermometer gives the most consistent results, but you can make yogurt without one. Heat the milk until it is steaming heavily with small bubbles around the edges, then cool it until it feels warm like bath water before adding the starter. For incubation, choose a spot that feels gently warm, not hot, such as an oven with the light on or a towel-wrapped pot.
- You only need store-bought yogurt the first time you make homemade yogurt. After that, reserve ½ cup of your finished plain yogurt to use as the starter for your next batch.
- Store homemade yogurt in airtight jars in the back of the refrigerator for up to 2 weeks. If you plan to use it as starter for another batch, use it within the first week.
- For thicker Greek-style yogurt, strain the finished yogurt through cheesecloth for 1–2 hours, or until it reaches your preferred thickness.
- Add fruit, jam, vanilla, honey, or other flavorings after the yogurt has finished culturing.

Helen says
I’ve never made yogurt before. Actually I still haven’t. It’s 10:30pm and I can’t wait till morning so that I can go to the store and buy some milk and plain yogurt. I eat yogurt everyday and it gets quite expensive. I can’t wait to start making my own.
Rob Z says
I’ve been making my own yogurt for 16 years. I make it essentially the same way as your recipe, however over the years I’ve tweaked it a bit to make it easier and more foolproof. I heat my milk in a Visions pot in the microwave. Any microwaveable glass pot with lid will work.
I have an old model with low wattage so it takes about 25 minutes to bring 1 quart of cold milk to a gentle boil. The beauty of this is you can’t burn the milk! I can watch it through the window and easily see when it starts to foam up. Once it is about to boil, I remove it and place the pot in a cool bath, until the temperature reaches about 115F. I add about a half cup of the milk to the starter, mix it well, then stir it into the pot. I cover it well with several blankets, towels, whatever is handy and clean.
Eight to 10 hours later, I have a quart of delicious yogurt, and used the same pot to heat the milk and ferment it!
Amanda says
Thank you so much for commenting! I have never tried using the microwave, I will definitely need to try that out instead next time as there are times I can be careless and accidentally burn the milk.
Desiree says
I have used this recipe over and over and over and love it. But I ran into a problem today. My son had bought some plain Greek yogurt and I was just going to use a half a cup of that to add to my gallon of milk. The thing is is I had whole milk and he bought non fat yogurt it would not curdle the milk at all. I couldn't think of anything else except that it was that nonfat yogurt. So I had to add 2/3 of a lemon squeezed in there. Had to bring it back up to temperature because it would not give me any whey. Once I was able to bring it back up to 10th I had thrown the entire lemon in there. I juice it and just threw all of it in there. It finally split and gave me the curds that I needed.
So just in case if any of you are making this recipe, it really is a perfect recipe. But remember when you are adding your yogurt to it, make sure it's a full fat yogurt and not fat. Or you will be adding lemon.
Thank you for sharing this recipe. I really do like it. It is one of the best that I have tried. I get quite a few containers out of this and I do a couple containers. That or jars that are are like a thinish yogurt and then the rest I put through cheesecloset I get that really thick Greek yogurt to make dipping sauces. Thanks and what not with. The thinner one I eat with fruit. You can add extracts to it also so you can get flavored yogurt.
Mary Burnett says
The milk isn't supposed to curle and separate during the heating process is it? It was seperated before it cooled to add the starter yogurt.
Amanda says
Hi Mary, No, it shouldn't curdle. It may have gotten too hot too fast. The best plan of action is to start over and slowly heat up the milk
Susan - ofeverymoment says
This is very similar to the method I use to make my yogurt. I've never used the whey in baking though. I'm curious, when you replace buttermilk with it - do you just use an equal amount of whey, and do you add anything else? I hate wasting it - and this sounds like a great "way" to use up the "whey."
Amanda says
Usually I add some yogurt with it to give it extra creaminess! I also hate wasting things so I do what I can. I also find it is great as a marinade with a touch of yogurt again
Colleen says
I think I would like to try this. I was wondering, what kind of flavours you add? Like, if you just wanted vanilla yogurt, would you add vanilla extract? Or would that seem too artificial tasting? So, is this considered Greek yogurt if I am using a Greek yogurt starter?
Amanda says
Hi Colleen, in order to make it Greek, you would also need to strain the liquid once the yogurt is set. I recommend placing in a cheesecloth for about 1 -2 hours, or until the yogurt is quite thick like Greek yogurt.
Amanda says
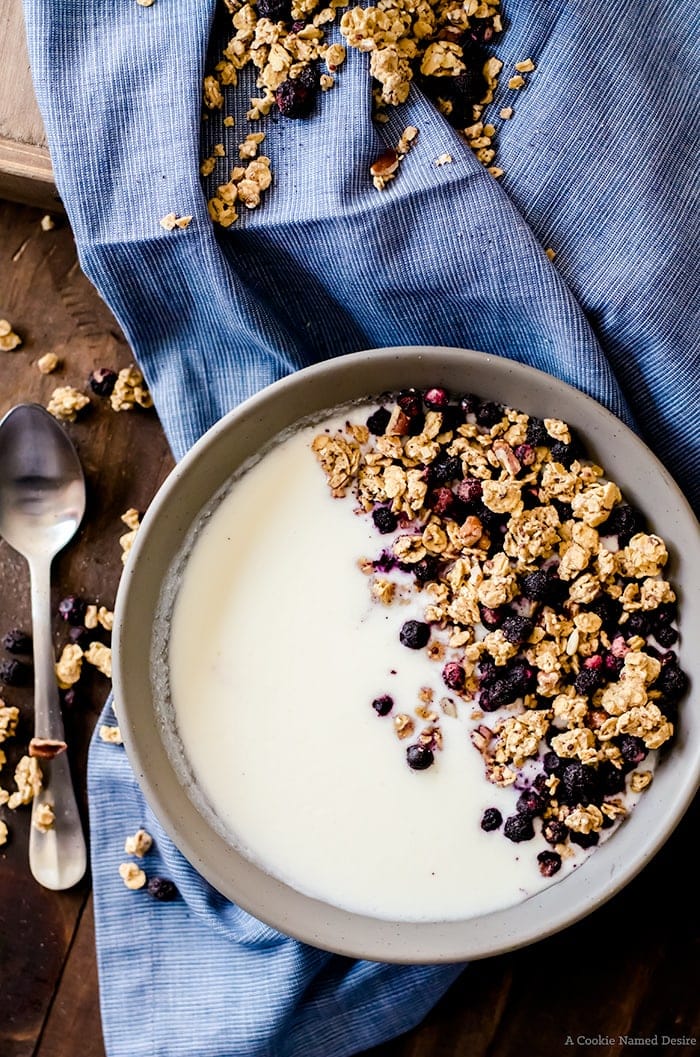
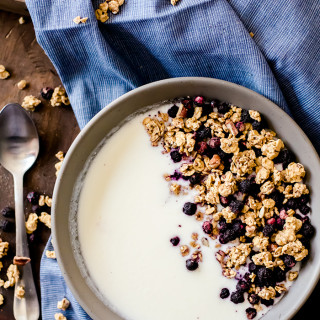
To answer your first question, when I have my morning yogurt, I like to add vanilla and stir in things like homemade curd, jams, or granola. As I mentioned in the post, you can o let flavor the yogurt after it is already made. Either before you place it in the refrigerator, or just prior to eating
Thalia @ butter and brioche says
I've only made yoghurt once before - and it turned out great. SO I definitely need to test out this recipe Amanda, yoghurt is something I have every day but never make myself! Xx
Amanda says
It is so simple and the flavor is just incredible. Making it is a wonderful weekend project!
Cakespy says
What a useful and well-written little tutorial! 🙂
Amanda says
Thank you! I make yogurt every few days now and I am obsessed!
laurel says
I always wondered how you made yogurt! Looks so good.