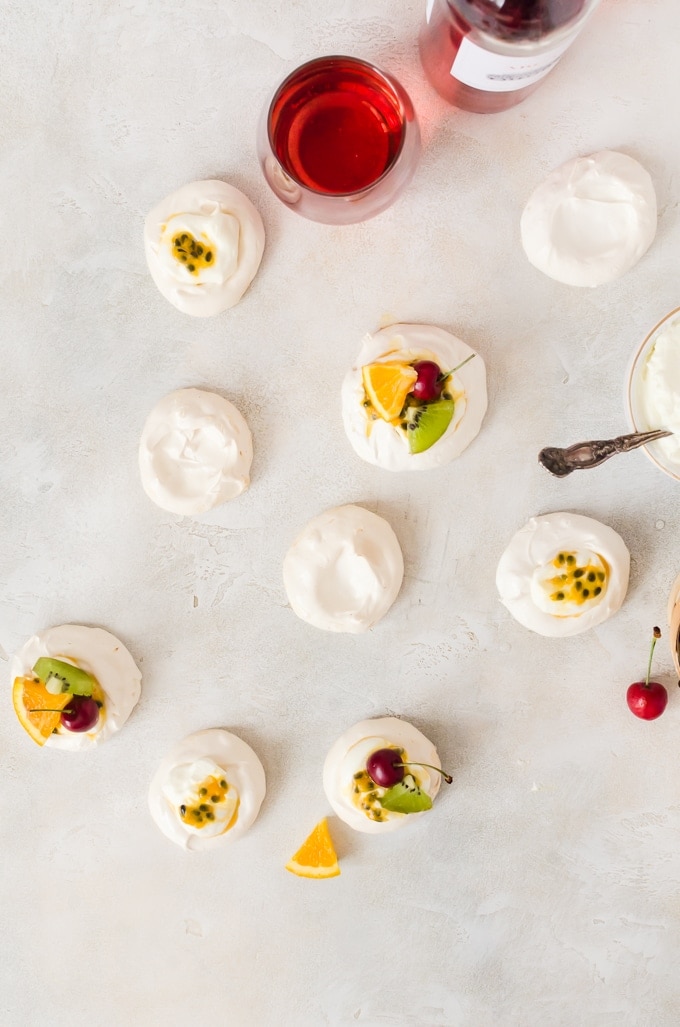
Light and airy mini pavlova are perfect nearly bite-sized summer treat. The crisp shell and cloud-like meringue pair beautifully with seasonal fruit!
Why you'll love it
These mini pavlova are nearly bite-sized treats that are perfect for serving a small crowd. It looks and sounds super fancy, but it is surprisingly easy that even a new baker can make them.
They're traditionally made during summer because they bake at a lower temperature and it don't warm up the house much. You can make them any time of the year though and finish them with seasonal fruits.
What are pavlovas?
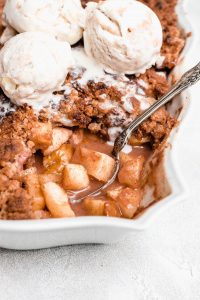
Pavlovas are a light and airy meringue dessert invented in Australia and New Zealand named after the Russian ballerina Anna Pavlova. Unlike traditional meringues that are crispy throughout, pavlovas have a crisp exterior, but a soft, marshmallow interior. It is then topped with whipped cream and finished with fresh fruits. You can also add syrups, nuts, chocolates, and more to make your dessert exactly how you want. This caramel apple pavlova is the perfect example of what you can do with your pavlova.
Ingredients
The base recipe doesn't need a ton of ingredients, and almost all of them are probably already in your kitchen.
- Egg whites - These are the base of the recipe. It is important to make sure there is no yolk in the whites otherwise they won't whip up. You should also always make sure you are using room temperature egg whites.
- Sugar - Granulated sugar is important to the base of the pavlova. You cannot use brown sugar. Powdered sugar is used for the homemade whipped cream.
- Cream of tartar - This is important to help stabilize the egg whites. You only need a small amount, but it makes a big difference. Add it to the egg whites while it is foamy and before you add in the sugar.
- Cornstarch - This is vital to ensuring you get a crisp exterior and keep a nice, soft marshmallow interior.
- Heavy cream - It is important to make your own whipped cream to really make this dessert. You need chilled heavy cream for this. It may also go by the name whipping cream.
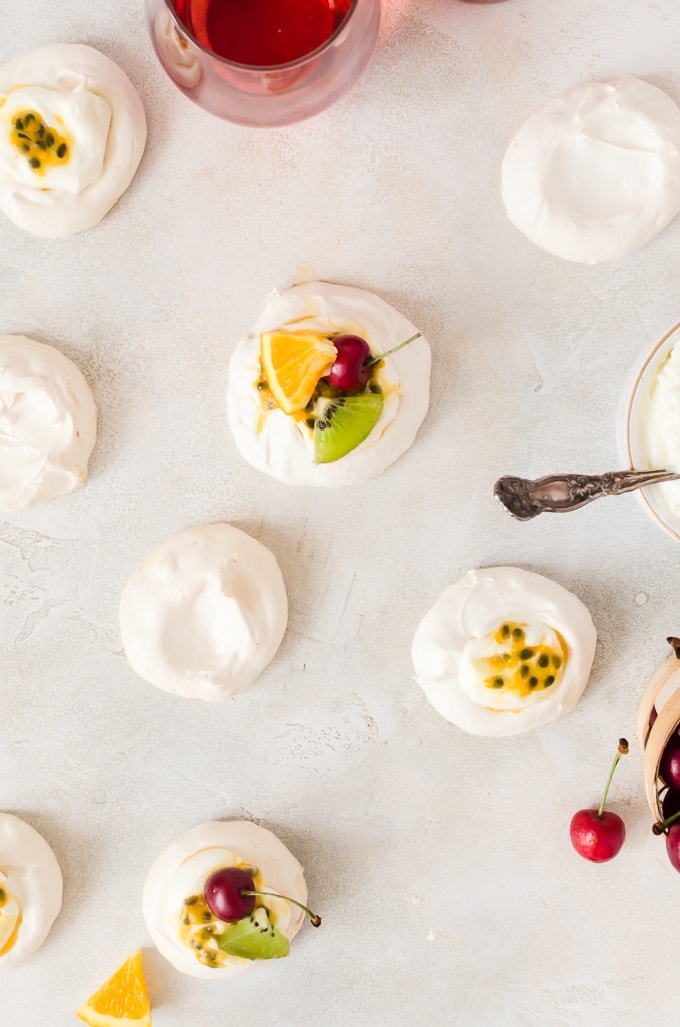
- Seasonal fruit - You can use whatever fruit you have around. Seasonal fruit is always best.
Tips for success
- Use room temperature egg white. You can quickly warm your eggs by placing the whole eggs in a bowl of very warm water for about 10 - 15 minutes.
- Thoroughly wash and dry everything you use. Lightly rub down your bowls and whisks with a slice of lemon. This makes sure there are no traces of fat on anything which can stop the egg whites from gaining volume.
- Separate each egg white in a separate bowl before you put it in your mixer. This is for insurance to make sure if you have issues separating an egg white from the yolk, you don't ruin the whole batch.
- Make sure there are no yolk in your egg whites. It will stop them from whipping up entirely.
- Use parchment paper for the best results. You can make sure the parchment paper stays put by using drops of the meringue on the bottom corners of the parchment to stick on the baking sheet.
- Your oven should already be preheating when you start making the pavlovas. You don't want to let the meringue to sit while the oven is preheating because you can risk the sugar weeping from the meringue.

Recipe FAQs
The pavlova gets soft and sticky over time once assembled. I recommend enjoying them immediately. You can store the meringue shells in an air tight container and assemble them as needed to prolong their freshness. They will stay fresh in an airtight container for 2 days. You should make the whipped cream when ready to assemble.
You can add more than just whipped cream and fruit. You can also use lemon curd, salted caramel, nuts, and so much more. Experiment with different flavors and have fun with it!
Recipe Card
Mini Pavlova
Ingredients
Pavlova
- 5 egg whites
- ¼ teaspoon salt
- 1 teaspoon cornstarch
- ½ teaspoon cream of tartar
- ¾ cups granulated sugar
- 2 teaspoons vanilla bean paste or vanilla extract
Filling
- ⅔ cups heavy whipping cream
- 2 tablespoons powdered sugar
- 1 ½ cups Seasonal fruit
Instructions
- Preheat your oven to 350 degrees F. Line two baking sheets with parchment paper.
- Thoroughly wash your mixing bowl and whisk attachment. Rub down with lemon juice to help remove any oily residue.
- Add your egg whites to the bowl and beat until they are very foamy. About 3 - 5 minutes.
- Add the salt, cornstarch, and cream of tartar. Continue to beat on medium-high until soft peaks begin to form.
- Slowly add the granulated sugar and beat until stiff peaks form - about 8 to 10 minutes. Fold in the vanilla.
- Spoon or pipe the meringue in small rounds onto the baking sheet. Use the back of a spoon to make holes in the meringue so they look like nests.
- Add the baking sheets to the oven and turn down the heat to 250 degrees and bake for 90 minutes. Turn off the heat, but to not open the oven. Allow to sit for about 3 hours. Crack open the oven door and leave cracked open for about 20 minutes.
- While the nests are in the oven, whip heavy whipping cream and powdered sugar together until it forms soft peaks. Set aside.
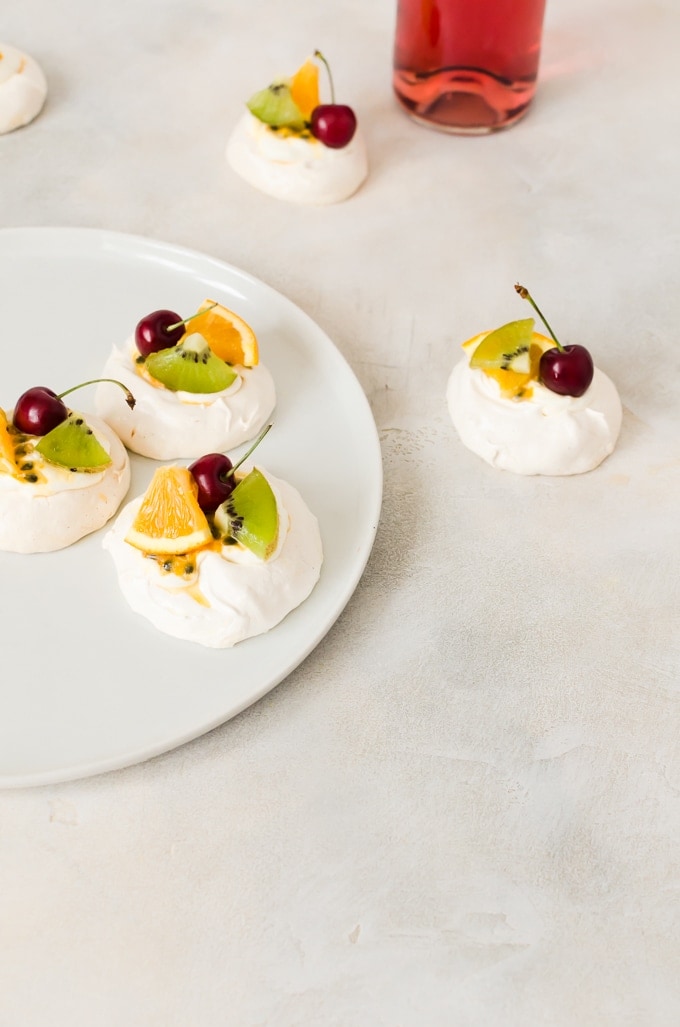
- Remove the nests from the oven and top with the whipped cream and fruit. Serve immediately.
Leave a Reply