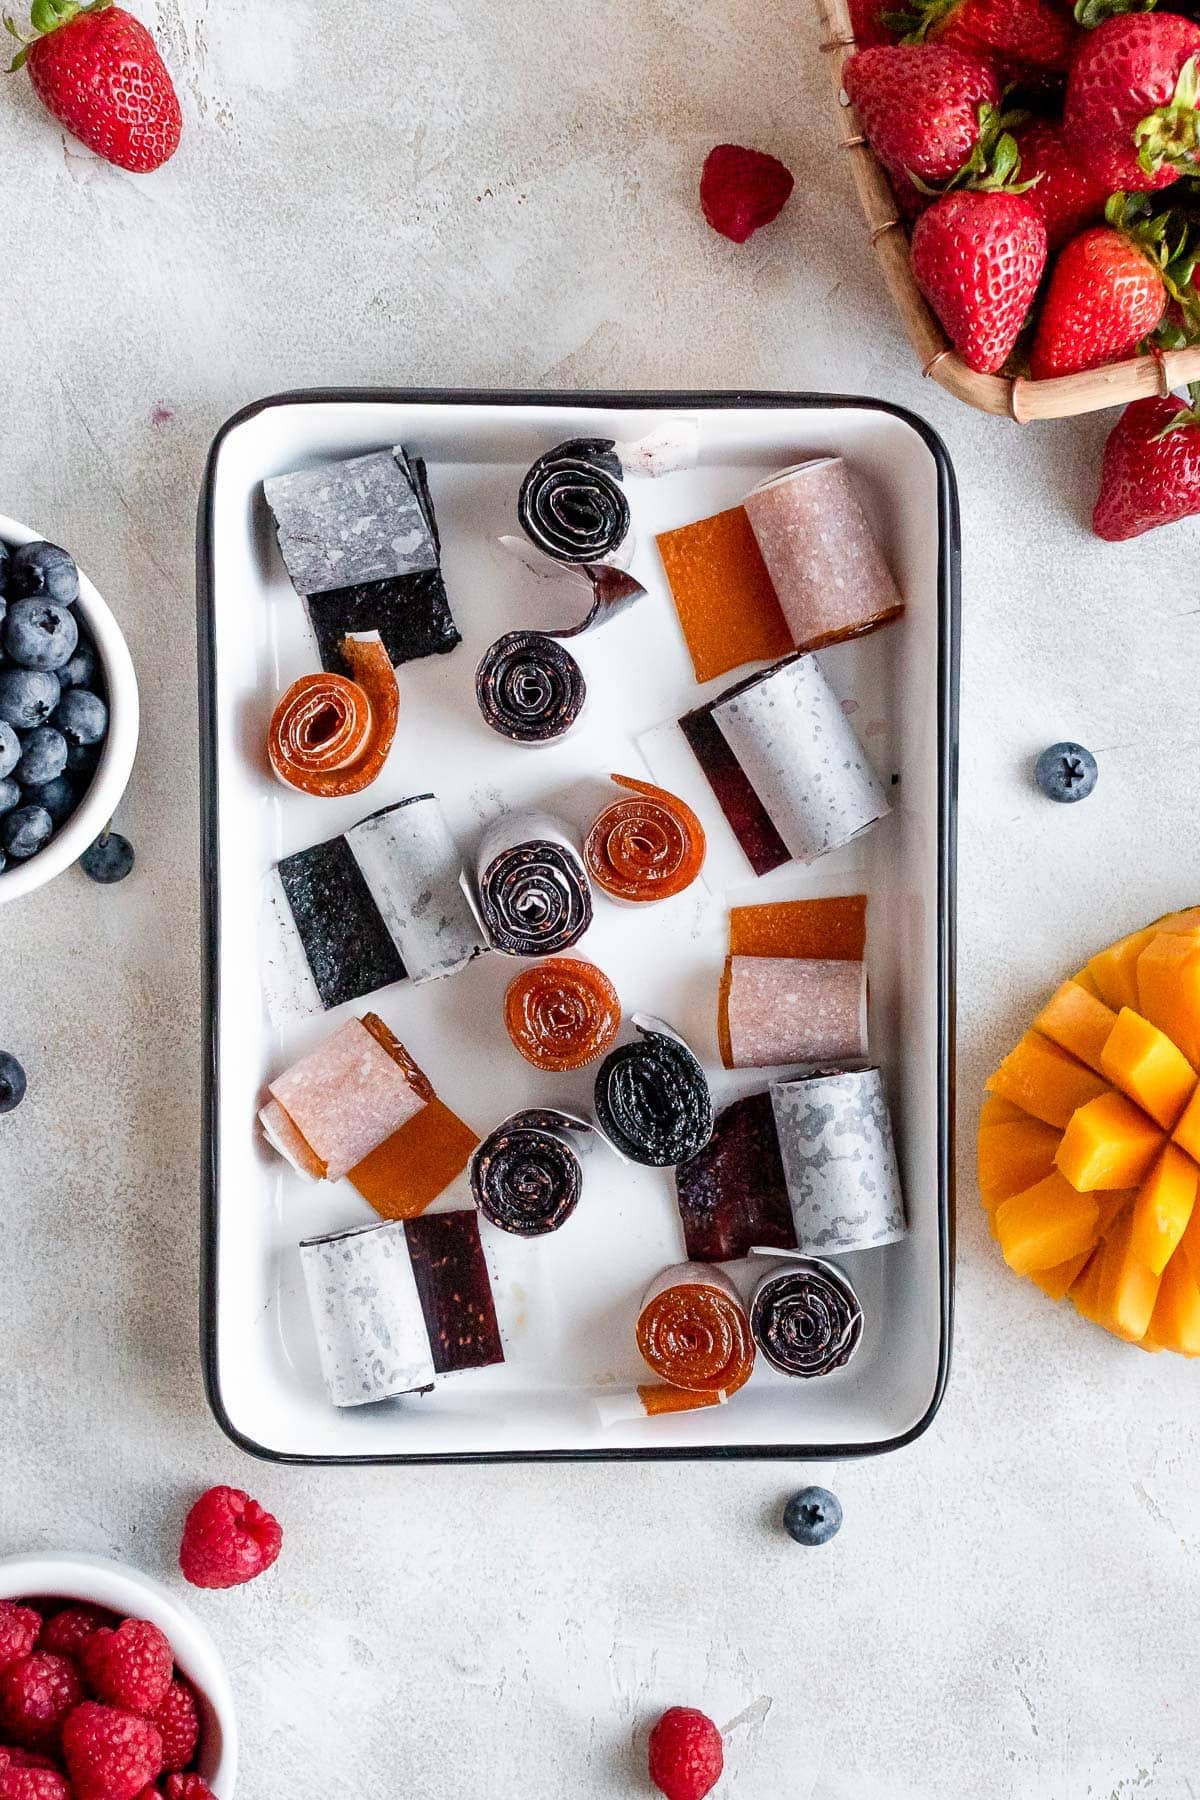
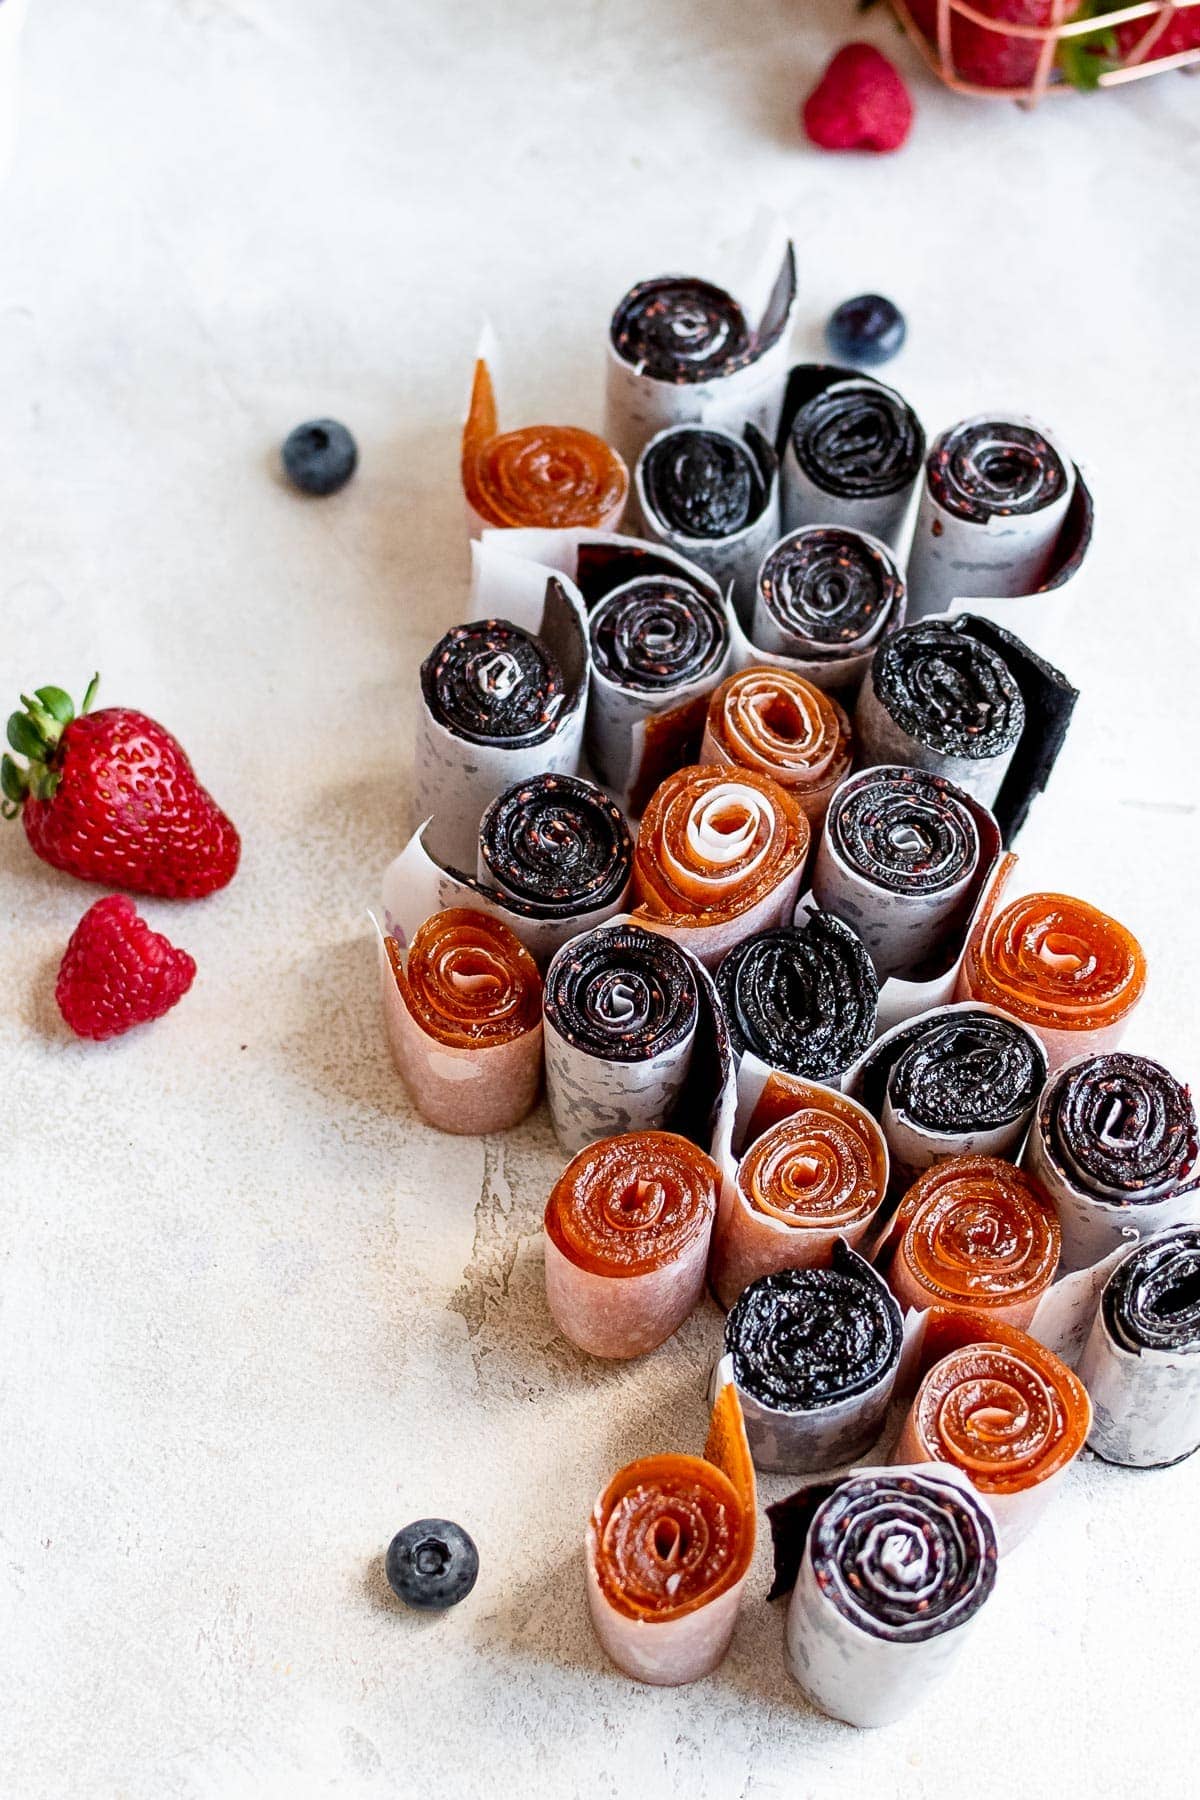
If you ever wanted to know how to make homemade fruit roll-ups, you will love this guide. I explain exactly how to make fruit roll-ups at home with any fruit you have, plus give inspiration on deliciously fun twists!
Why it works
Homemade fruit roll-ups are the best because they use all-natural and simple ingredients, so you know exactly what you are eating. You can customize your roll-ups in nearly infinite ways using your imagination and this simple base recipe that works with just about every fruit.
It is a fun snack to make with the kids (with adult help) and a great way to teach them about ingredients and how to use them to make tasty treats everyone can feel good about eating.
The best part is that they last a while in your pantry, so you can make several batches of your favorite flavor combinations and eat them whenever!
Ingredients
You need just a handful of ingredients to make your fruit roll-ups, and I am confident you have at least most of them in your kitchen right now!
- Fruit - You can use just about any fruit you want. As long as it can cook down to a puree-like consistency, you are good to go. Some of my favorites include: apples, berries, bananas, grapes, mangoes, and cherries.
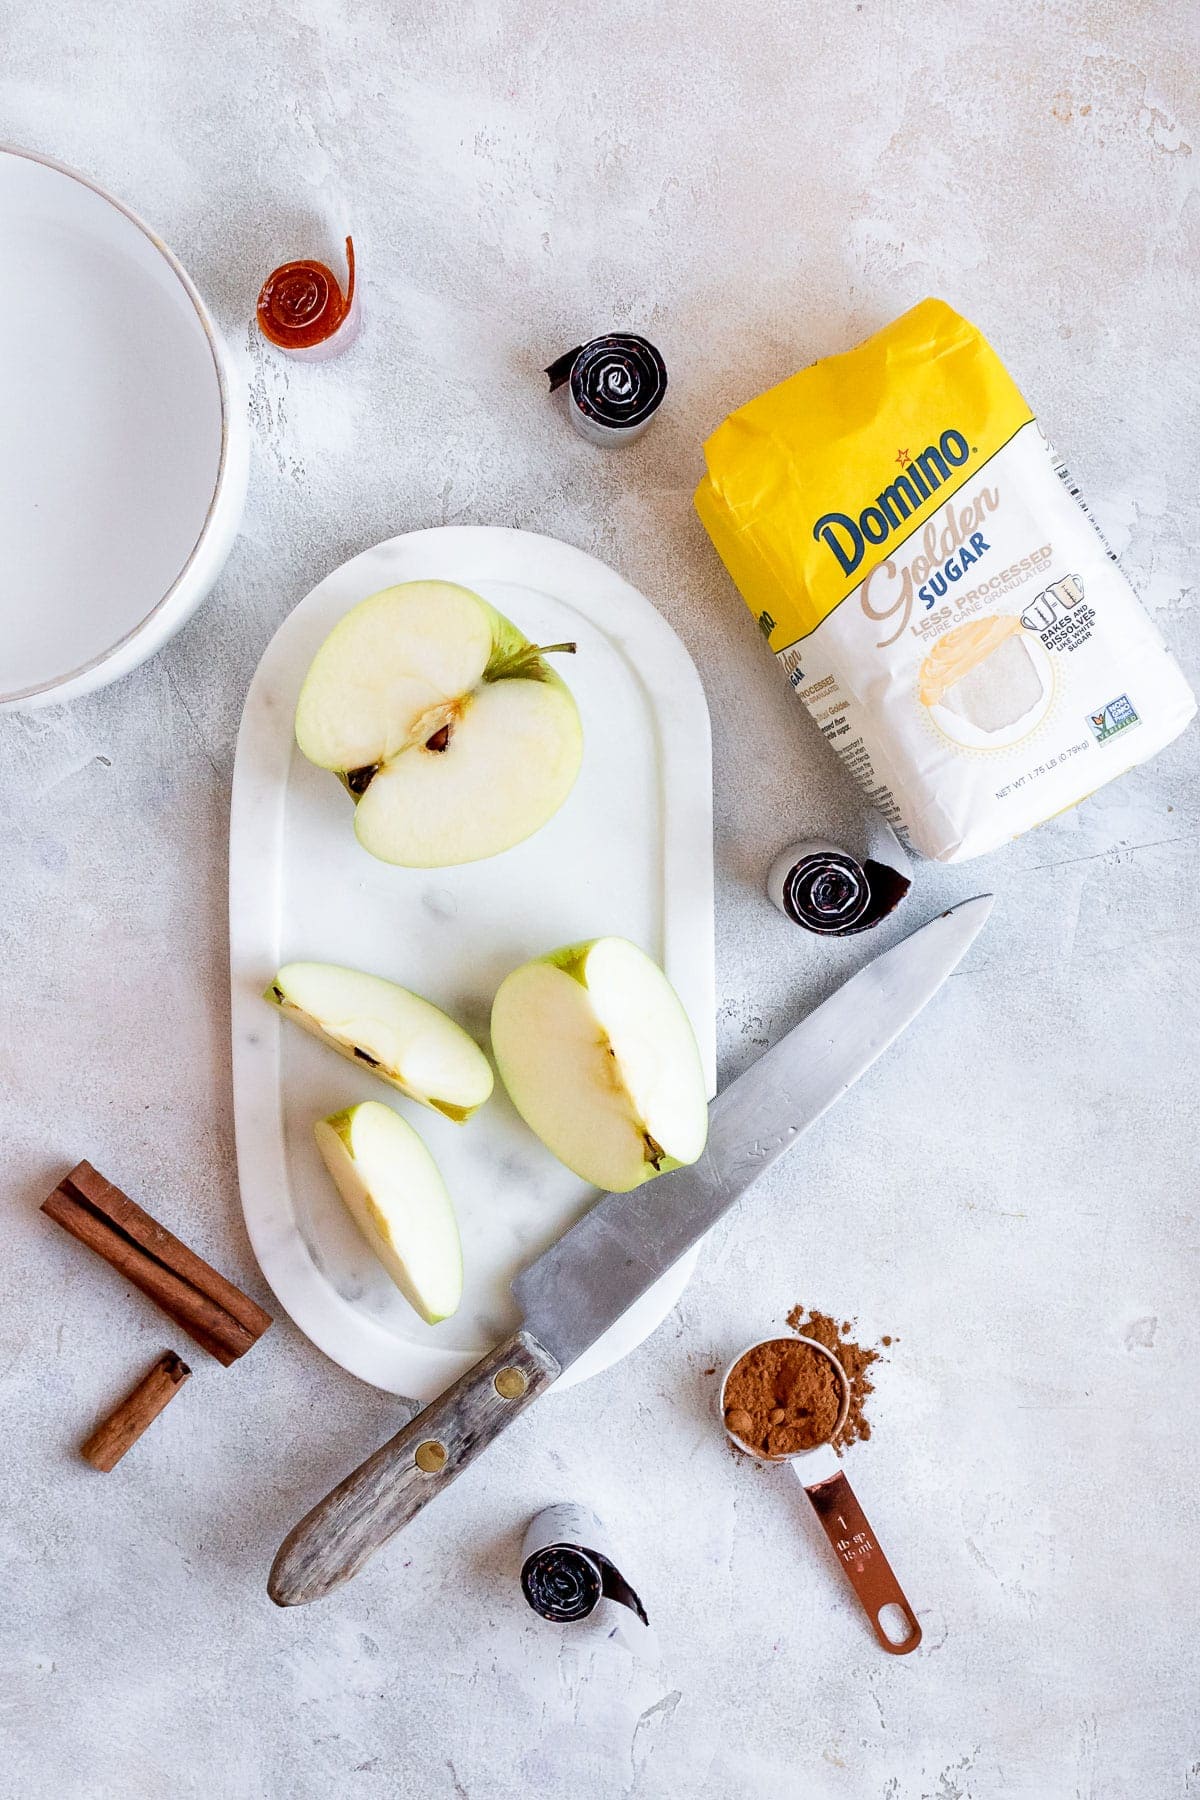
- Sugar - The sugar sweetens up the homemade fruit roll-ups, but it also helps to bind everything together and help the finished product last longer. I recommend using granulated sugar - my favorite is Domino Golden Sugar for this recipe.
- Citrus juice - The citrus juice brightens the flavors and also helps keep the finished product lasting longer. You can pick and choose what citrus you use in your roll-up, or try something new altogether. Ideas include: lemon (which is the standard for most recipes), lime, grapefruit, and orange. You can also try something different like passion fruit.
- Salt - We use salt to brighten and enhance all the flavors.
- Extracts - This is totally optional, but you can use extracts to help incorporate more flavor in your fruit leather.
Tools
We don't always go over the tools needed to make a recipe, but here, I thought it would be important to give a quick list, as you may or may not have every key tool you need.
- Blender or food processor - This is to break down some of the fruits before we cook them. Berries typically don't need to be blended first, but it helps. Fruits ike mangoes absolutely need to be processed first.
- Silicone or wooden spoon - For stirring.
- Heavy-bottomed saucepan - For cooking down the fruit first. A heavy or thick-bottomed saucepan ensures the fruit doesn't burn at the bottom of the pan easily.
- Rimmed baking sheet - For when we dehydrate the fruit, it makes the process easier if the sheet is rimmed.
- Silicone baking mat - I prefer the silicone mats over parchment or aluminum foil which can be difficult to use with fruit that spreads easily. The texture f the silicone will help keep the liquid together.
- Offset spatula - To spread the fruit over the mat.
- Wax or parchment paper - We transfer the fruit to this for rolling. I usually use parchment paper because it is what I keep available in the house.
- Scissors - To cut the fruit in strips to roll.
Method
There are a few ways to make this recipe for homemade fruit leather, but my favorite way is to make fruit roll-ups without a dehydrator.
- Puree your fruit. You should peel and deseed anything necessary. We don't want the skins of kiwi or mangoes in our roll-ups, but the skins of apples or pears are fine. If you want smooth fruit leather, you can strain out the seeds from your berries after pureeing.
- Add the fruit and remaining ingredients to your saucepan. Everything except the extract, if you are using it. The sugar, citrus juice, and salt should be whisked into the fruit until well-combined.
- Cook until thickened. Not every recipe requires this, but here is why it is great: it cuts down on oven time significantly. Just a few minutes cooking on the stove can save you potentially hours. The mixture should be jammy, or close to it. I recommend anything between 15 - 30 minutes, depending on how liquidy your fruit is.
- Spread your mixture. It should be an even layer on your silicone mat. It is okay if it isn't a perfect rectangle or doesn't reach the edges. It should just be a uniform thickness all around. Anything areas can potentially overcook and harden. You want to aim for roughly ⅛-inch thickness. No need to measure, just eyeball it.
- Bake. Set your oven to the lowest temperature available and let the mixture bake for about 3 - 3.5 hours. How long it takes varies. It is finished when the top isn't sticky to the touch. Allow it to cool completely and carefully unpeel. If the bottom is tacky, flip and bake for another few minutes to remove the tackiness.
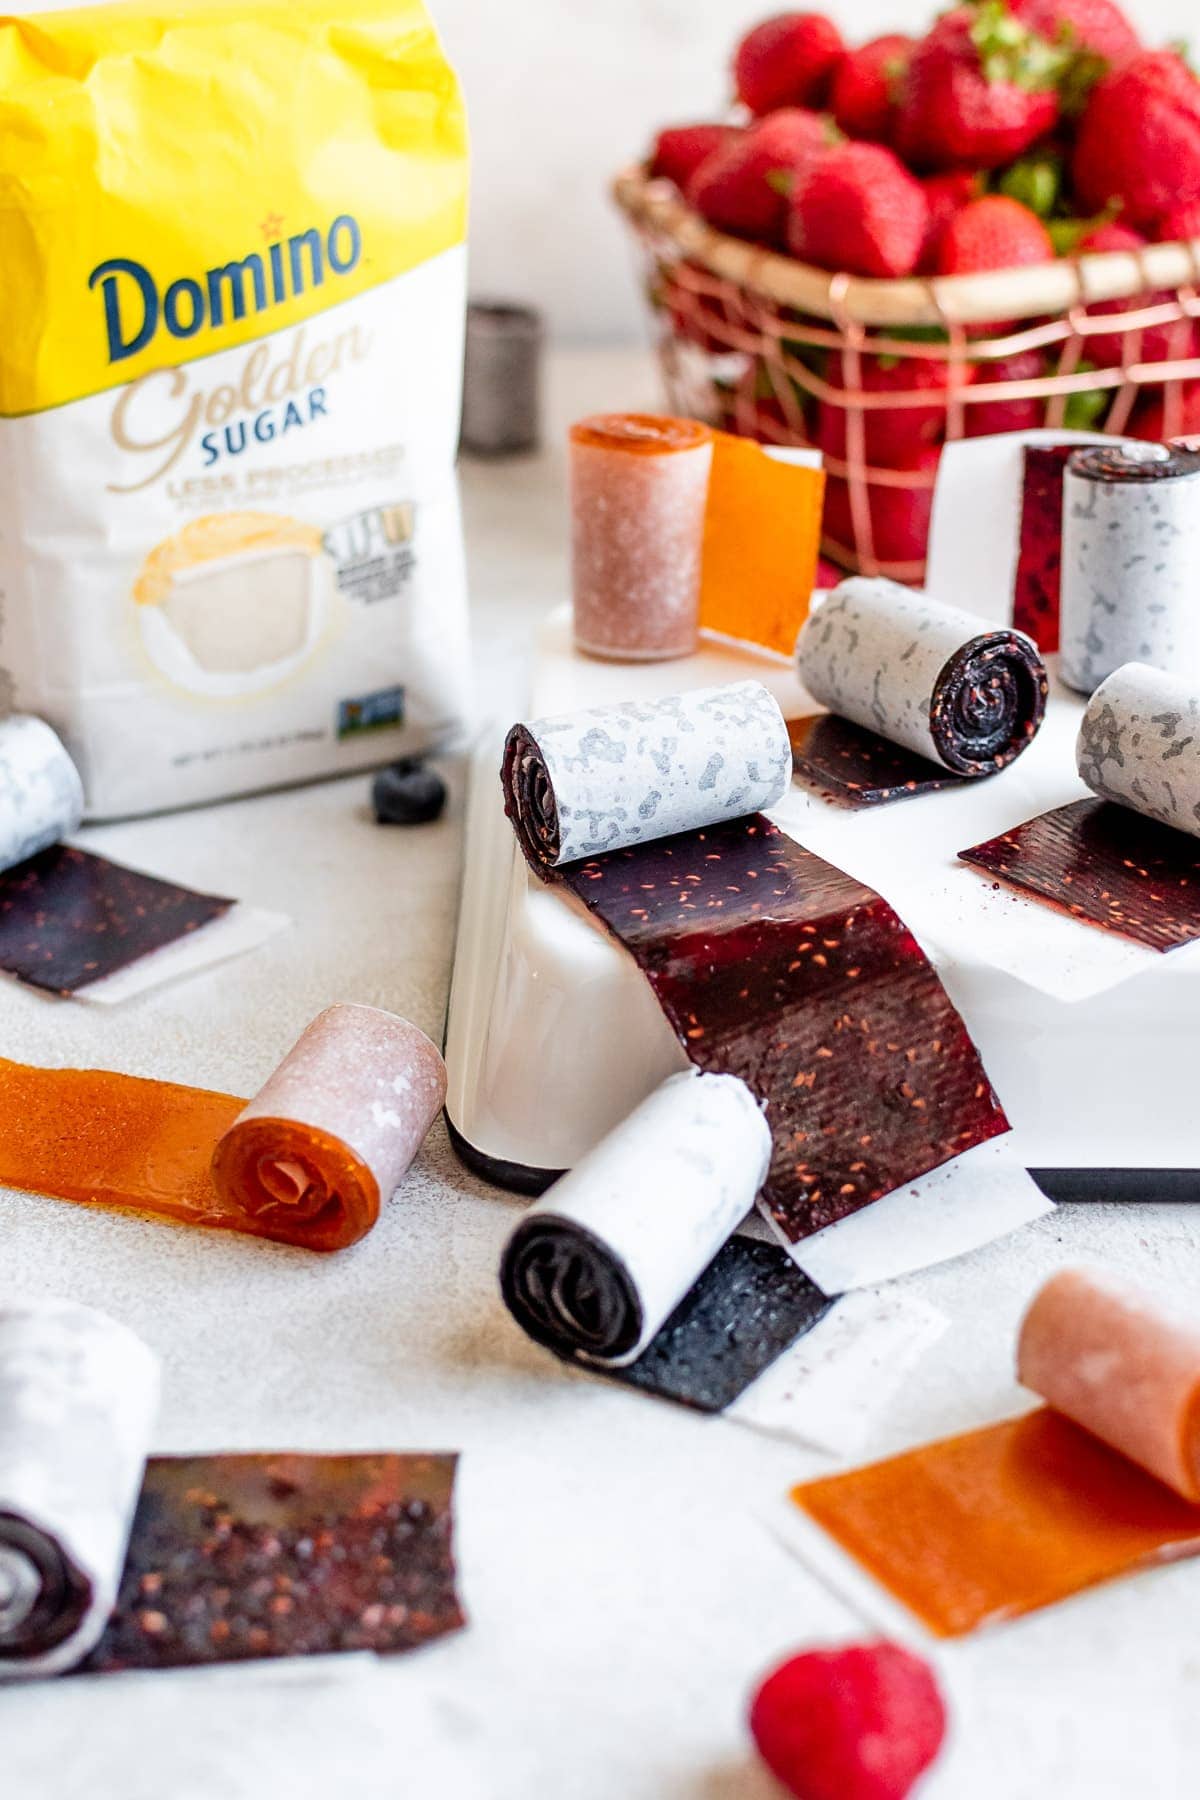
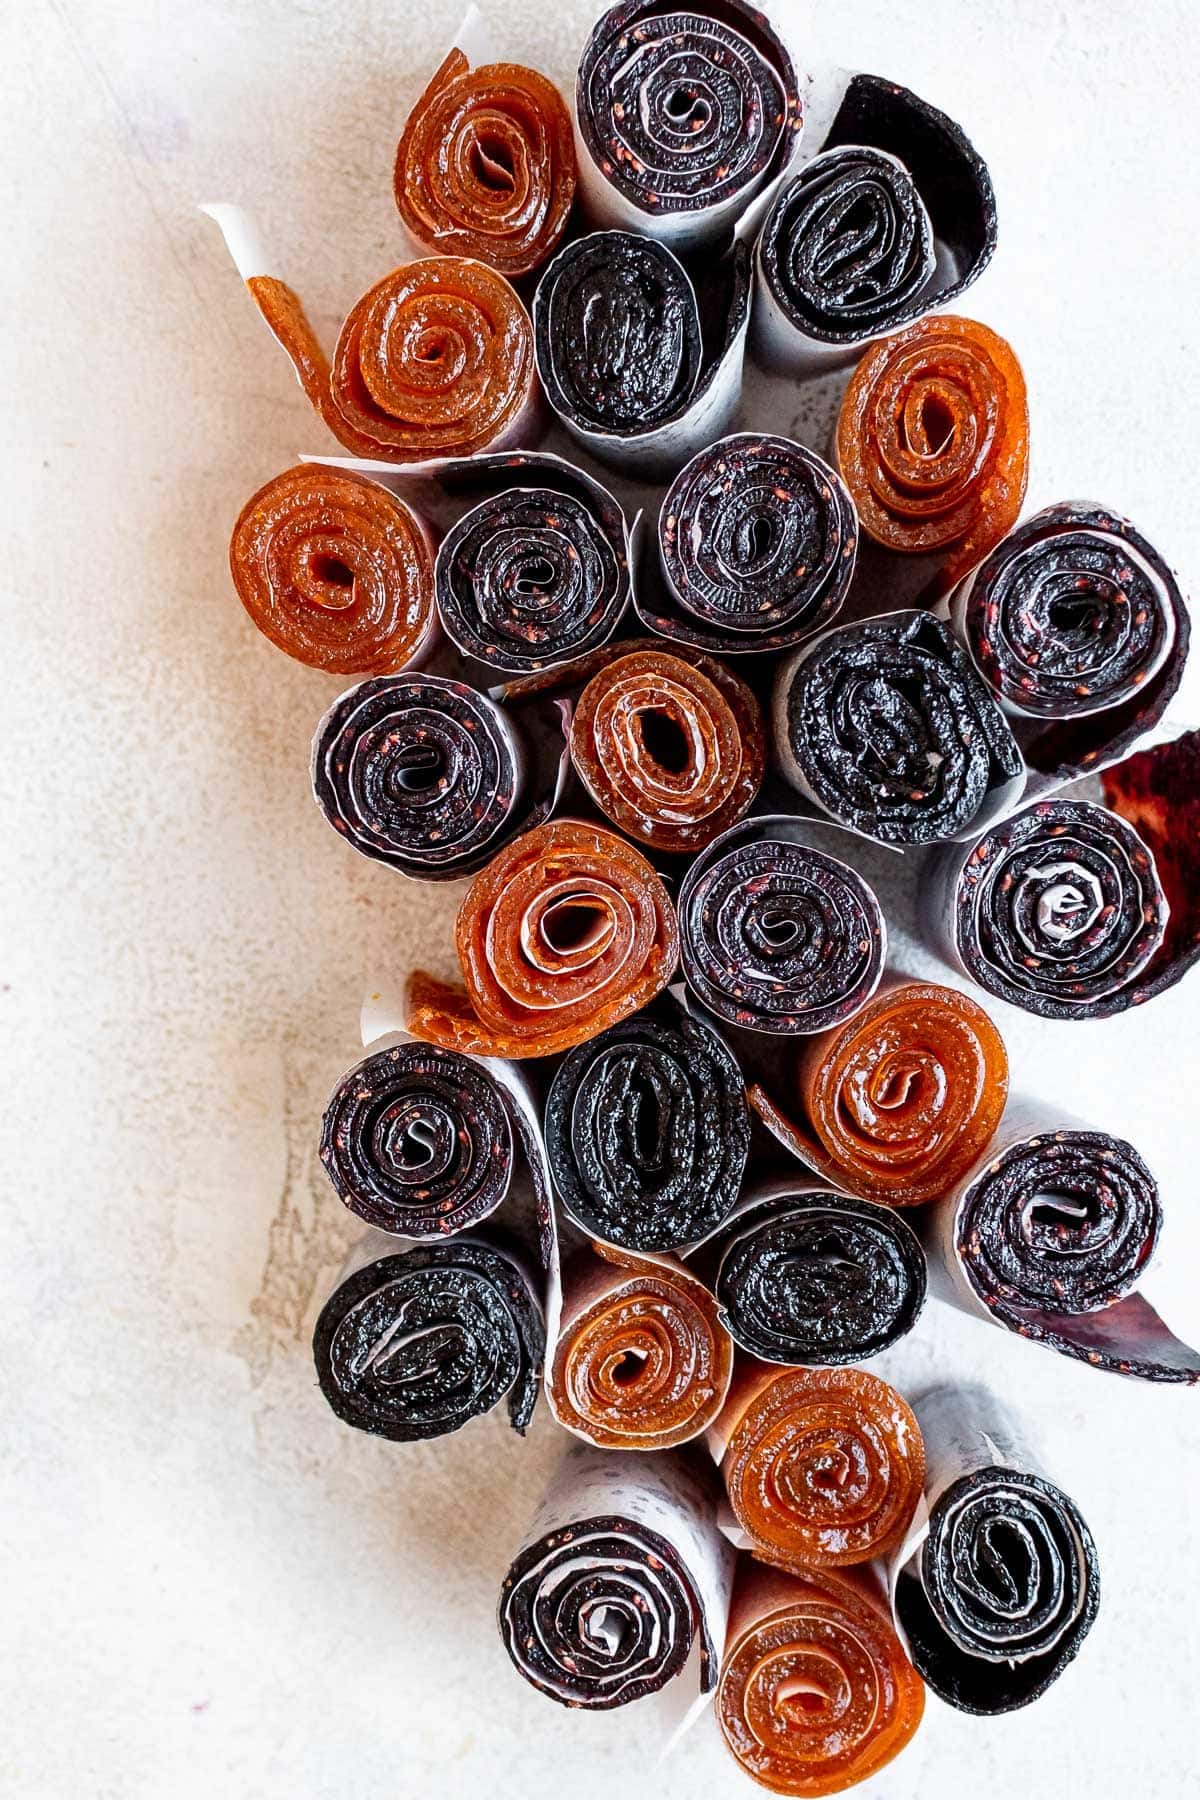
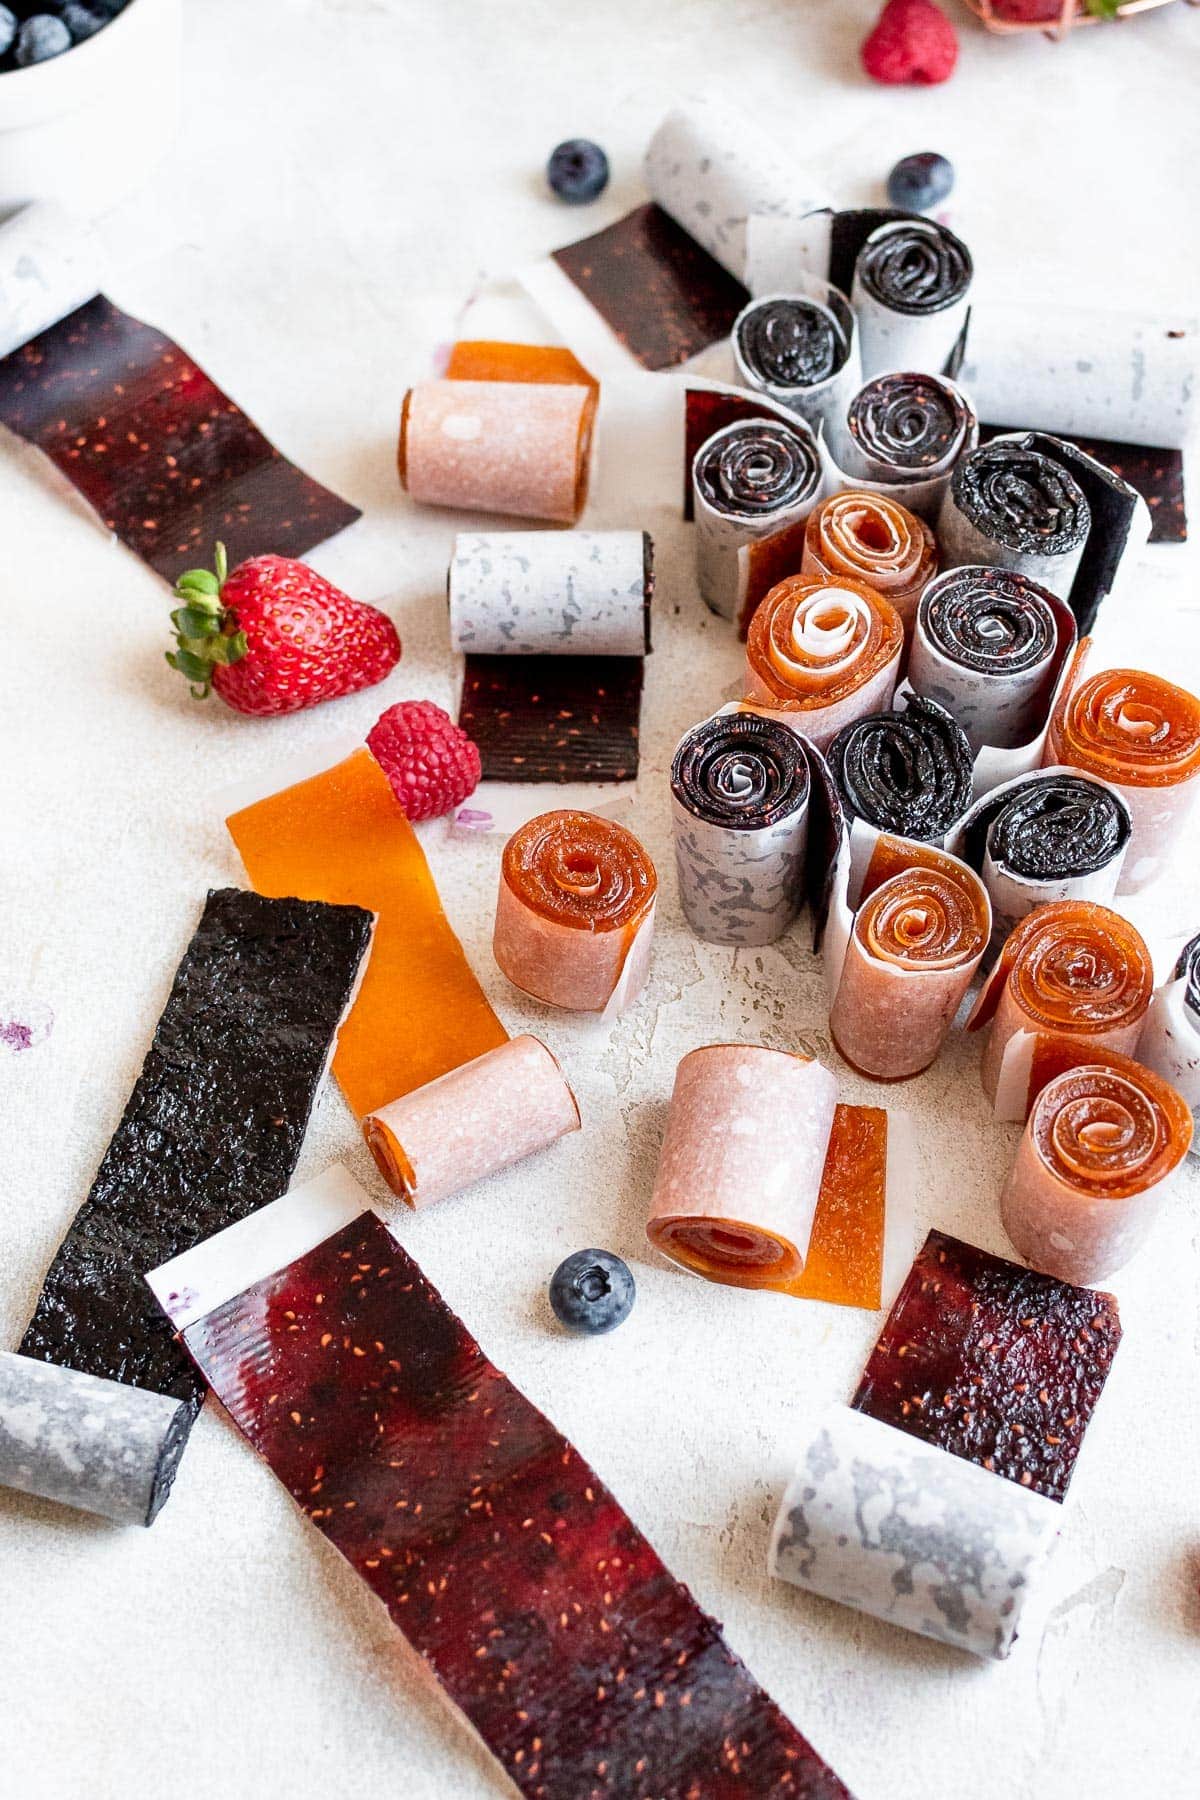
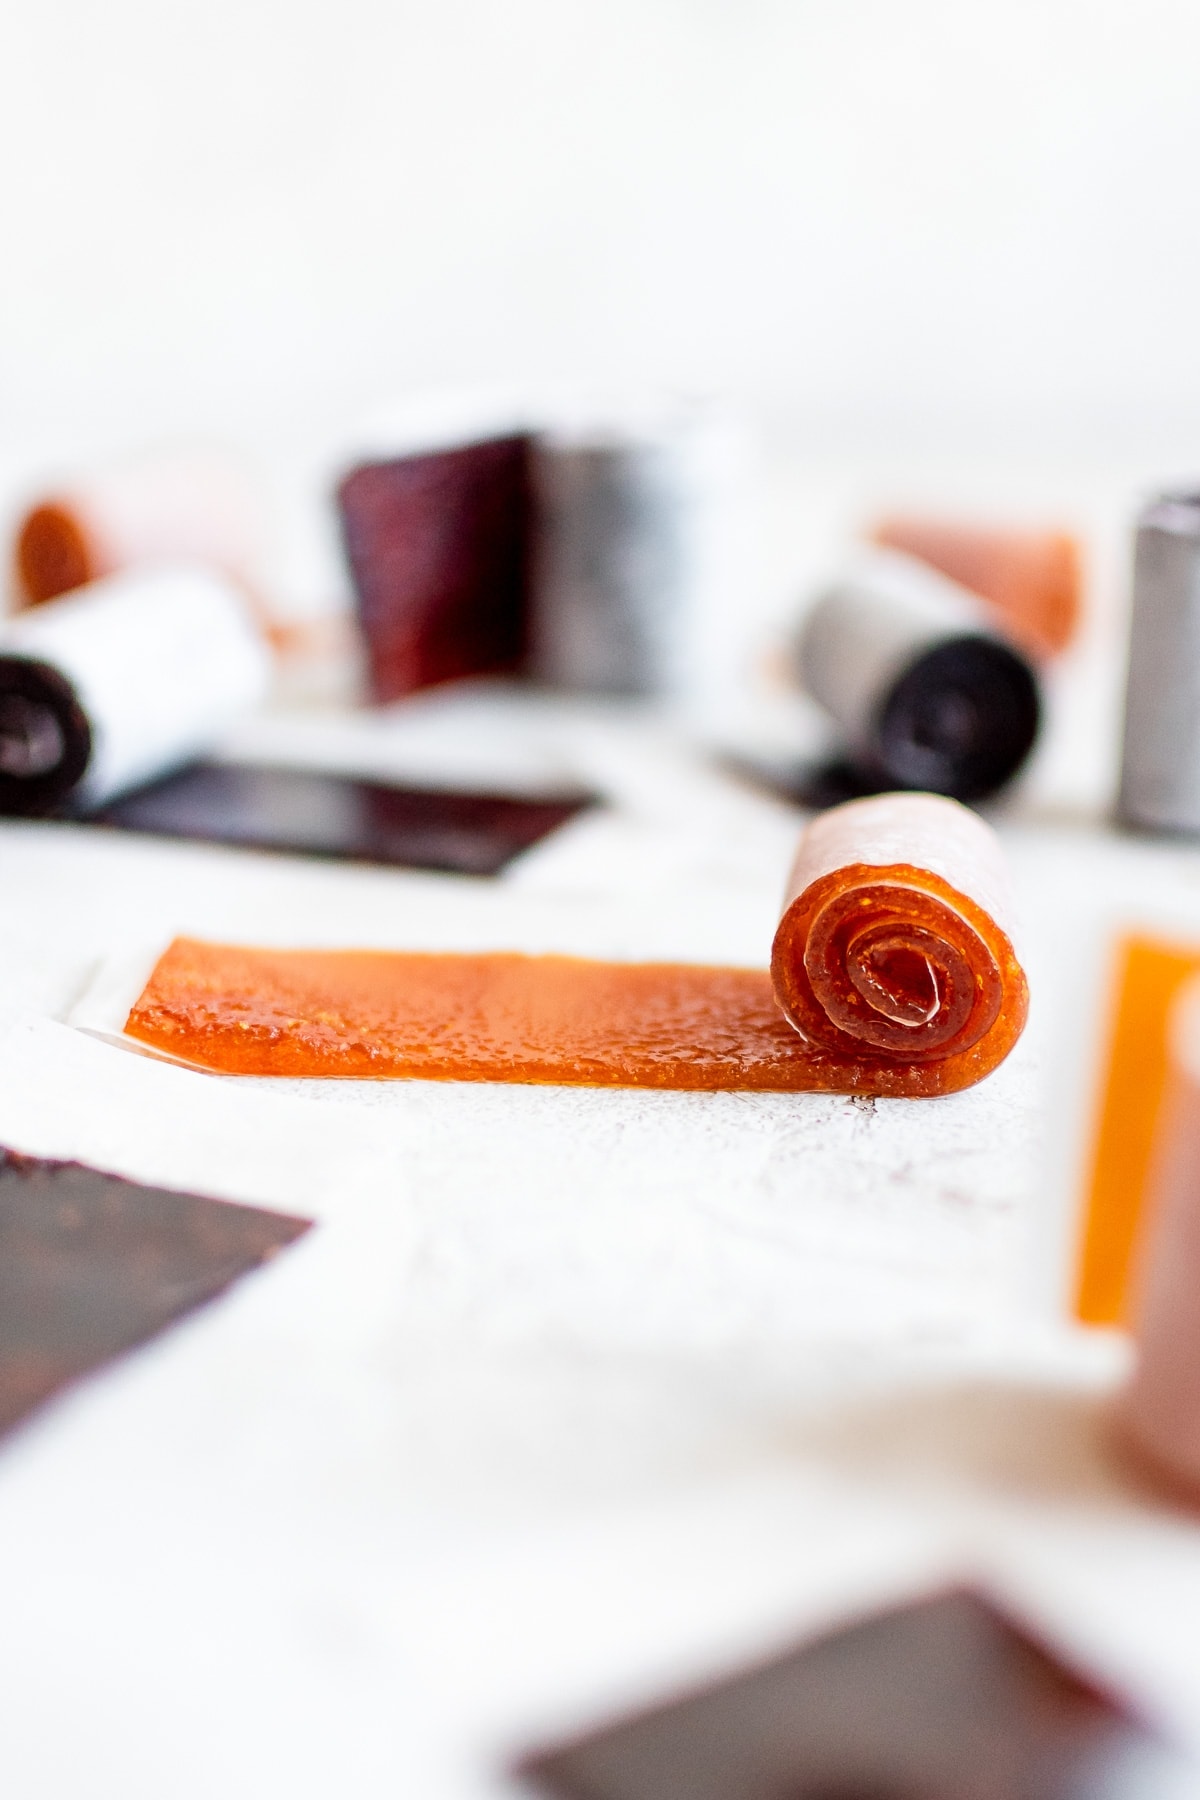
- Roll up. Lay the fruit leather onto parchment or wax, then cut in strips. Roll.
Fruit Roll-Up F.A.Q.
Absolutely! I do recommend thawing the fruit a little so it is easier to puree.
Yes, keep them stored in an airtight container. Thaw in the refrigerater overnight.
It depends. If your fruit is on the sweeter side, you can cut down on the suagr a little. I do not recommend using less than ⅔ cup of sugar.
You can replace the sugar with maple syrup or a no-calorie sugar alternative. Remember that sugar alternatives typically require only half the amount as regular sugar.
Storage
You should store the homemade fruit roll-ups in an airtight container for up to a month.
Related recipes
If you loved these you will love trying homemade marshmallows, rice krispie treats (four ways), homemade sprinkles, homemade graham crackers, homemade apple cider, and homemade applesauce.
Recipe Card
Homemade Fruit Roll-Ups
Ingredients
- 1 ¼ lbs fruit peeled deseeded, cored
- ¾ cup Domino Golden Sugar
- 1 - 2 tablespoons citrus juice
- ¼ teaspoon salt
- 1 teaspoon extract if using
Instructions
- Preheat the oven to 225°F.
- Add your desired fruit, Domino® Golden Sugar, desired citrus juice, and salt to a blender or food processor. Blend until the fruit is fully pureed and has a smooth consistency. If you are using berries, you can strain out the seeds, if desired.
- Pour the mixture into a thick-bottomed saucepan, and simmer on medium heat.
- Stir frequently, ensuring you scrape the bottom and sides of the saucepan frequently. Continue to cook until the mixture is very thick. This can take up to half an hour. Stir in extract if using.
- Add a silicone baking mat to a rimmed baking sheet, then pour the mixture over the mat. Spread the mixture in and bake for 3 - 3 ½ hours.
- Allow it to cool completely, then peel off from the silicone mat. If the underside feels tacky, flip the fruit and place the sheet back in the oven at the lowest temperature for 20 minutes. Allow to cool again.
- Lay the fruit roll-up on parchment or wax paper. Cut into strips and roll. Place in an airtight container.
Notes
Variations:
- Blueberry Pie - Use blueberries, and before you transfer the mixture to the baking sheet, stir in 1 teaspoon each of vanilla and butter extract
- Cherry Berry - Use ¾ lbs of pitted cherries and ½ lbs mixed berries.
- Apple - Use Granny Smith, Honeycrisp Jazz, Gala, or similar apples, peeled, and cored. Add in 1 teaspoon ground cinnamon, and a pinch of ground ginger to the blender.
- Strawberry Banana – Use two bananas, and enough strawberries to reach the remaining weight needed. Use the full 2 tablespoons of citrus juice (lemon, recommended)
- Peach - Add ½ teaspoon of ground cinnamon along with the peaches to the blender
- Mango Passion Fruit - Omit the citrus juice and add ⅓ cup passion fruit juice along with the mangoes. It may take longer to cook down.


Leave a Reply