
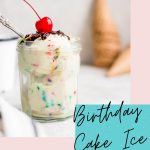


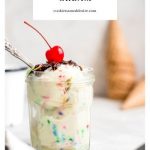
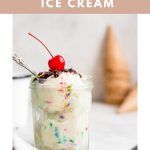
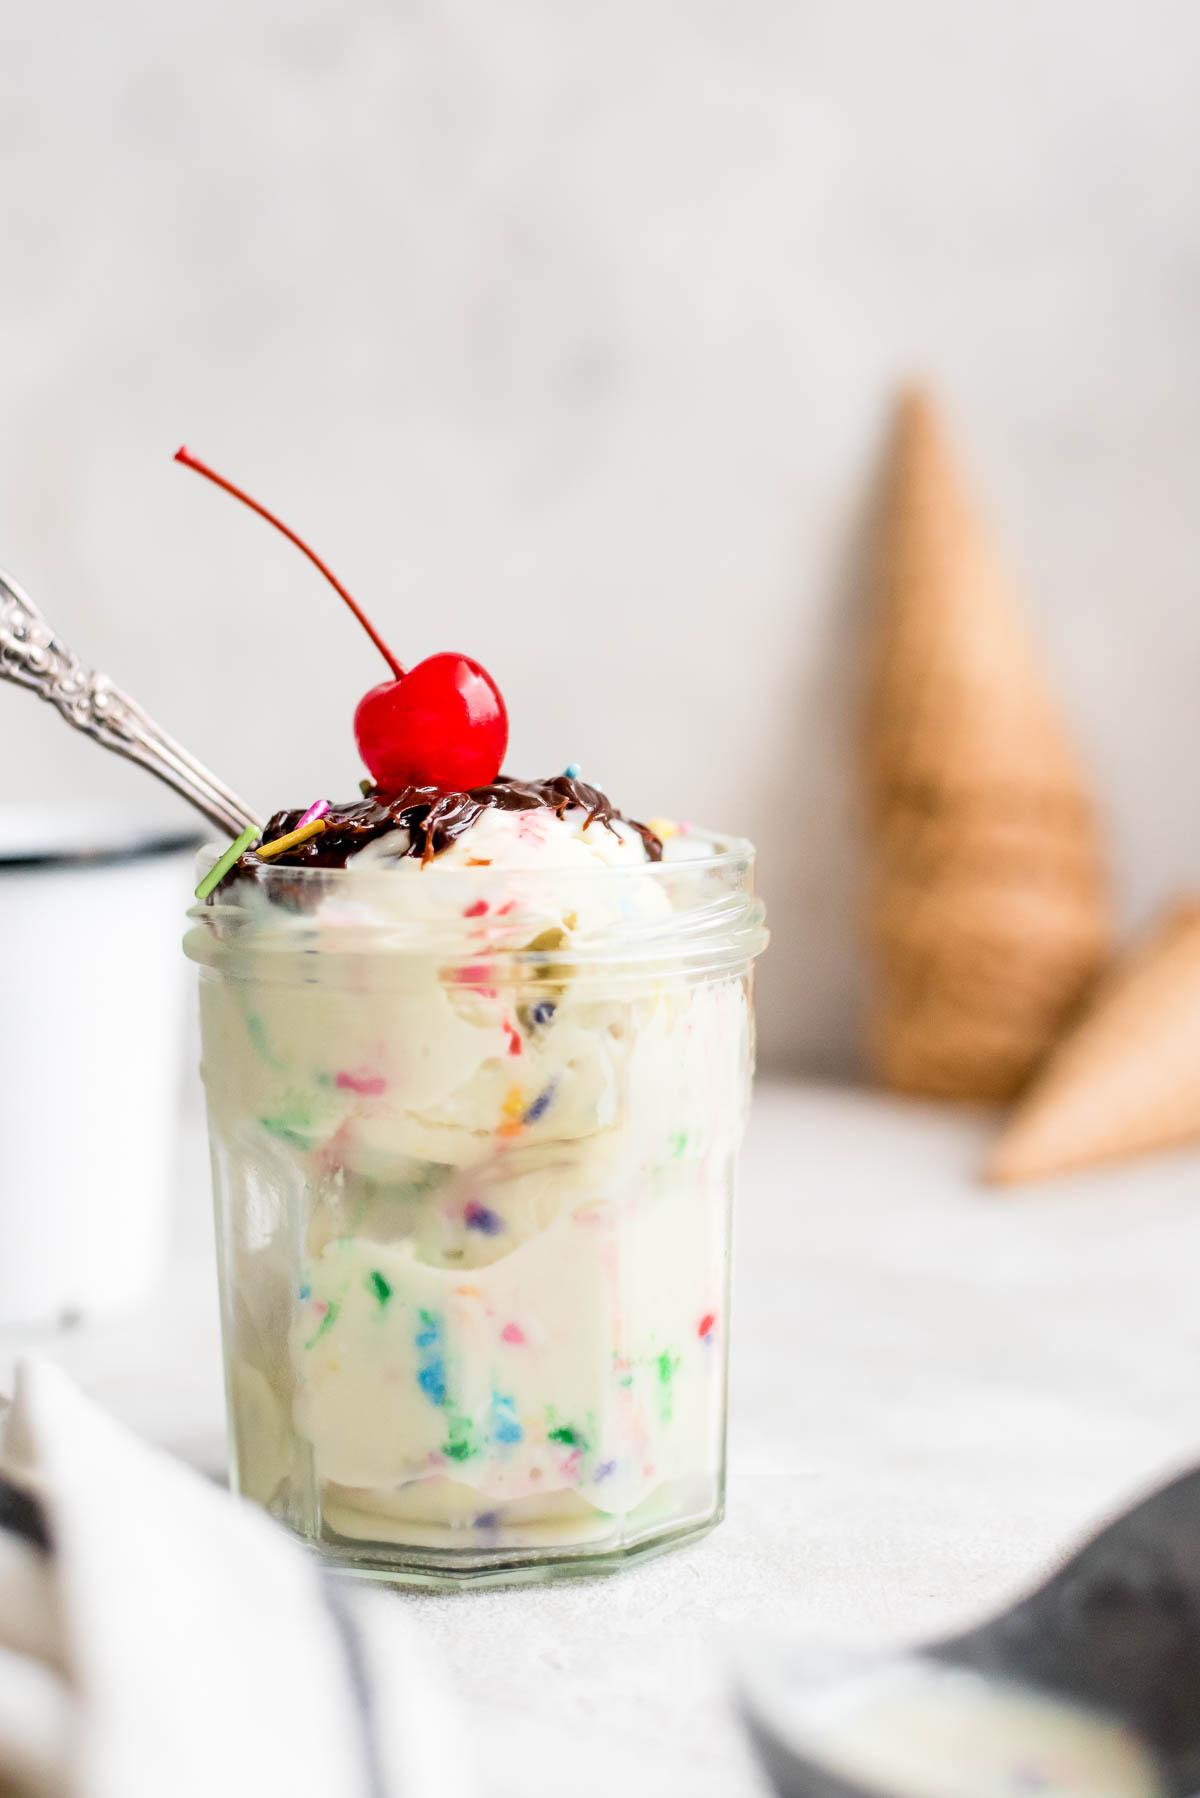
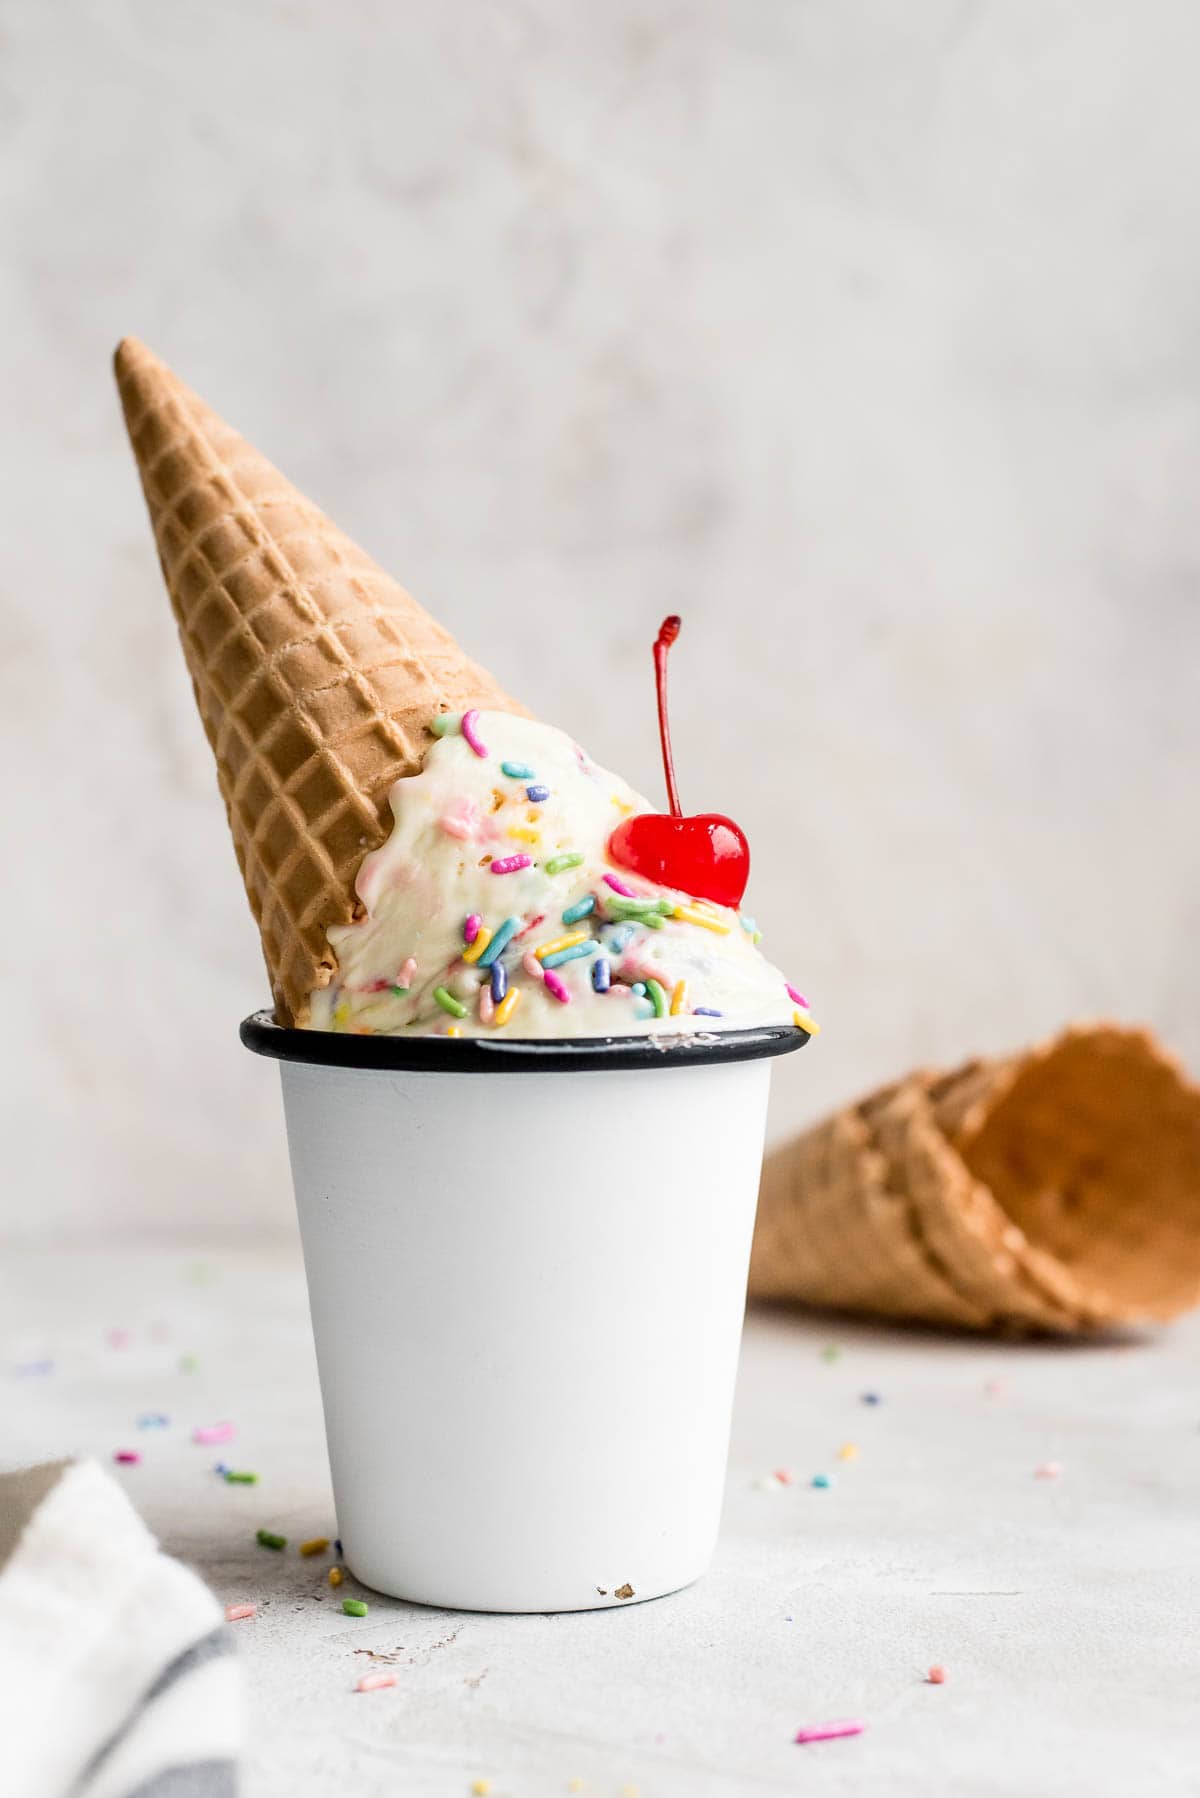
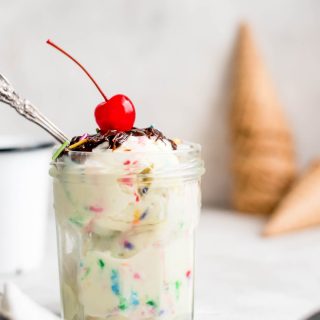
An ultra-creamy birthday cake ice cream made with real cake batter. You don't need to wait for anyone's birthday to indulge in this deliciously popular treat!
What is birthday cake ice cream
This is a super creamy ice cream that tastes just like your favorite childhood birthday cake with all the sprinkles. It is packed with flavor and the perfect way to cool down, or just to treat yourself. You definitely don't need to wait until someone's birthday to have a scoop... or two... or three.
How to make cake batter ice cream
We start with my favorite creamy vanilla ice cream recipe. What I love about it is that it is so flavorful, and is made to be easy to scoop as long as you churn it enough.
Then, we add in cake batter part of the recipe. You can do this one of two ways - or a bit of both.
- Add cake mix (I prefer funfetti)
- Add cake batter extract
I use the cake mix for two reasons. It thickens the ice cream base which helps make it more scoopable, and it gives the best flavor.
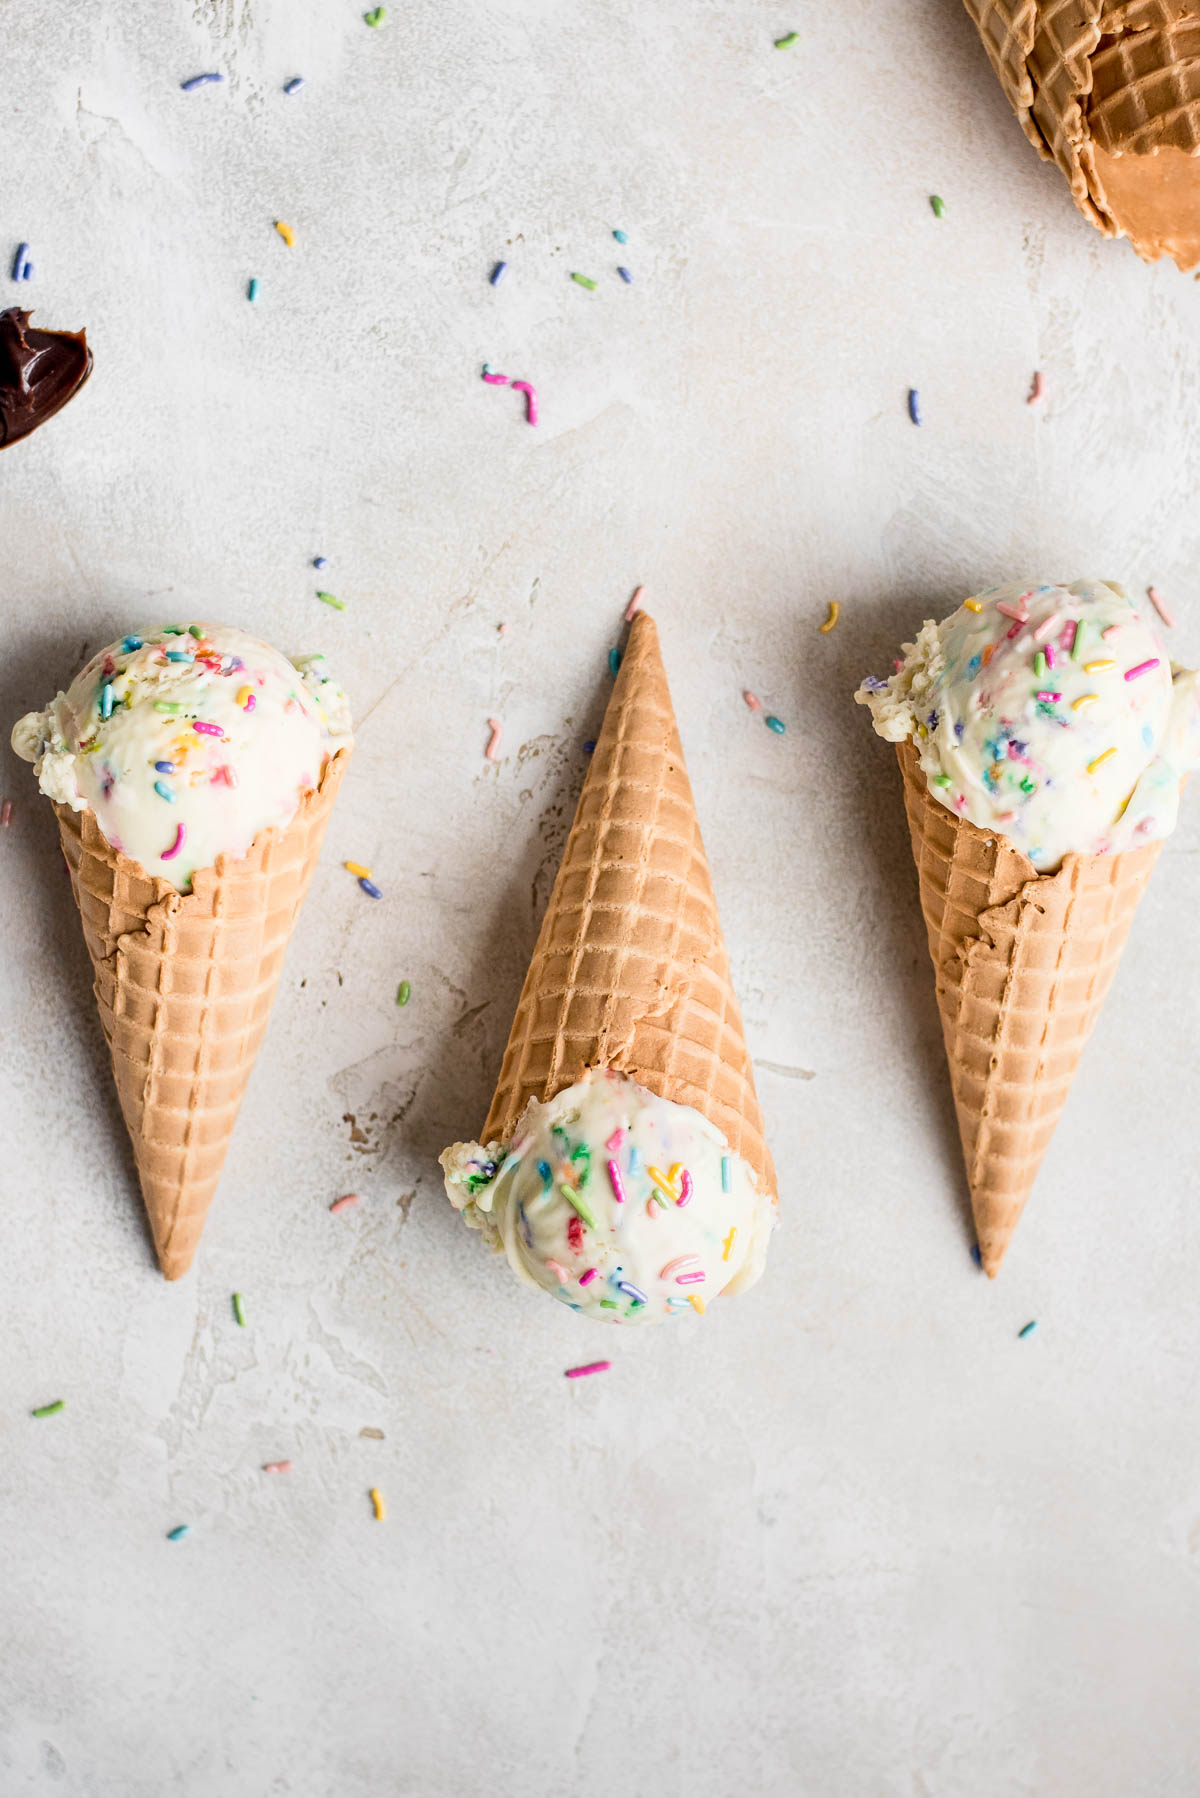
The cake batter extract also works. It tends to dye whatever you put it in yellow, so you should also keep that in mind. Funfetti cake mix can also dye your ice cream from the sprinkles dye incorporating into the ice cream base. I tend to remove the sprinkles and add them at the end.

How to make an ice cream birthday cake
I love using this birthday ice cream to make an ice cream cake. It is like the perfect cake/ice cream inception. Of course, you can mix and match ice cream and cake flavors with what you love best!
- First, start off making your cake. It should be two thin-ish layer about 1 to 1.5 inches thick. You can do this by baking the layers separately, or baking it as one thick cake which you then cut in half.
- Then, you need to make your ice cream. After churning your ice cream, you should place it in a plastic wrap-lined cake pan the same size as what you used to bake the cake. Freeze until solid.
- Sandwich the ice cream between the cake layers. You can add frosting and other mix-ins between the cake and ice cream.
- Ice the cake as you normally would, or leave naked!
Is cake batter ice cream safe during pregnancy?
You can absolutely eat this particular birthday cake ice cream recipe! The eggs are heated through, and the cake batter is heated enough to make it safe to consume as well. There aren't any serious risks to eating this ice cream beyond a sugar rush or tummy ache from eating too much!
Tools you'll need
You will need a few special tools to make this recipe. Namely, an ice cream machine. I've got two types listed that I've personally used.
- Nostalgia Ice Cream Machine - This was my first ice cream machine. What I loved is that I didn't have to do much to prepare in advance and you don't need to make your ice cream in batches. Unfortunately, though, it does require quite a lot of ice and salt for it to work, so you need to have a good stock of that available.
- Cuisinart Ice Cream Machine - This is the ice cream maker I use now. I love that it works better to get good overrun (the air in the ice cream that makes it light and nice to scoop). However, you need to prepare your machine ahead of time because the insert needs to be frozen at least 24 hours ahead of time. I just keep mine in the freezer permanently. You also need to make your ice cream in batches because it can only churn small amounts at once.
- Ice Cream Containers - You can use pretty much any airtight container, but I absolutely love my Tovolo ice cream containers. They give a really great seal which is important for maintaining the deliciousness of the ice cream.
- Ice Cream Scoop - This is hands down the best ice cream scoop ever. The handle retains heat and it travels down to the scoop making it so easy to get delicious scoops every time without killing your arm.
Fun add-ins to try
There are so many fun things you can add to your ice cream to make it even better! Here are some of my favorites! I recommend sprinkling them in small amounts in layers as you add your churned ice cream to the container.
- Pound cake or vanilla cake - This is my favorite one. It's a great way to add more dimension and cake flavor! If you don't want to make a whole cake to add to your ice cream, try my vanilla mug cake.
- Cinnamon rolls - Cut up, these are just so mouthwatering
- Brownie batter or chopped brownies - The chocolate adds nice contrast and texture. I really recommend this one.
- Vanilla buttercream or strawberry frosting - Frosting adds so much fun to your ice cream! Vanilla and strawberry are personal favorites, but you can experiment with what you love most.
Recipes you may like
Cake batter fans will love my edible cake batter cookie dough, birthday cheesecake, and my cake batter milkshake. Ice cream lovers will love this coffee oreo ice cream, churro ice cream, blueberry ice cream pie, maple bourbon bacon ice cream, and this chocolate peanut butter ice cream cake.
Recipe Card
Birthday Cake Ice Cream
Ingredients
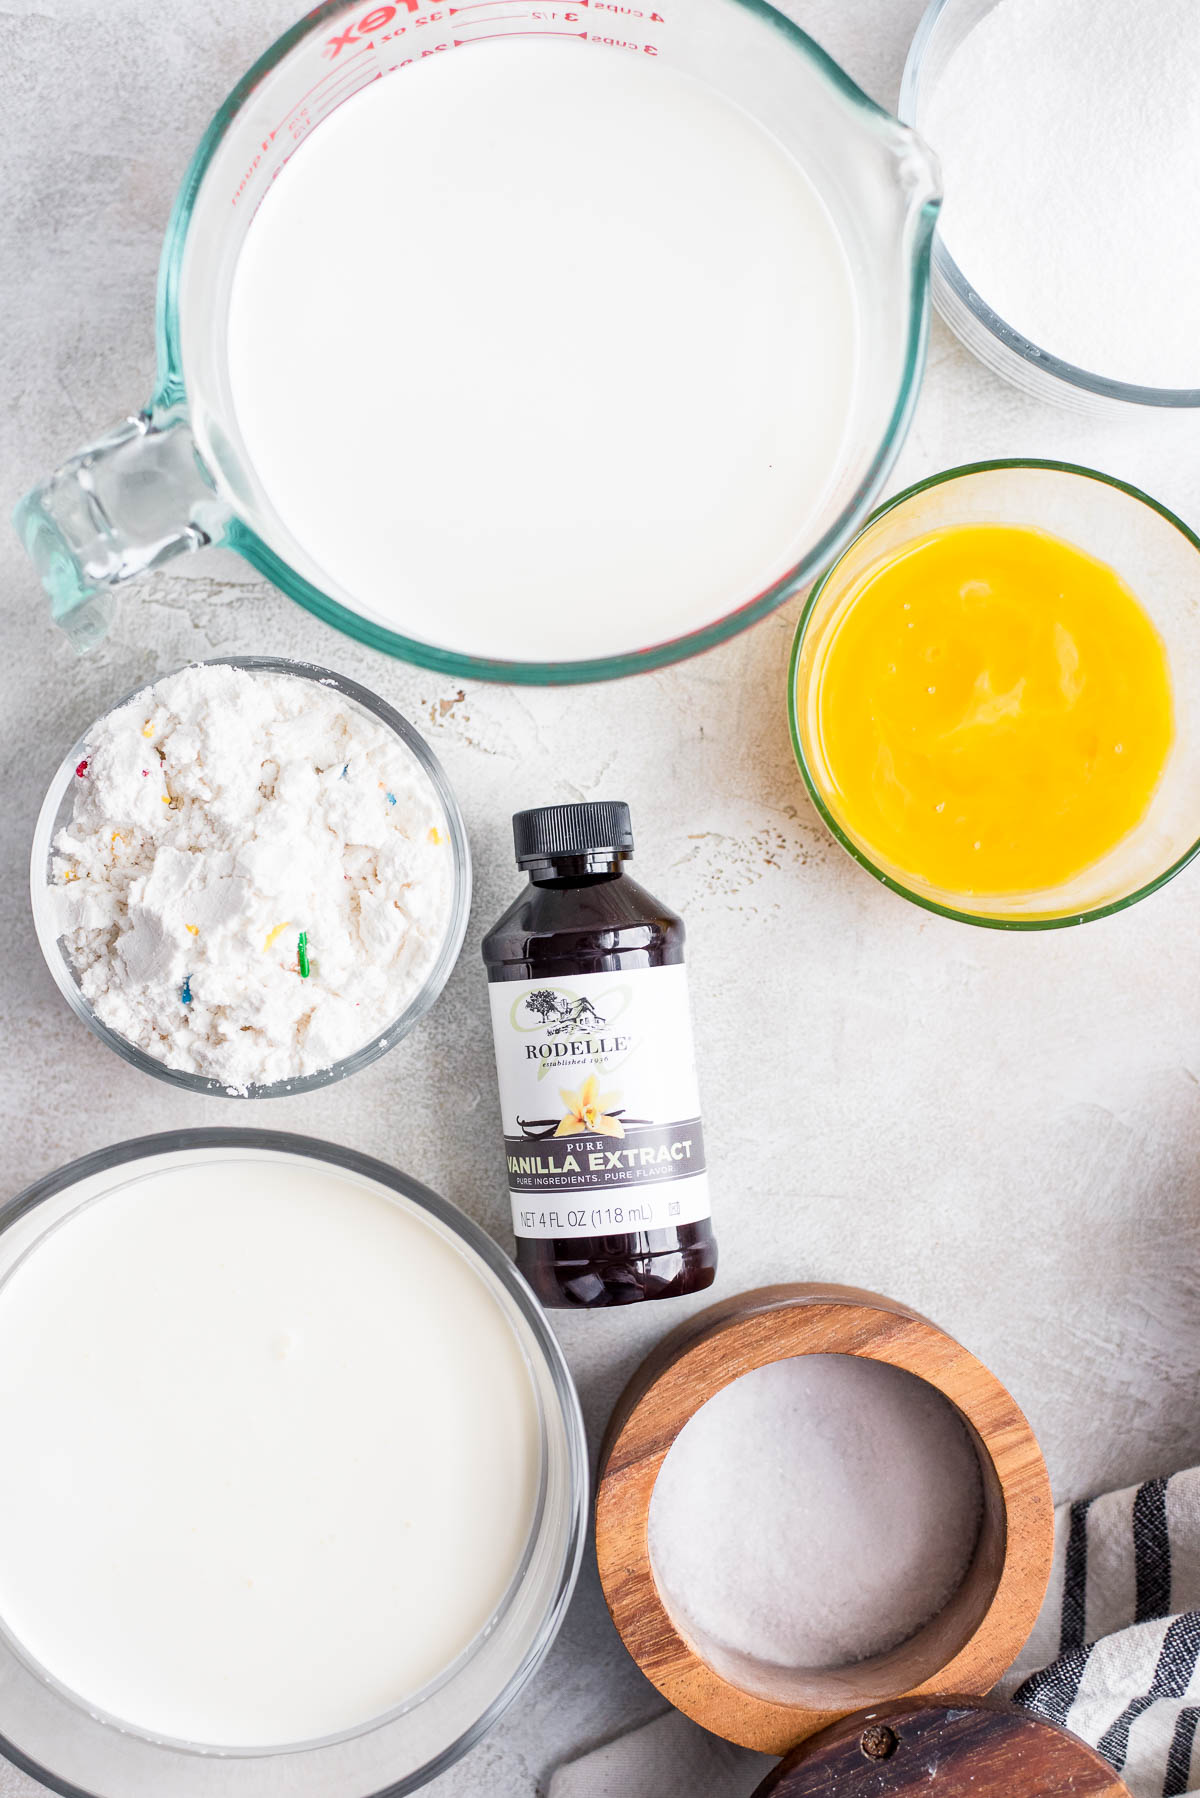
- 3 cups 750 mL whole milk
- 1 ½ cups 360 mL heavy cream
- 1 cup 200 g sugar, divided
- 1 teaspoon salt
- 2 tablespoons corn syrup
- 4 large egg yolks room temperature
- 1 teaspoon corn starch
- ¾ cup 90 g funfetti cake flour
- 1 tablespoon vanilla
- 2 - 4 tablespoons sprinkles
Instructions
- Prepare your ice cream maker as needed. For some, that may mean freezing your insert for at least 24 hours.
- Make a large bowl of ice water that is mostly ice. and Take our a large gallon freezer bag.
- Mix together the milk, heavy cream, and half the sugar together in a large saucepan.
- Stir well, preferably with a wooden spoon, and heat on medium-high heat. Continue stirring until the mixture is steaming and small bubbles form on the edges, but do not allow it to boil.
- Mix together the salt, corn syrup, egg yolks, corn starch, and remaining sugar together in a small bowl.
- Gently stir in one cup of the hot milk mixture into the egg mixture, beating well as you pour.
- Slowly drizzle the egg mixture into the saucepan while stirring well.
- Stir the mixture, scraping the sides and bottom of the saucepan to prevent the milk burning. Continue to cook until the mixture thickens. You will know it is finished when you can run a finger down the back of your wooden spoon and a line remains.
- Stir in the cake mix.
- Carefully pour the ice cream base into the gallon bag. Sit the bag in the ice water, leaving the top of the bag mostly open, but taking care that no ice water gets into the bag. Allow it to cool completely.
- Add in the vanilla.
- Place the cooled ice cream base into the refrigerator to cool completely.
- Add the ice cream into the ice cream machine and churn according to manufacturer instructions (you may need to do this in batches). Five minutes before you are finished churning, add in the sprinkles.
- Store the ice cream in an airtight container.
Renee says
I think it's definitely time to dust off my ice cream maker. This sounds phenomenal.
Amanda Powell says
I hope you like it! I love turning it into milkshakes!